Assets Panel
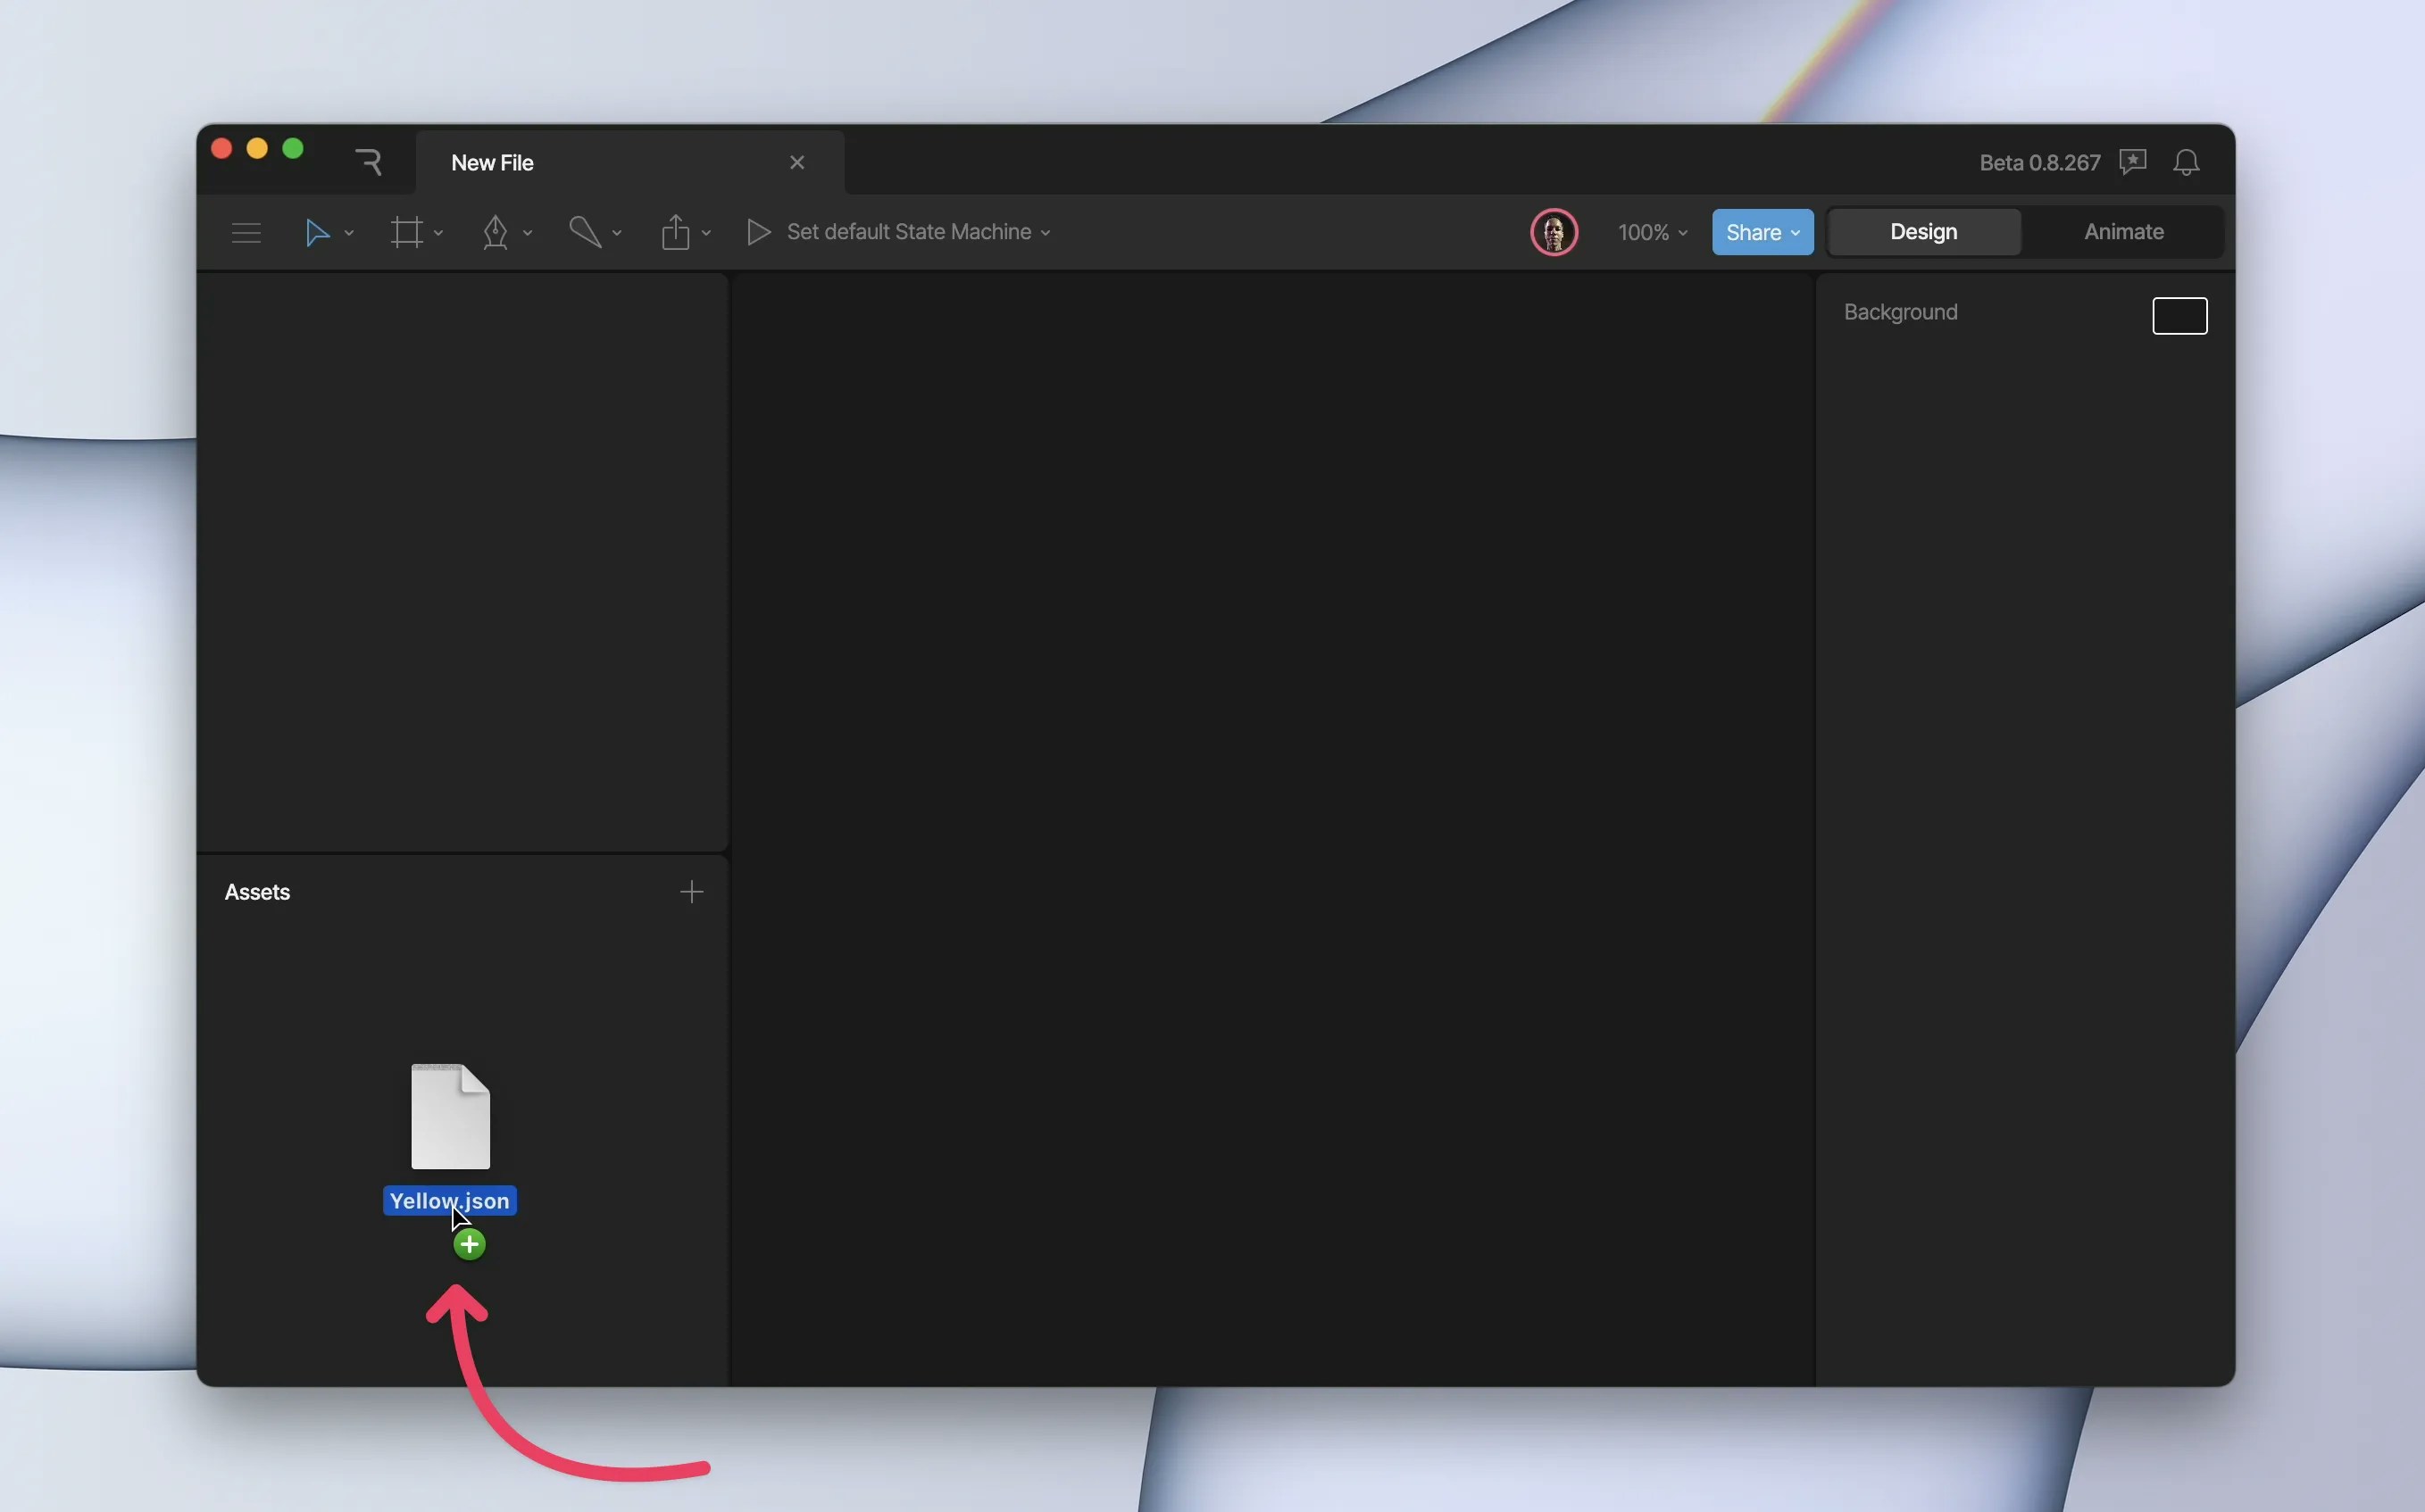
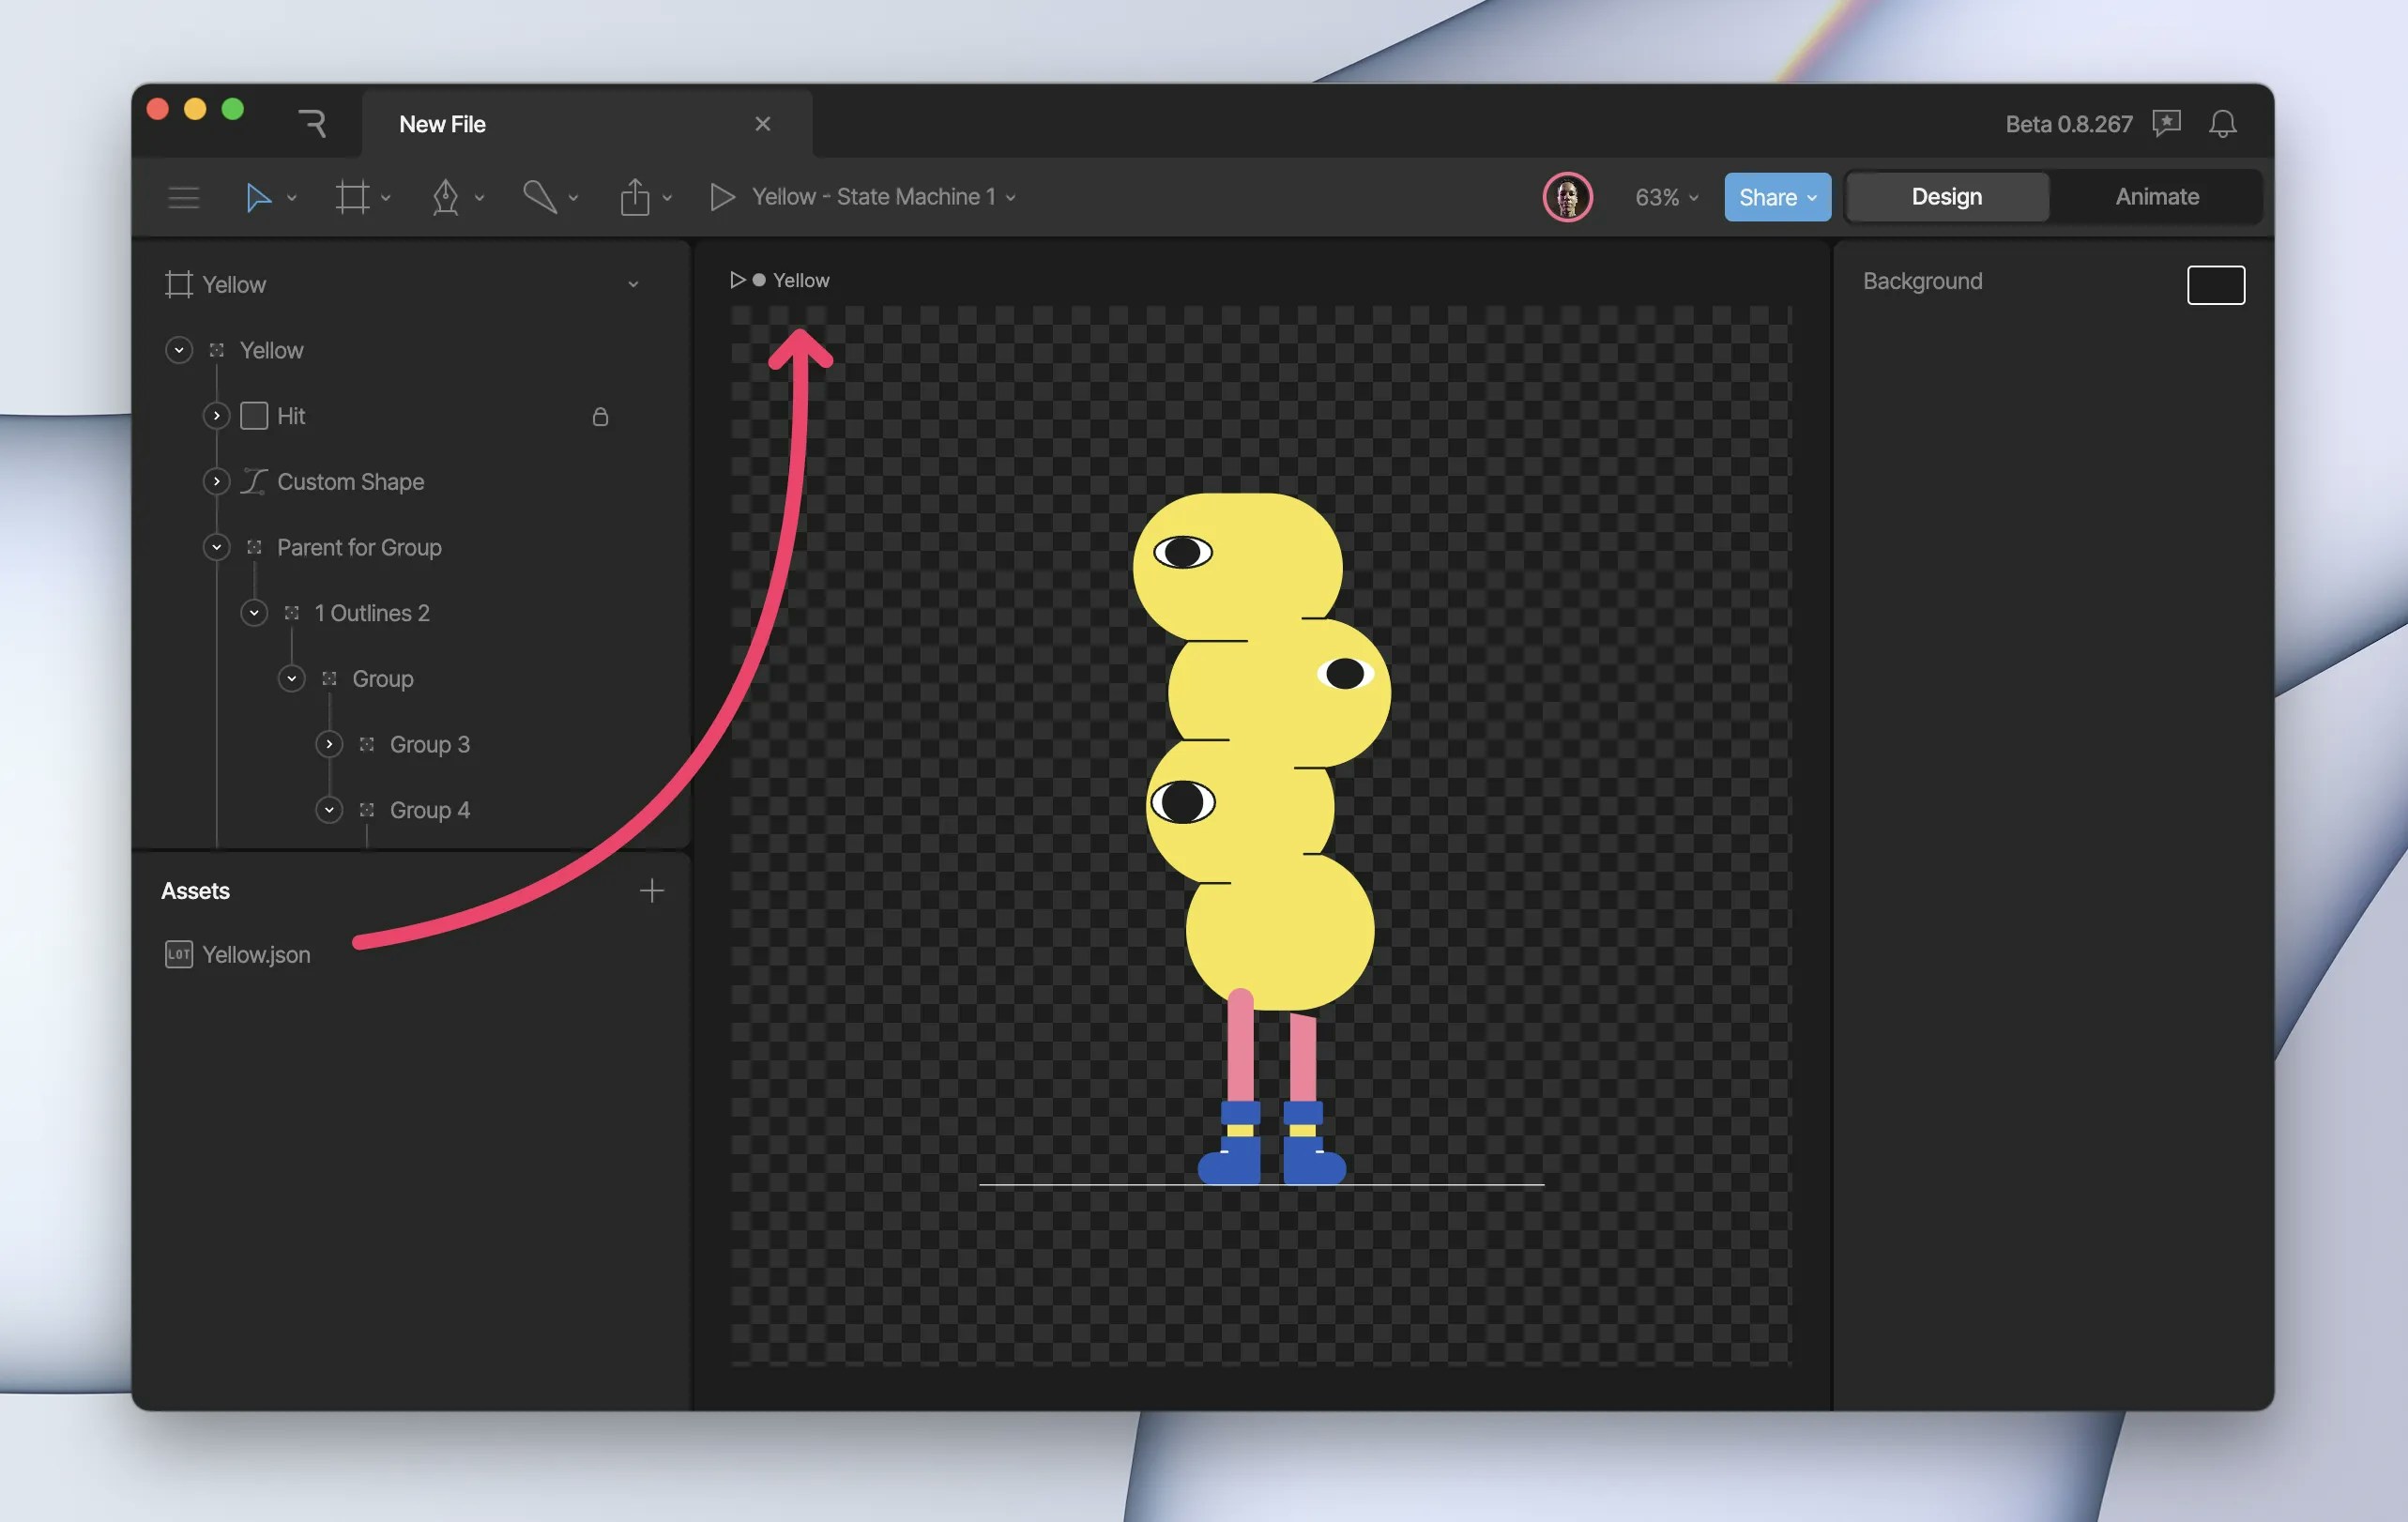
After dragging in your graphics, they now appear in the Assets Panel, located in the left side of the editor UI. Drag and drop them onto an artboard to begin using them.
Importing Custom Font
For Pro customers, you can add custom fonts to be used with our Text tool. Drag and drop your.OTF or .TTF file into the editor, or use the plus button next to the Font section.
Updating image assets
You can make updates to your images after they’ve been imported. Do this by selecting the image in the Assets Panel; the asset’s properties appear in the Inspector, and a “Replace” button will be available for raster assets (PNG, JPG, PSD). Hit the replace button, and when prompted, select the updated image. You’ll notice that this updates all instances of the graphic used in the file.Supported formats
Rive supports importing SVG (see limitations below), JSON, PNG, PSD, and JPG formats.Copy and paste directly from Figma
You can use “copy as SVG” and paste it directly into the Rive editor.Import Lottie file
Importing Lottie files is available on the Enterprise plan. Learn more about our plans and pricing.This workflow can introduce risks that vary across customer setups, and implementing them without our guidance can lead to issues in performance, security, or reliability. Helping customers assess and mitigate these risks takes significant time and effort, which is why this level of support is only available on Enterprise.


If you run into issues at runtime, you may need to convert any
Plus, Add, or Hard Mix layer blend modes to a a blend mode supported by the Rive runtimes.SVG Tips
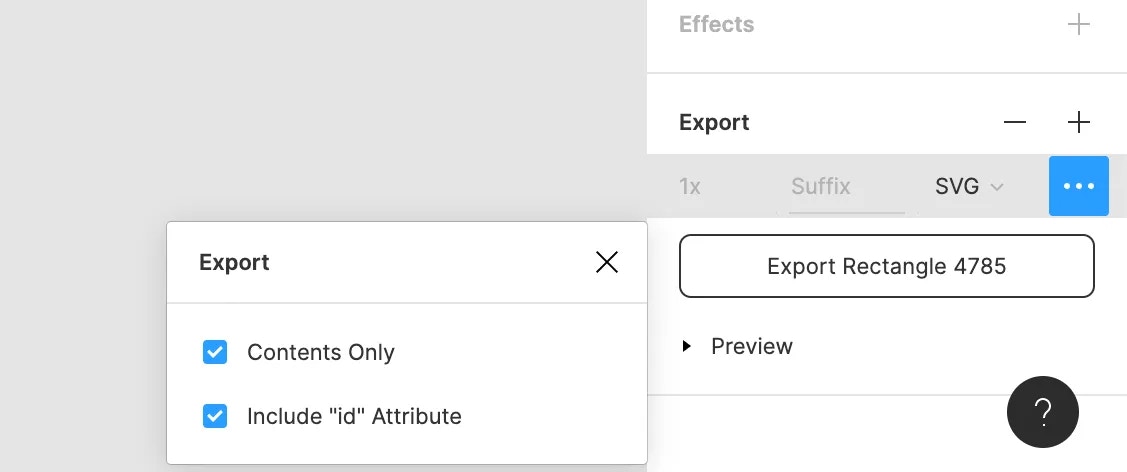
SVG is a very flexible and feature-rich format. We aim to support SVG as best we can; however, there are some features that we do not support at this stage. Exporting files as SVG with inline style instead of CSS will work best for our importer. When exporting from other design tools, look for the option to retain the IDs and names of your shapes when you export. This will ensure that your imported file retains the same structure and layer names. Most tools have this option, as in the Figma example below.
Photoshop
When exporting from Photoshop, make sure you’re only using vector layers. Don’t convert or flatten anything to raster.
Illustrator
When using “Save As” to export an SVG from Illustrator, set the CSS Properties in the SVG Options to “Presentation Attributes” instead of the default setting. Similarly, when using “Export As” to export an SVG from Illustrator, set Styling to “Presentation Attributes” in the SVG Options. Note that Illustrator uses the “Export As” SVG Options when copying directly from Illustrator, so if you are copy-pasting from Illustrator to the Rive editor, be sure to set Styling to “Presentation Attributes” in the SVG Options. Additionally, disable the “Preserve Illustrator Editing Capabilities” option, as this will make your file much larger and add data that our importer does not recognize.Known Issues
- Embedded images are ignored. We plan to implement this.
- Gradient transforms are ignored.
- We currently cannot provide equal support for this across our runtimes, so this is not supported.
- However, we support linear and radial gradients, which can cover some use cases.
- Rive does not have a concept of point (pt) or millimeter (mm) sizing. An SVG that uses dimensions provided in pt or mm will have its values converted to pixels (px). Points are converted to 1.33 px, and millimeters are converted to 3.78 px.
- SVG provides
inheritto let strokes and fills use the color of their ancestors. Rive does not support this, and any inherited color defaults to white. - Other unsupported SVG features:
stroke-dasharray- you may see a solid stroke line insteadmask- we treat this like clippingfilterskew