Rive has two main editing modes: Design and Animate.
- Design Mode is for creating, editing, importing, and rigging objects.
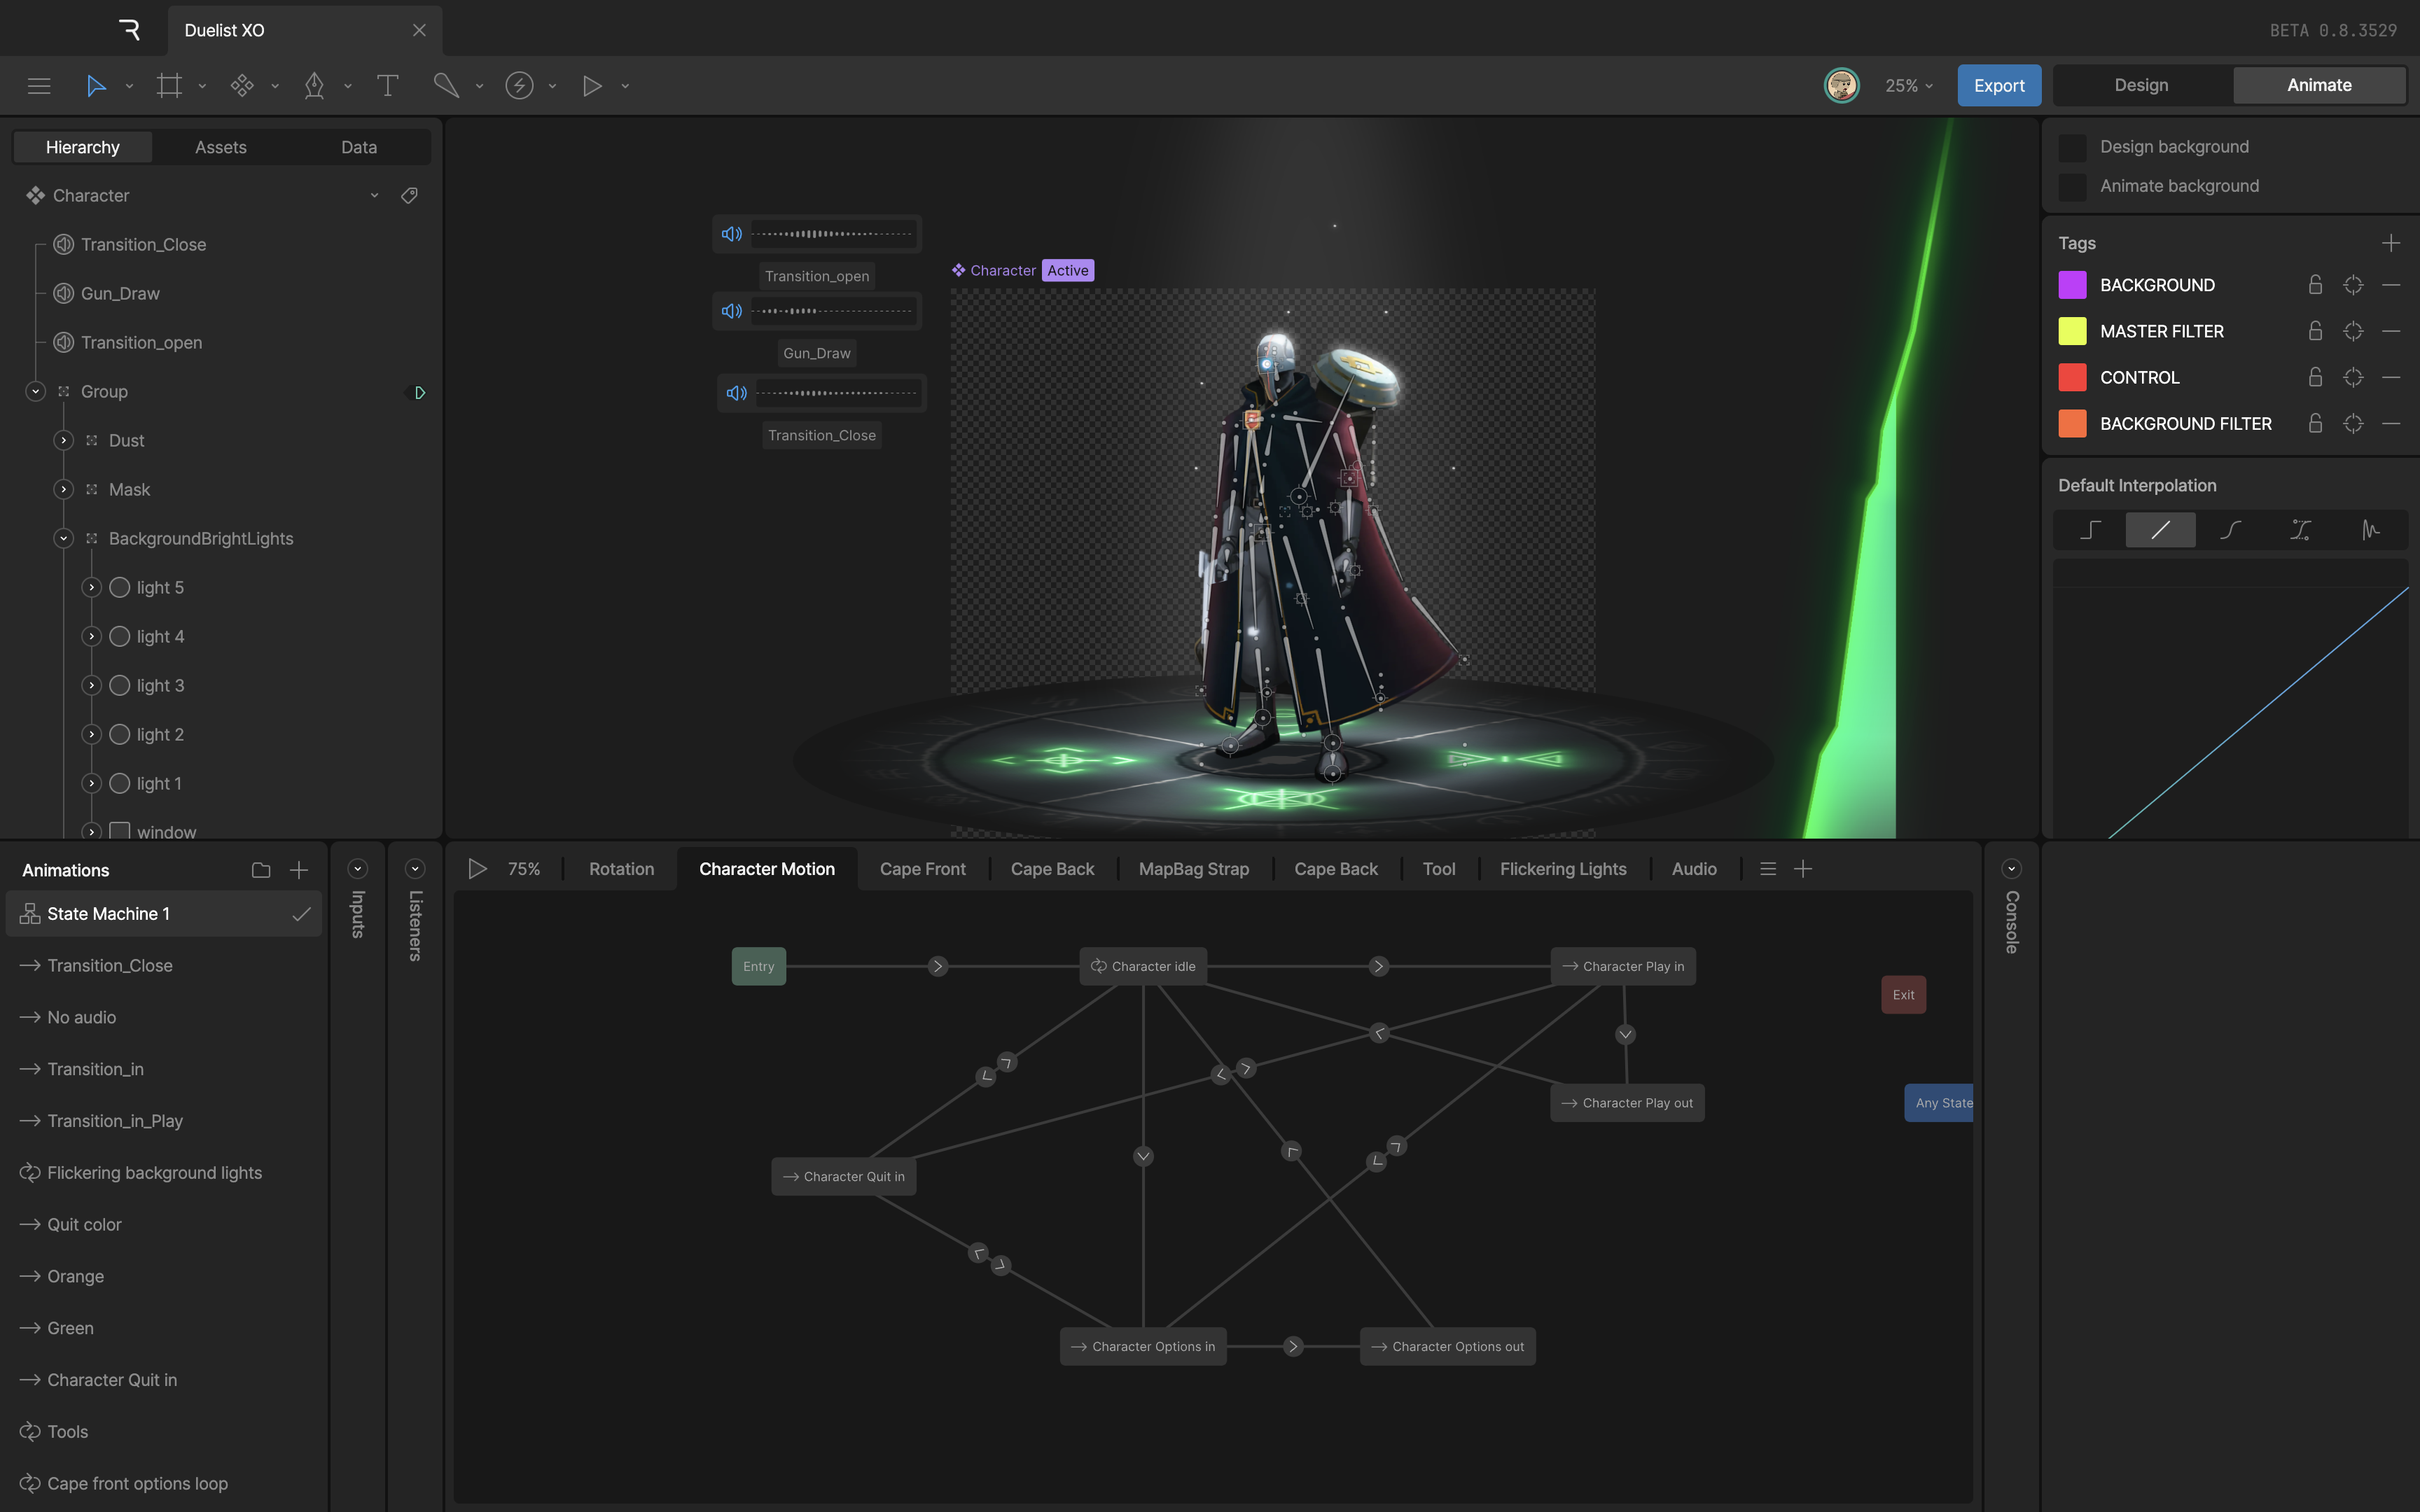
- Animate Mode is for creating timelines, state machines, keys, and animation logic.
Use the Mode Toggle in the toolbar, or press Tab, to switch between modes.

Avoiding Accidental Keys
When you’re in Animate Mode, some edits can create animation keys depending on what is selected.
If a timeline is selected, changes to animatable properties may be keyed automatically. This can happen when you move, resize, rotate, recolor, or otherwise edit an object while working in a timeline.
Before making design changes, make sure you’re in Design Mode, or make sure a timeline is not selected.
When to Use Design Mode
Use Design Mode when you want to change the default design of your file.
Common design changes include:
- Creating or deleting objects
- Moving, resizing, or rotating objects
- Editing fills, strokes, and shape properties
- Importing assets
- Adding bones, constraints, or other rigging
When to Use Animate Mode
Use Animate Mode when you want to create animation behavior.
 Common animation tasks include:
- Creating timelines
- Creating state machines
- Adding keys
- Editing key values
- Setting up transitions, listeners, and animation logic