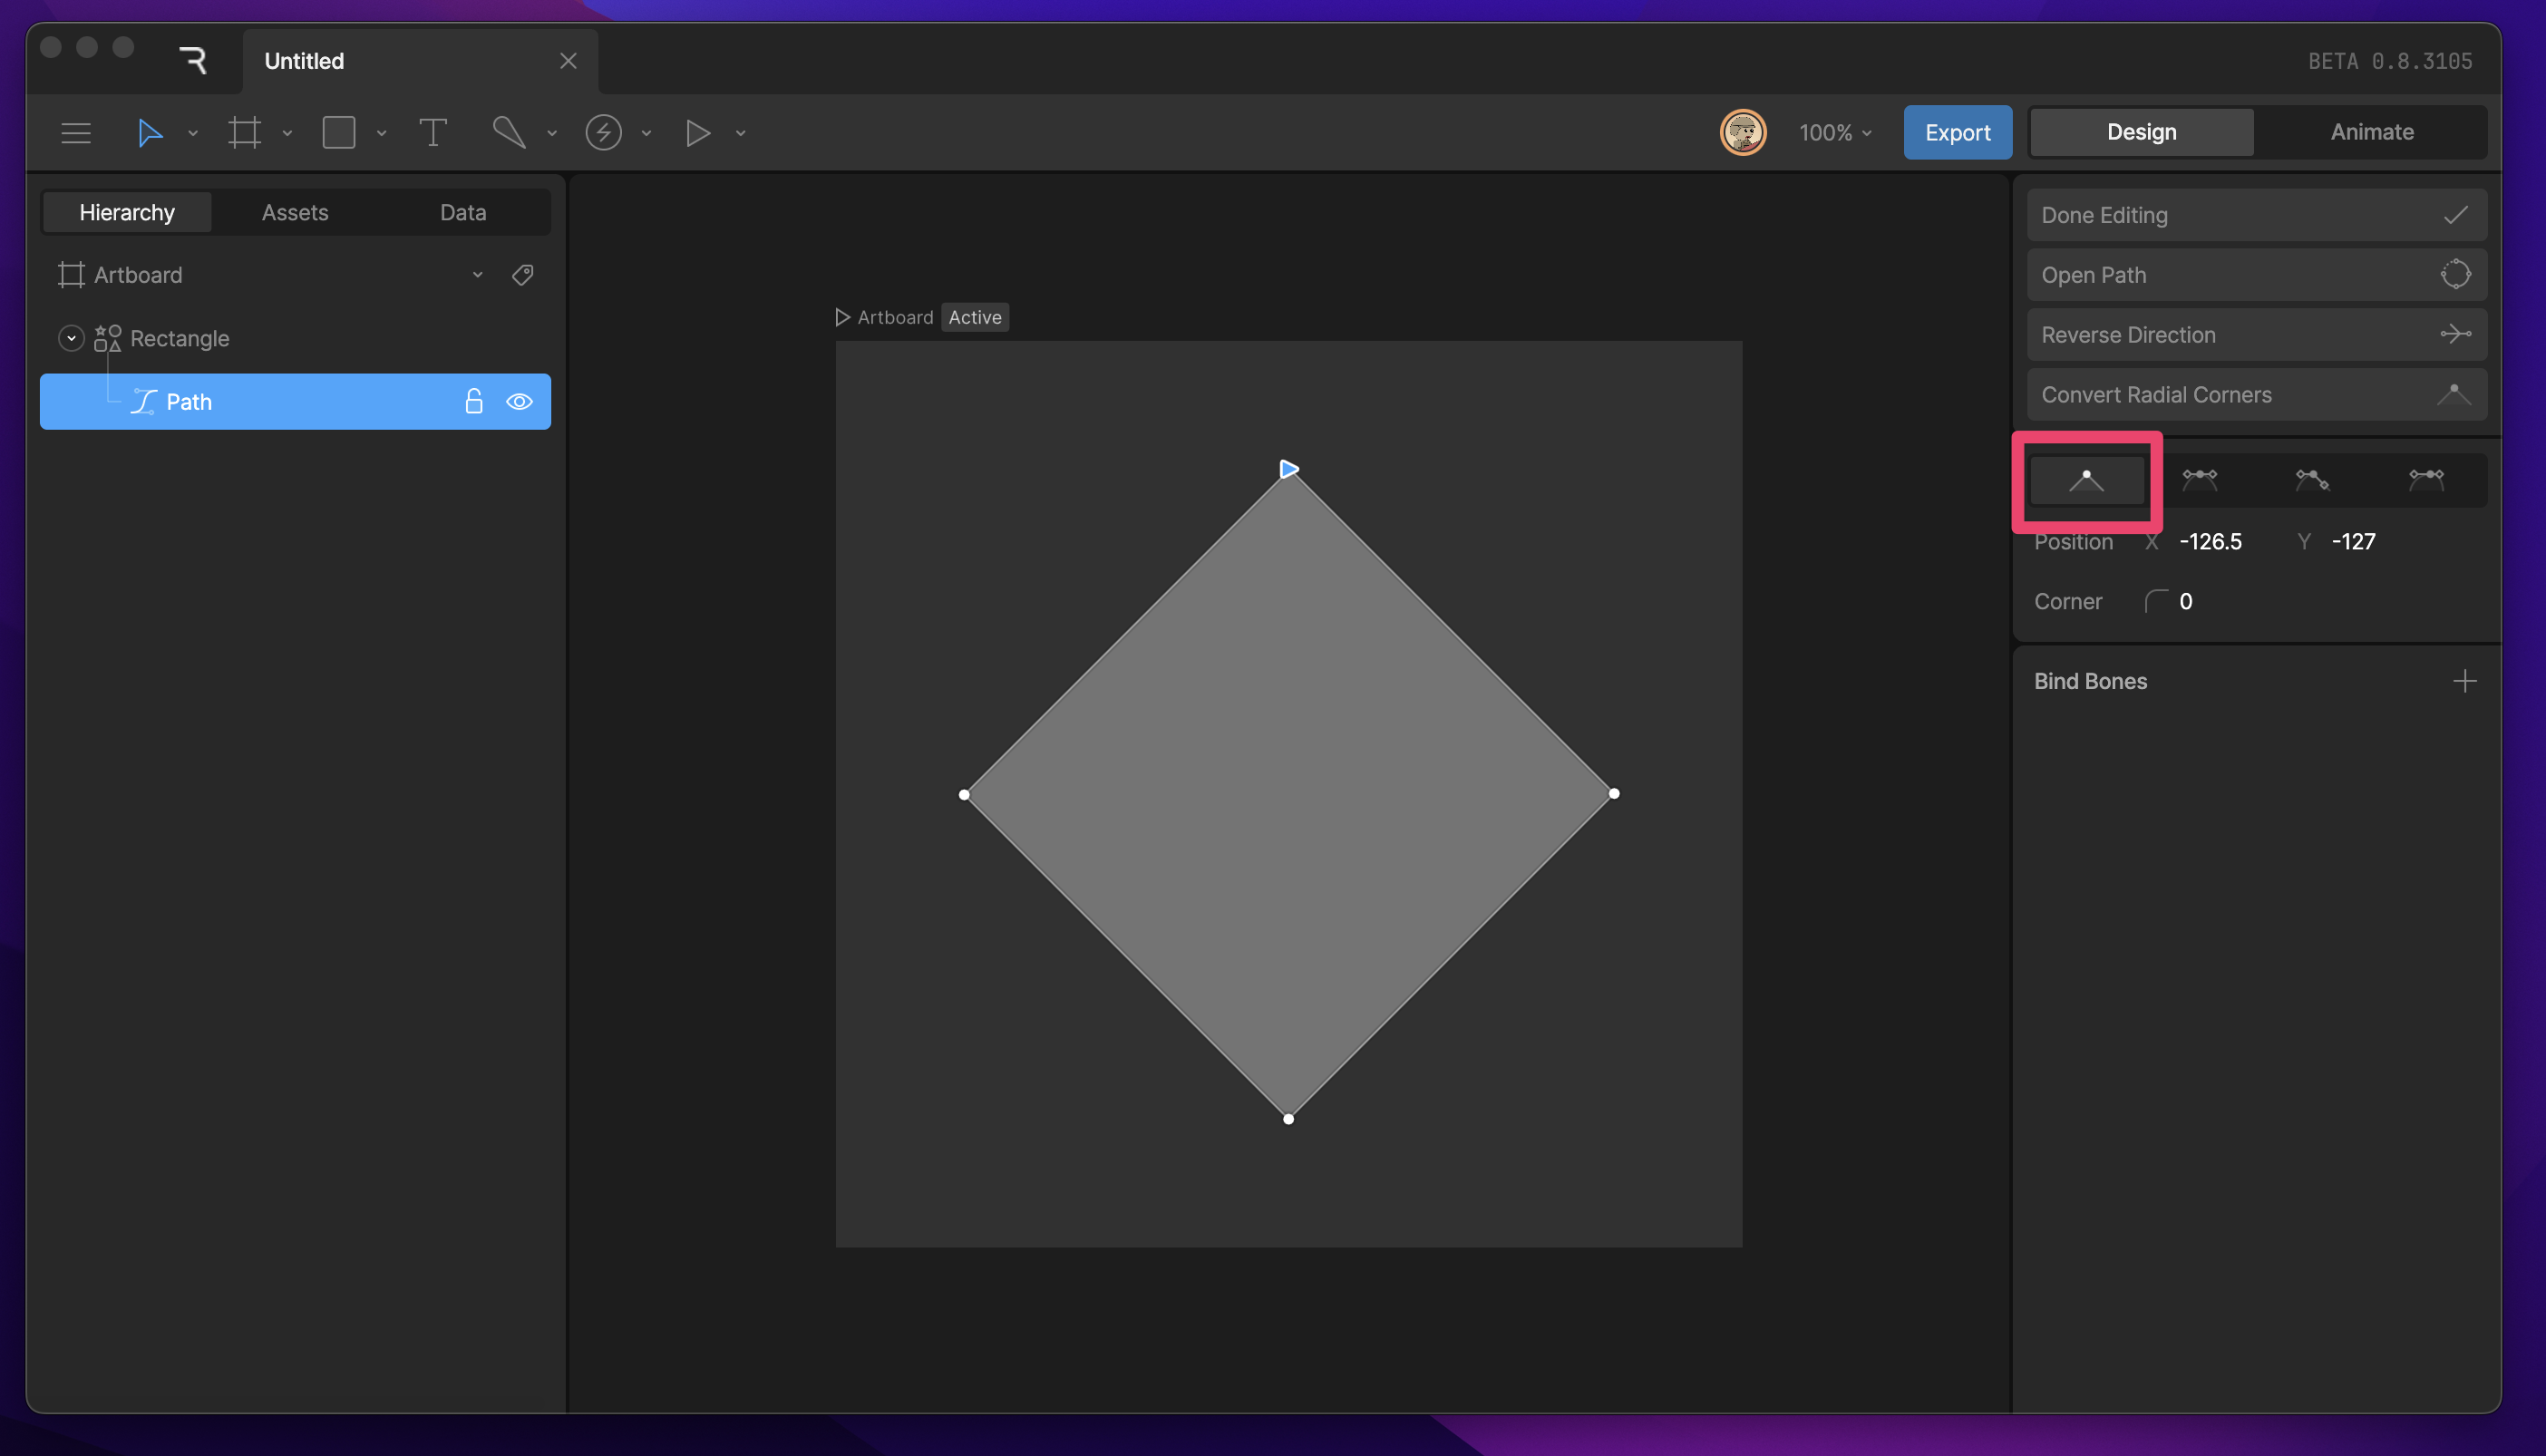
Edit Vertices mode
To enter Edit Vertices mode, either select the shape and hit enter twice or select a path and hit enter once.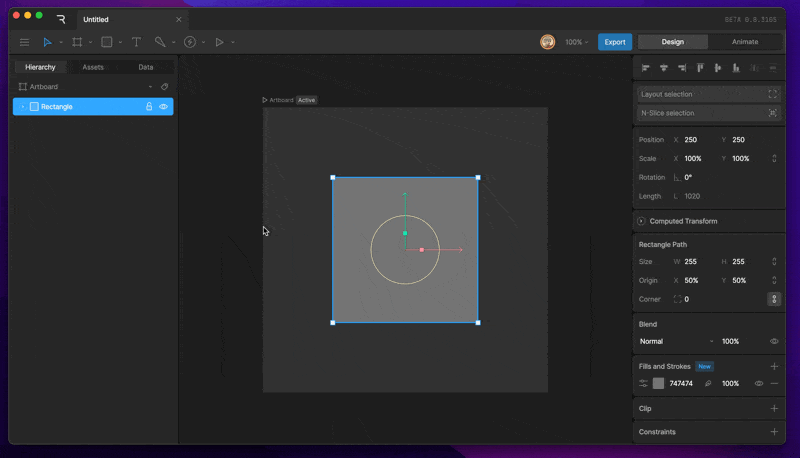
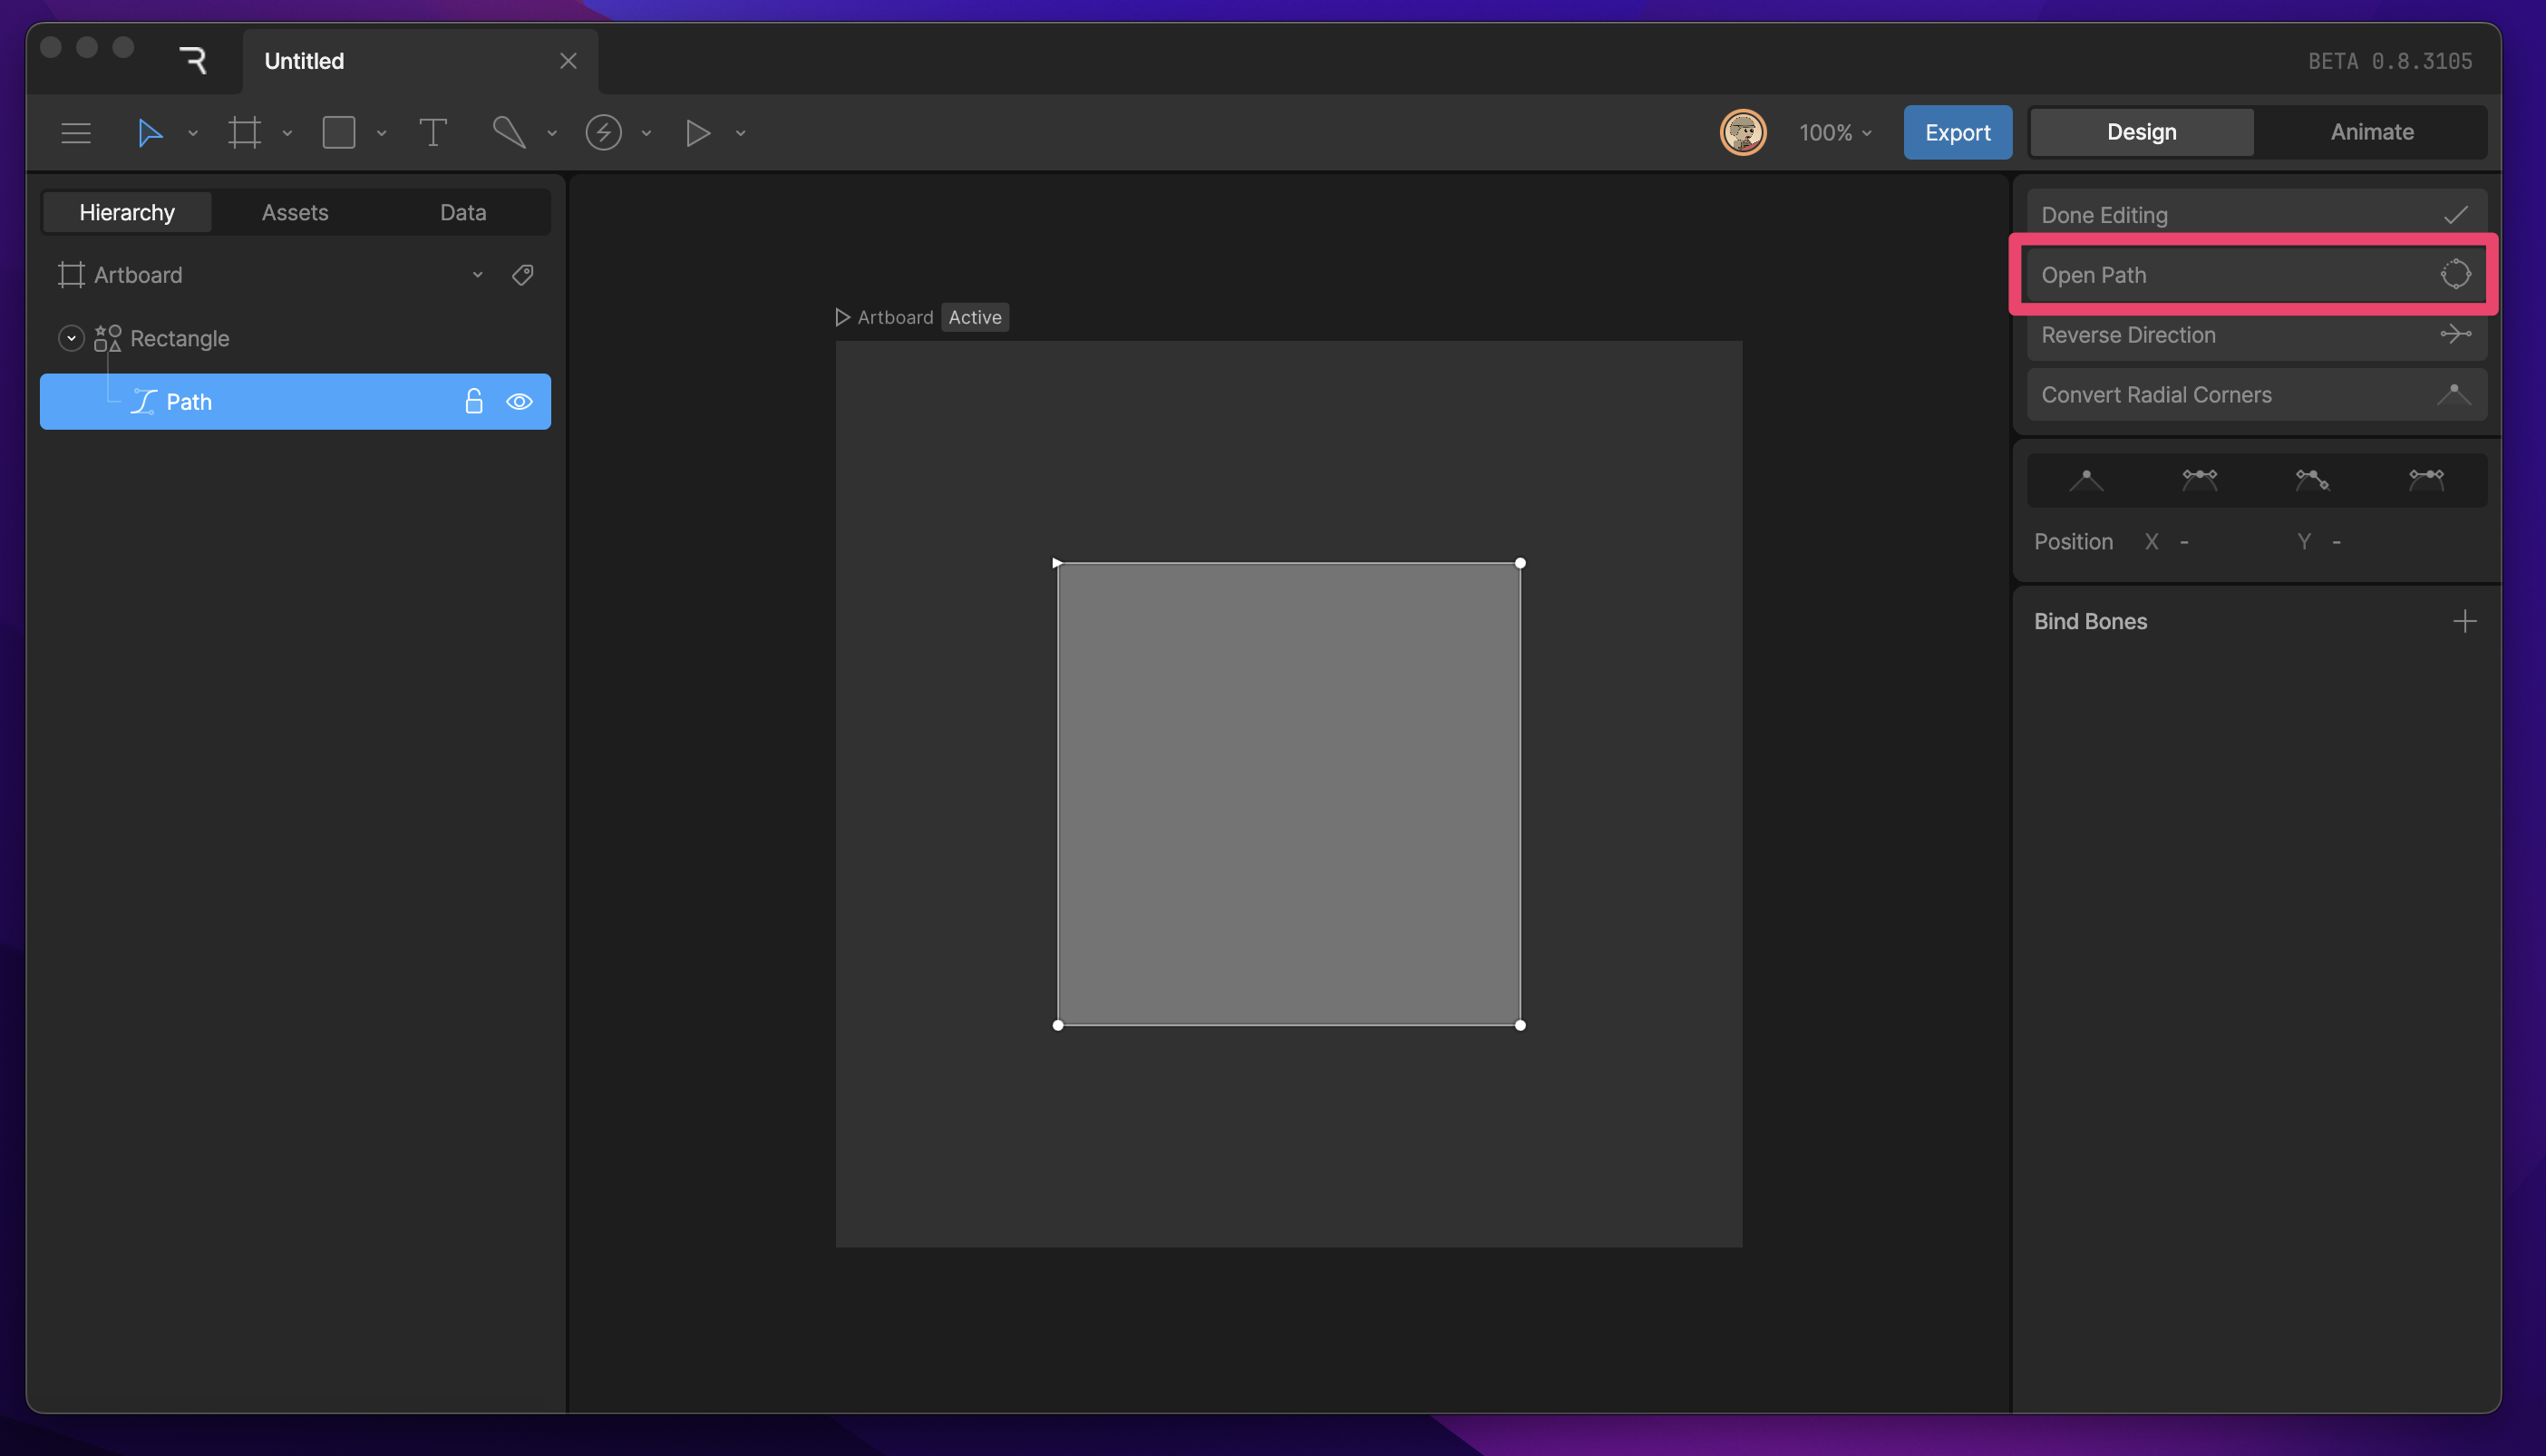
Path Options
Each path in Edit Vertices mode has a set of path options at the top of the Inspector. Done Editing Button The Done Editing button can be used to exit Edit Vertices Mode.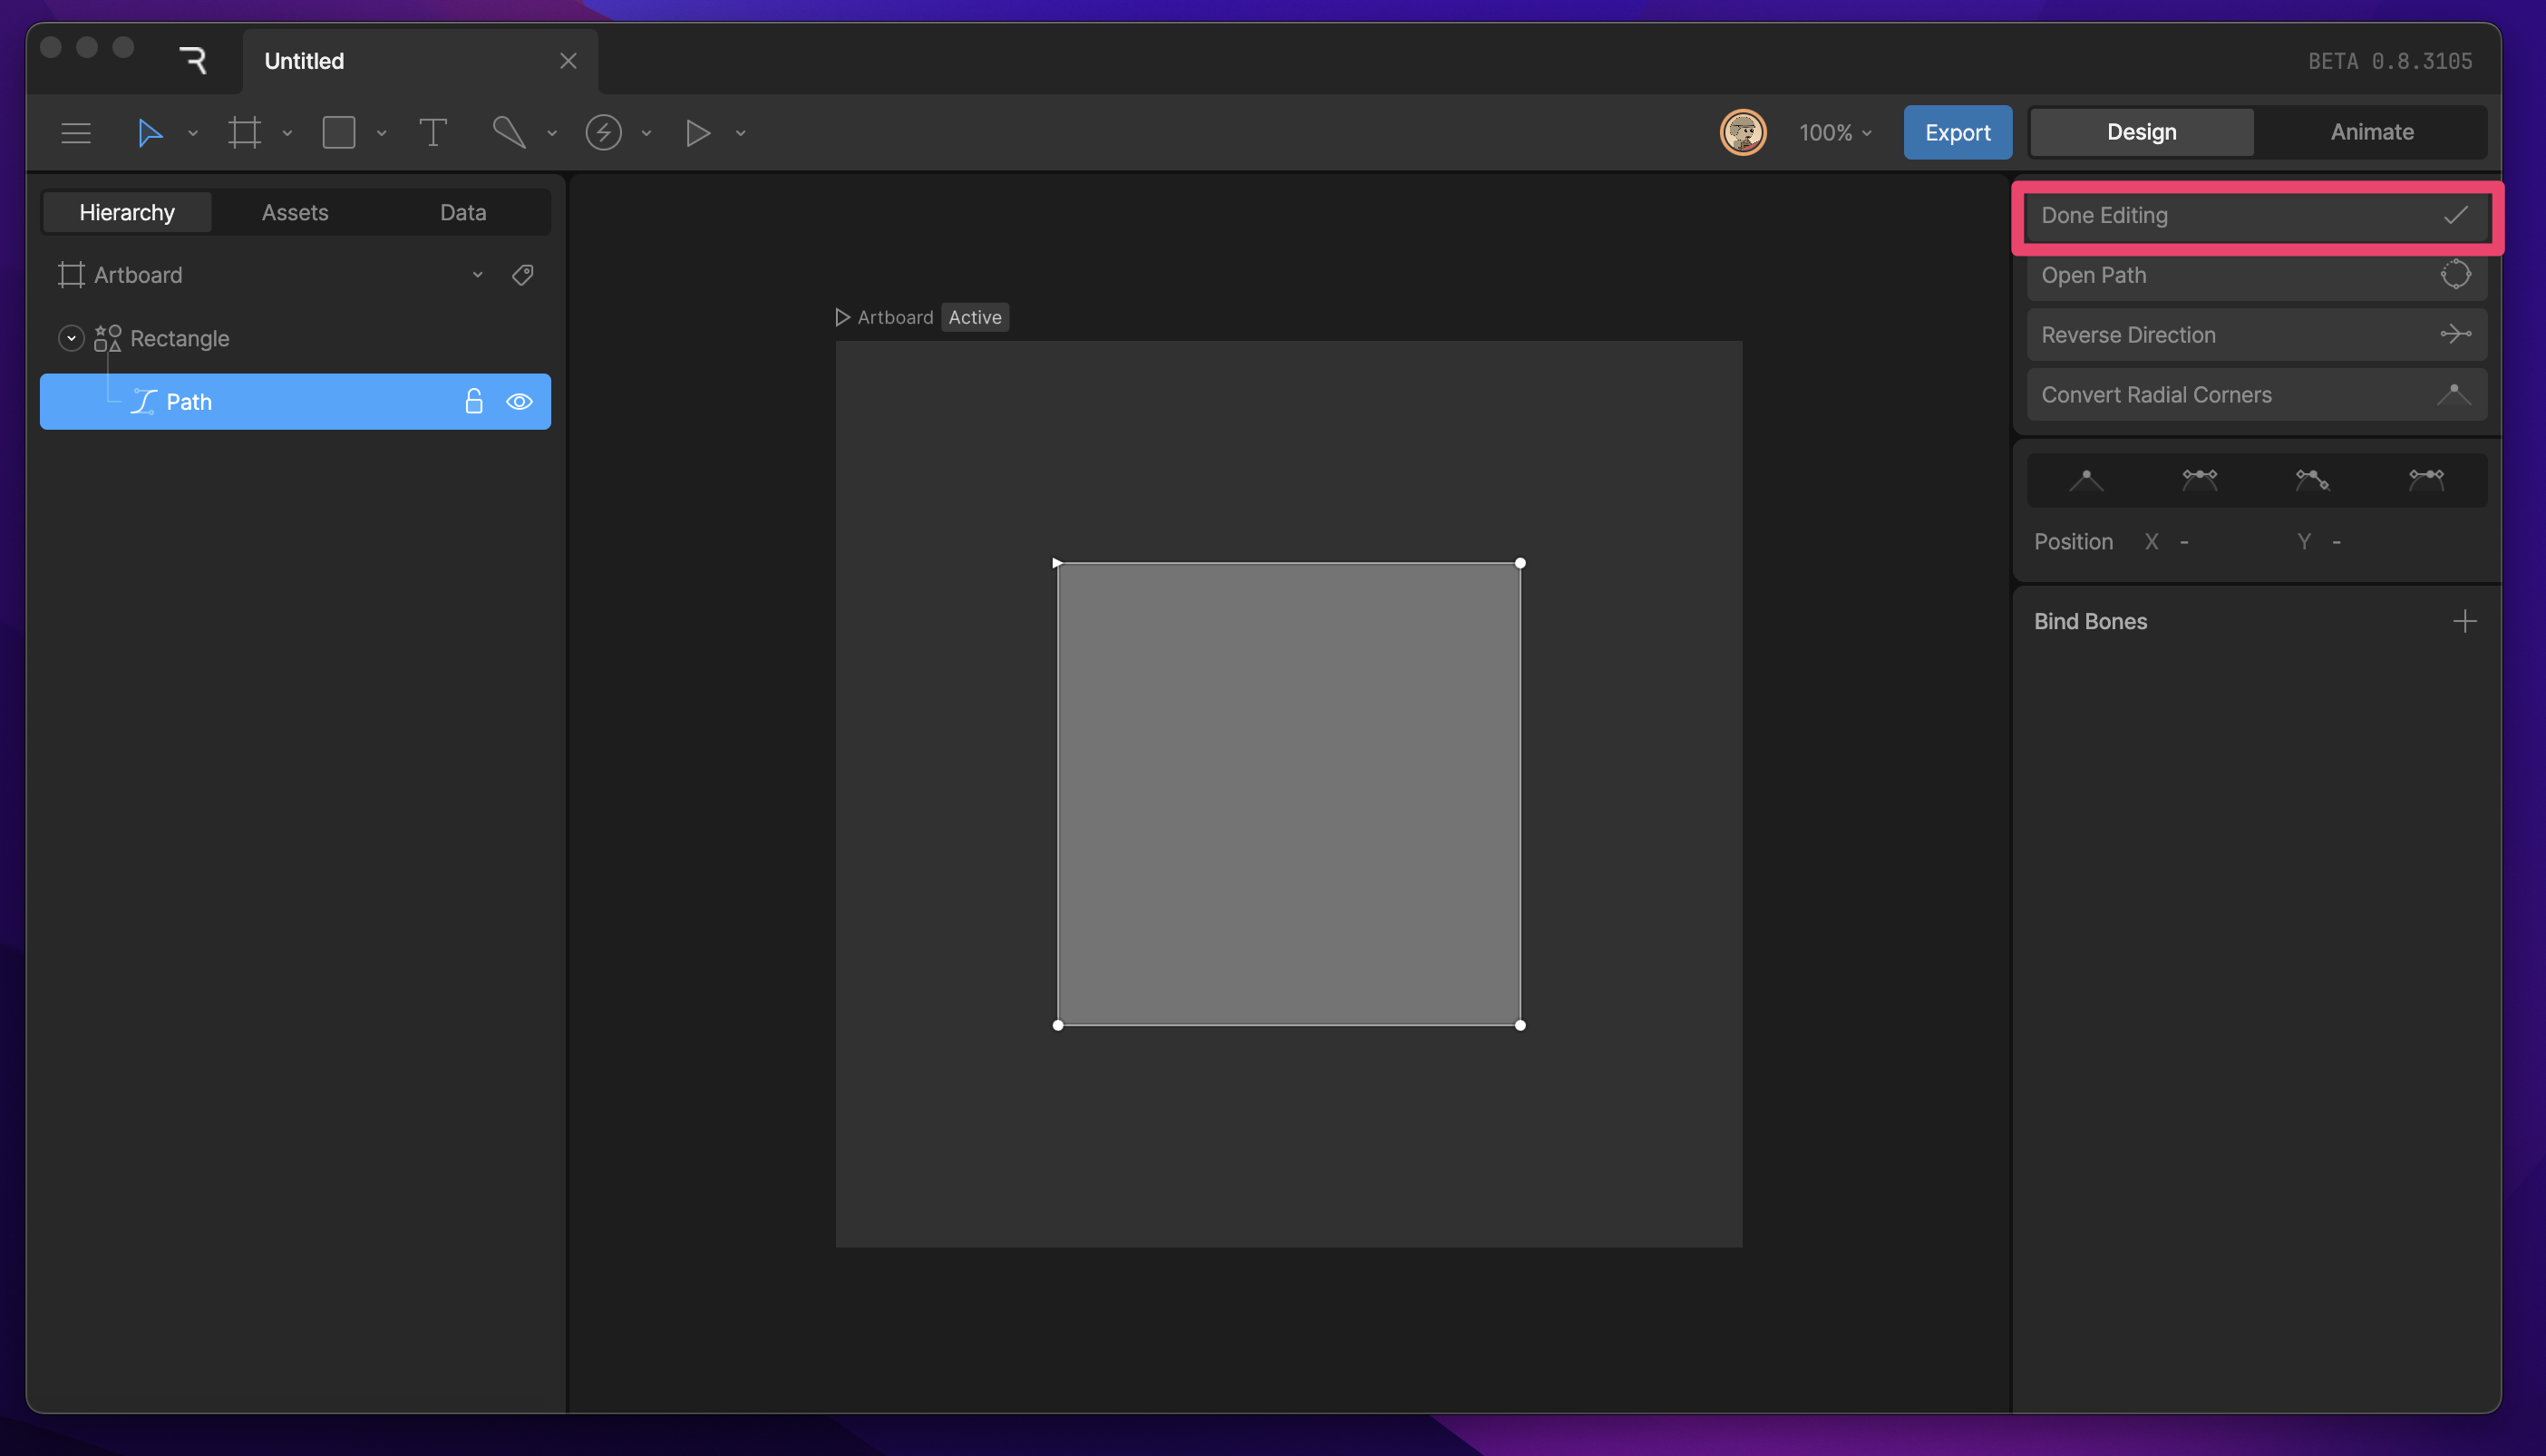
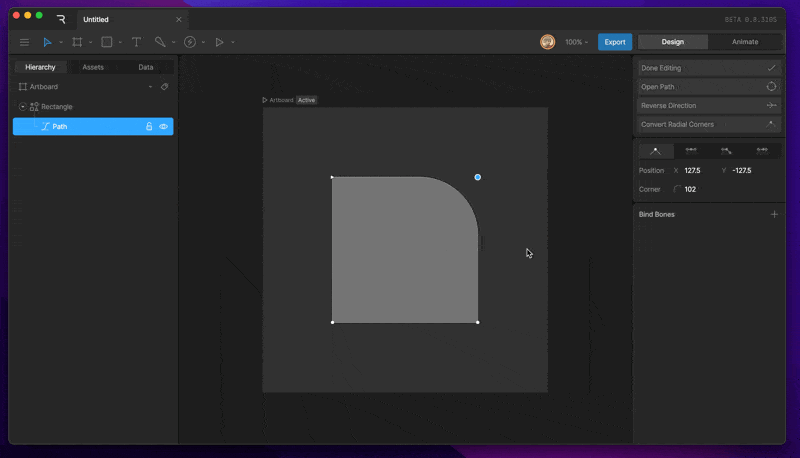
Bezier Handles
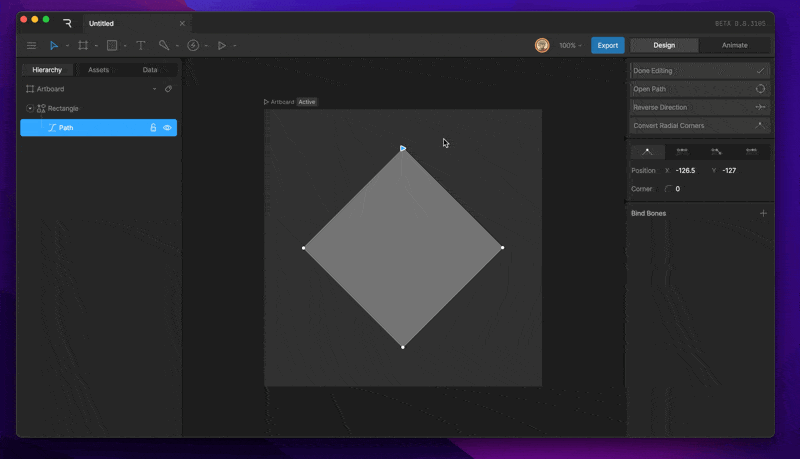
Straight The default handles are set to straight, which creates straight edges between vertices.