Artboards are the foundation of your composition across both design and animate mode. They act as the root of every hierarchy and let you define a scene’s dimensions and background color. You can create infinite artboards on the Stage, but each Rive file has at least one artboard. Artboard Pn

​Active artboard

The active artboard is represented with an Active tag next to its name on the stage. You can activate an artboard by clicking on it or any of its children within the stage. Note that sections of the editor will only surface content associated with the active artboard. For instance, only the active artboard’s hierarchy is displayed in the tree. Similarly, only animations referenced to the active artboard will surface within the timeline. Active Gi The active artboard is represented with a dot next to its name on the stage. You can activate an artboard by clicking on it or any of its children within the stage. Note that sections of the editor will only surface content associated with the active artboard. For instance, only the active artboard’s hierarchy is displayed in the tree. Similarly, only animations referenced to the active artboard will surface within the timeline.

Default State Machine

The default state machine is the state machine that will be played when using the play button in the Toolbar. In addition to setting the default state machine, this also sets the default artboard that a developer will see when using this file outside of Rive. Default SM Gi To change the default state machine, use the dropdown to select the one you want to use. You can quickly play the selected state machine from Design Mode by holding shift and hitting the space bar. Play Default Gi

​Creating an artboard

Before creating any graphics, you’ll first need to create an artboard. There are two ways to create an artboard. In a new file, you’ll find options on the stage to define an artboards dimentions or to select from a few defined presets. Once you’ve decided on the properties, you can then hit the Create Artboard button. Create AB Gi Alternitively, you can use the​ Artboard tool which is found in the Artboard menu, or by using the shotcut A. With the tool active, click and drag to define the bounds. You can always adjust the size and position by selecting the artboard in the Hierarchy to surface its properties in the Inspector.

Artboard properties

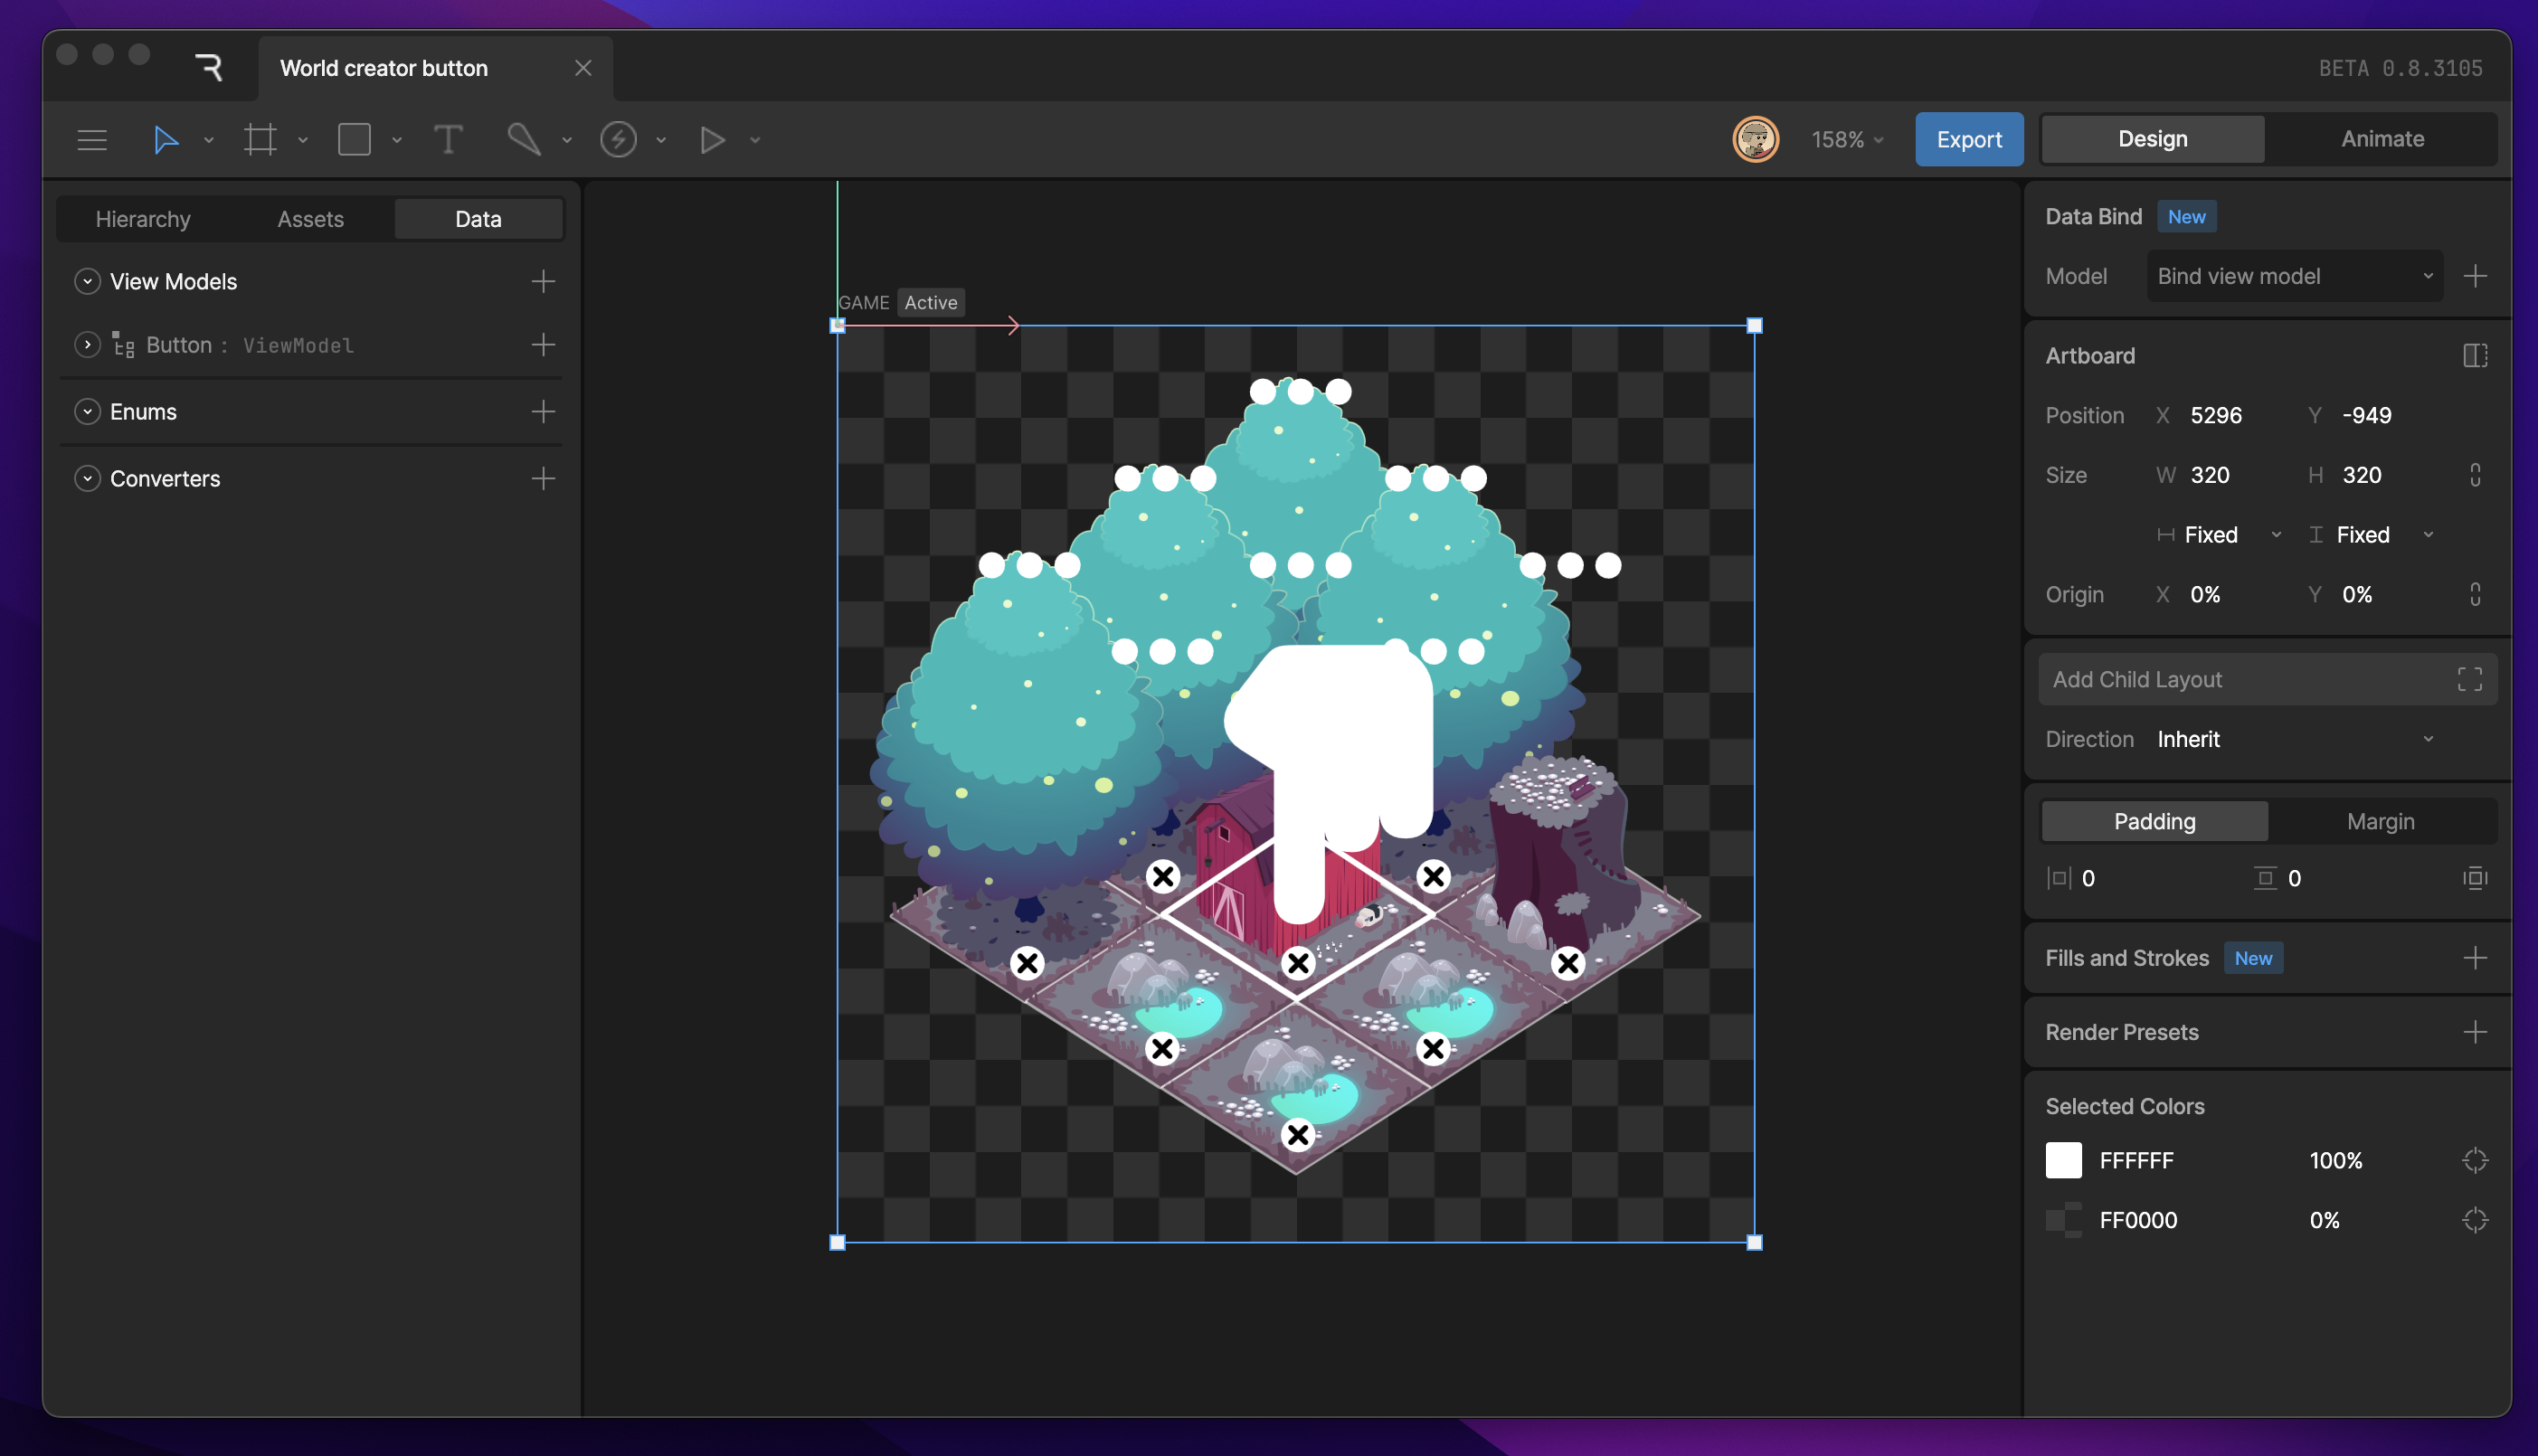
Every artboard has various properties that can be changed in the Inspector. Some of the attributes that can be changed include an artboard’s position on the Stage, its size, layout properties, fill color, origin point, and render presets.
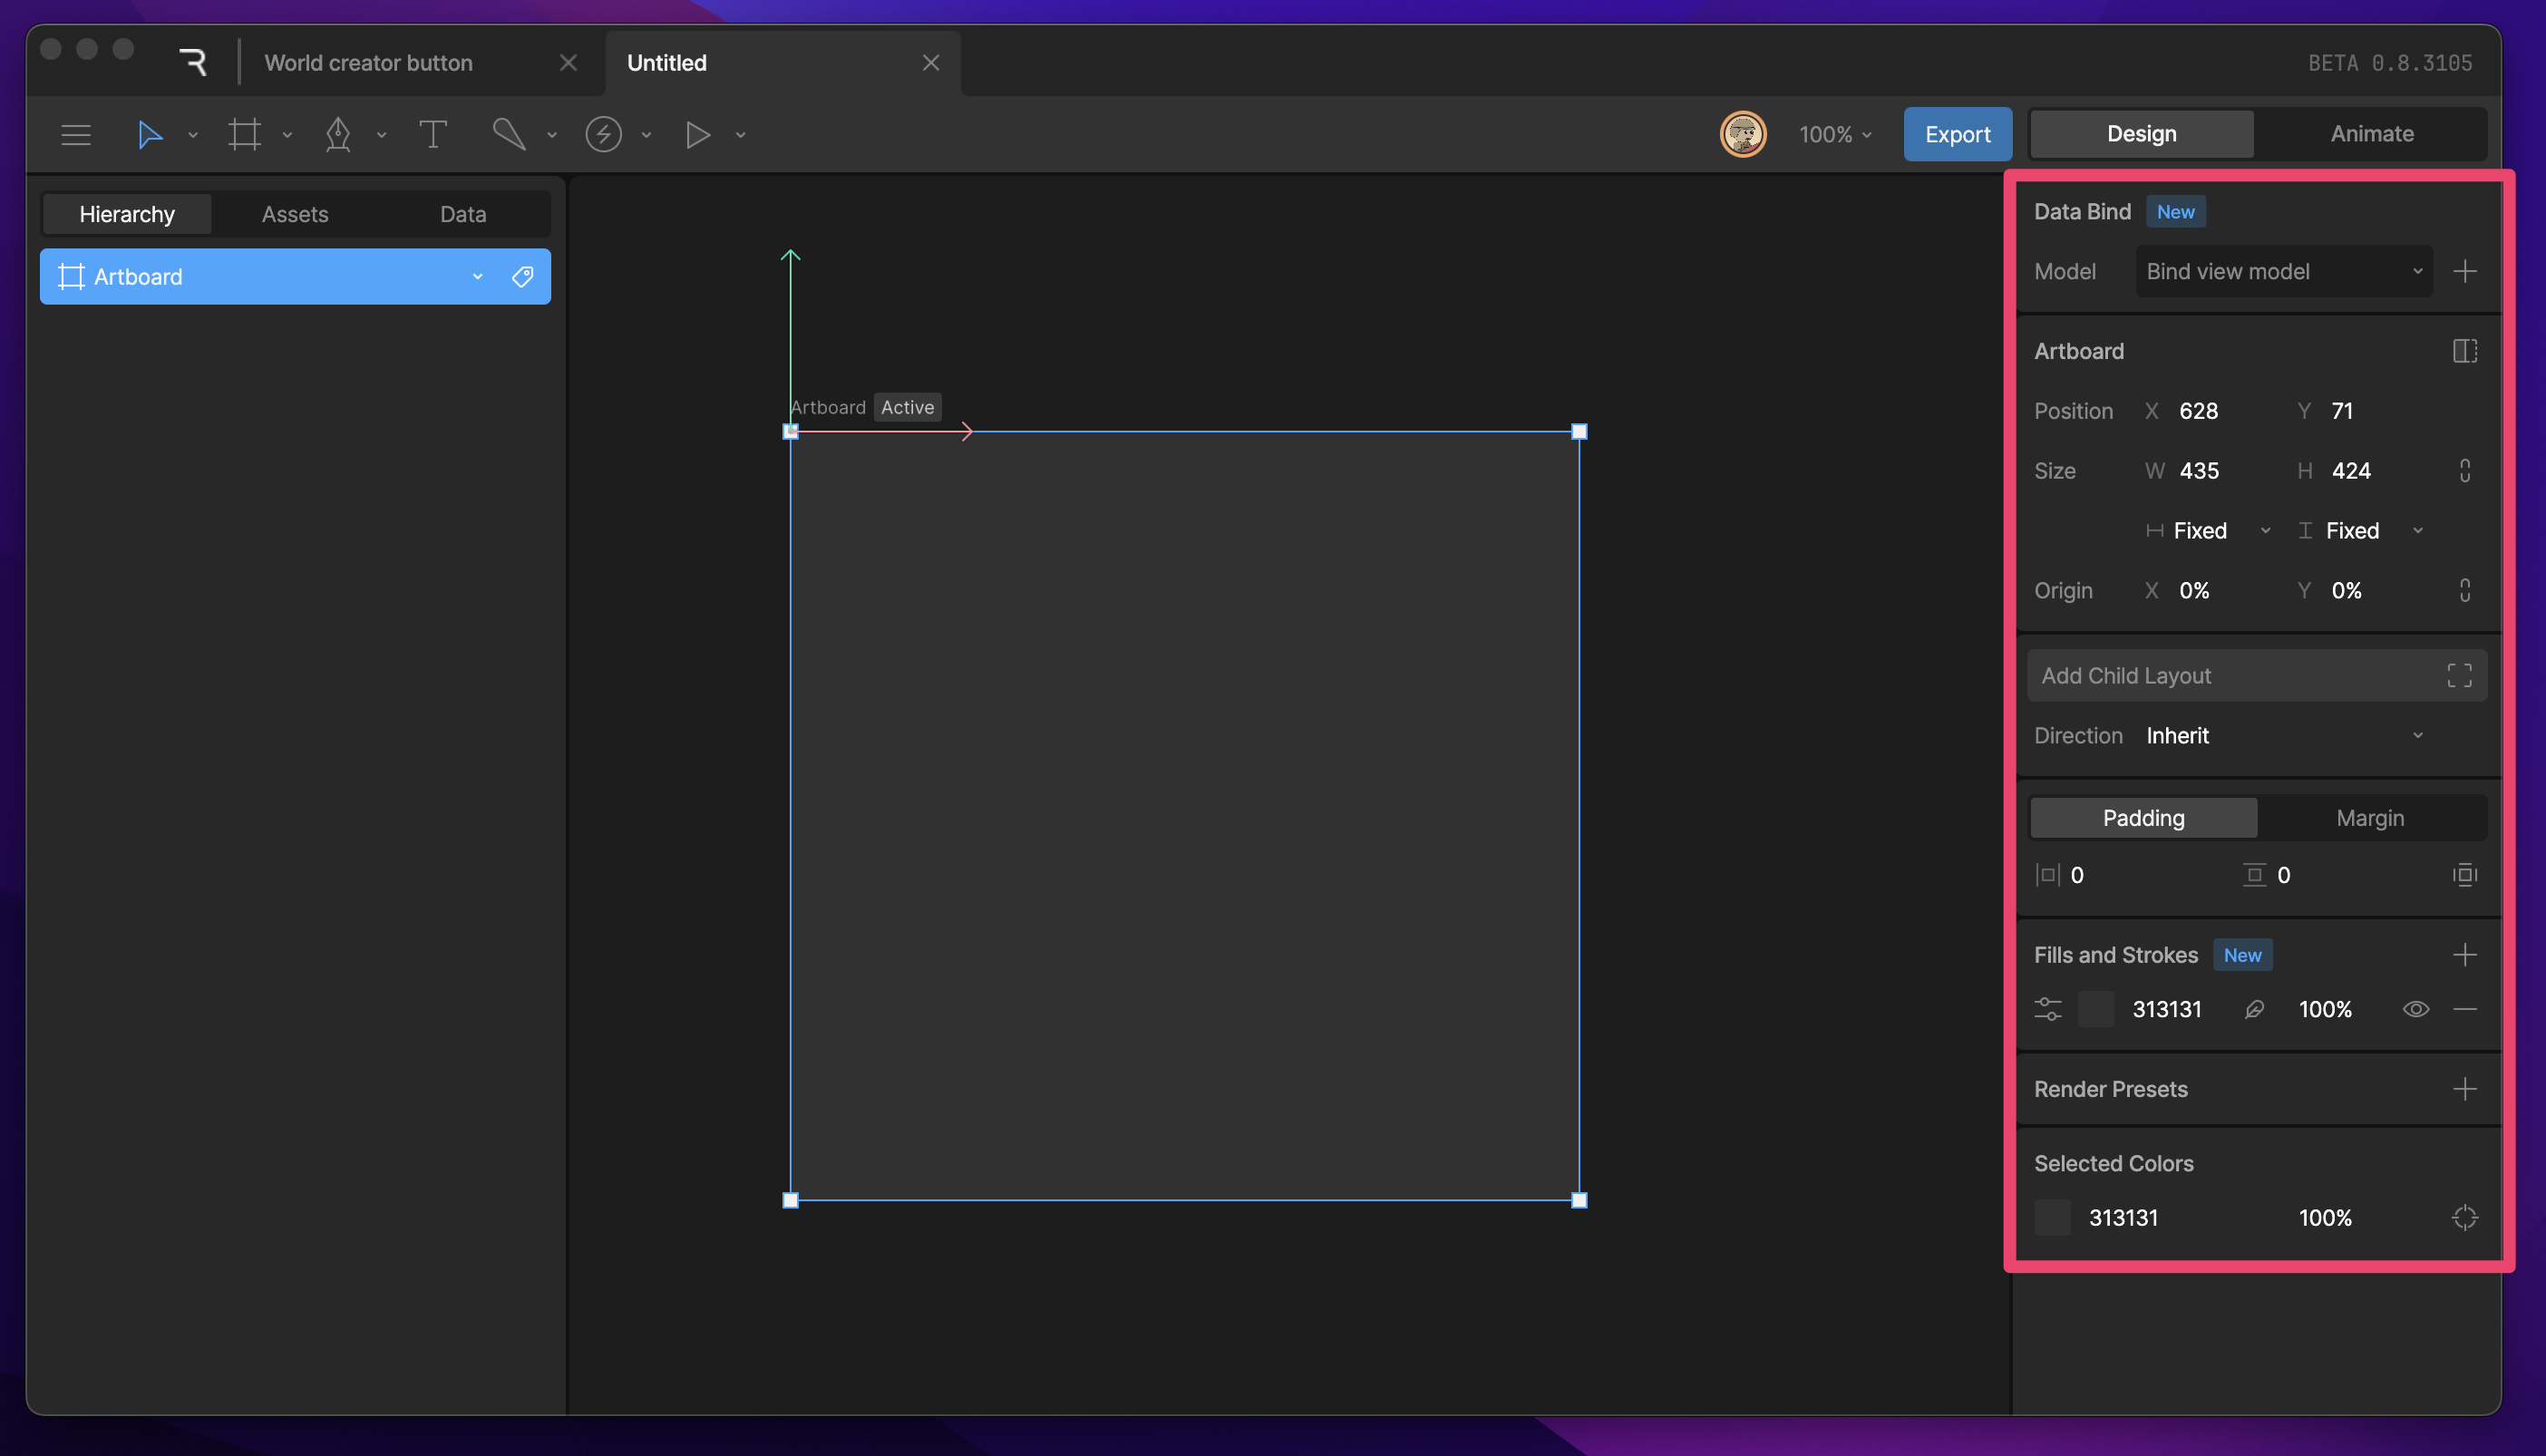
 Artboard Prop Pn

Position

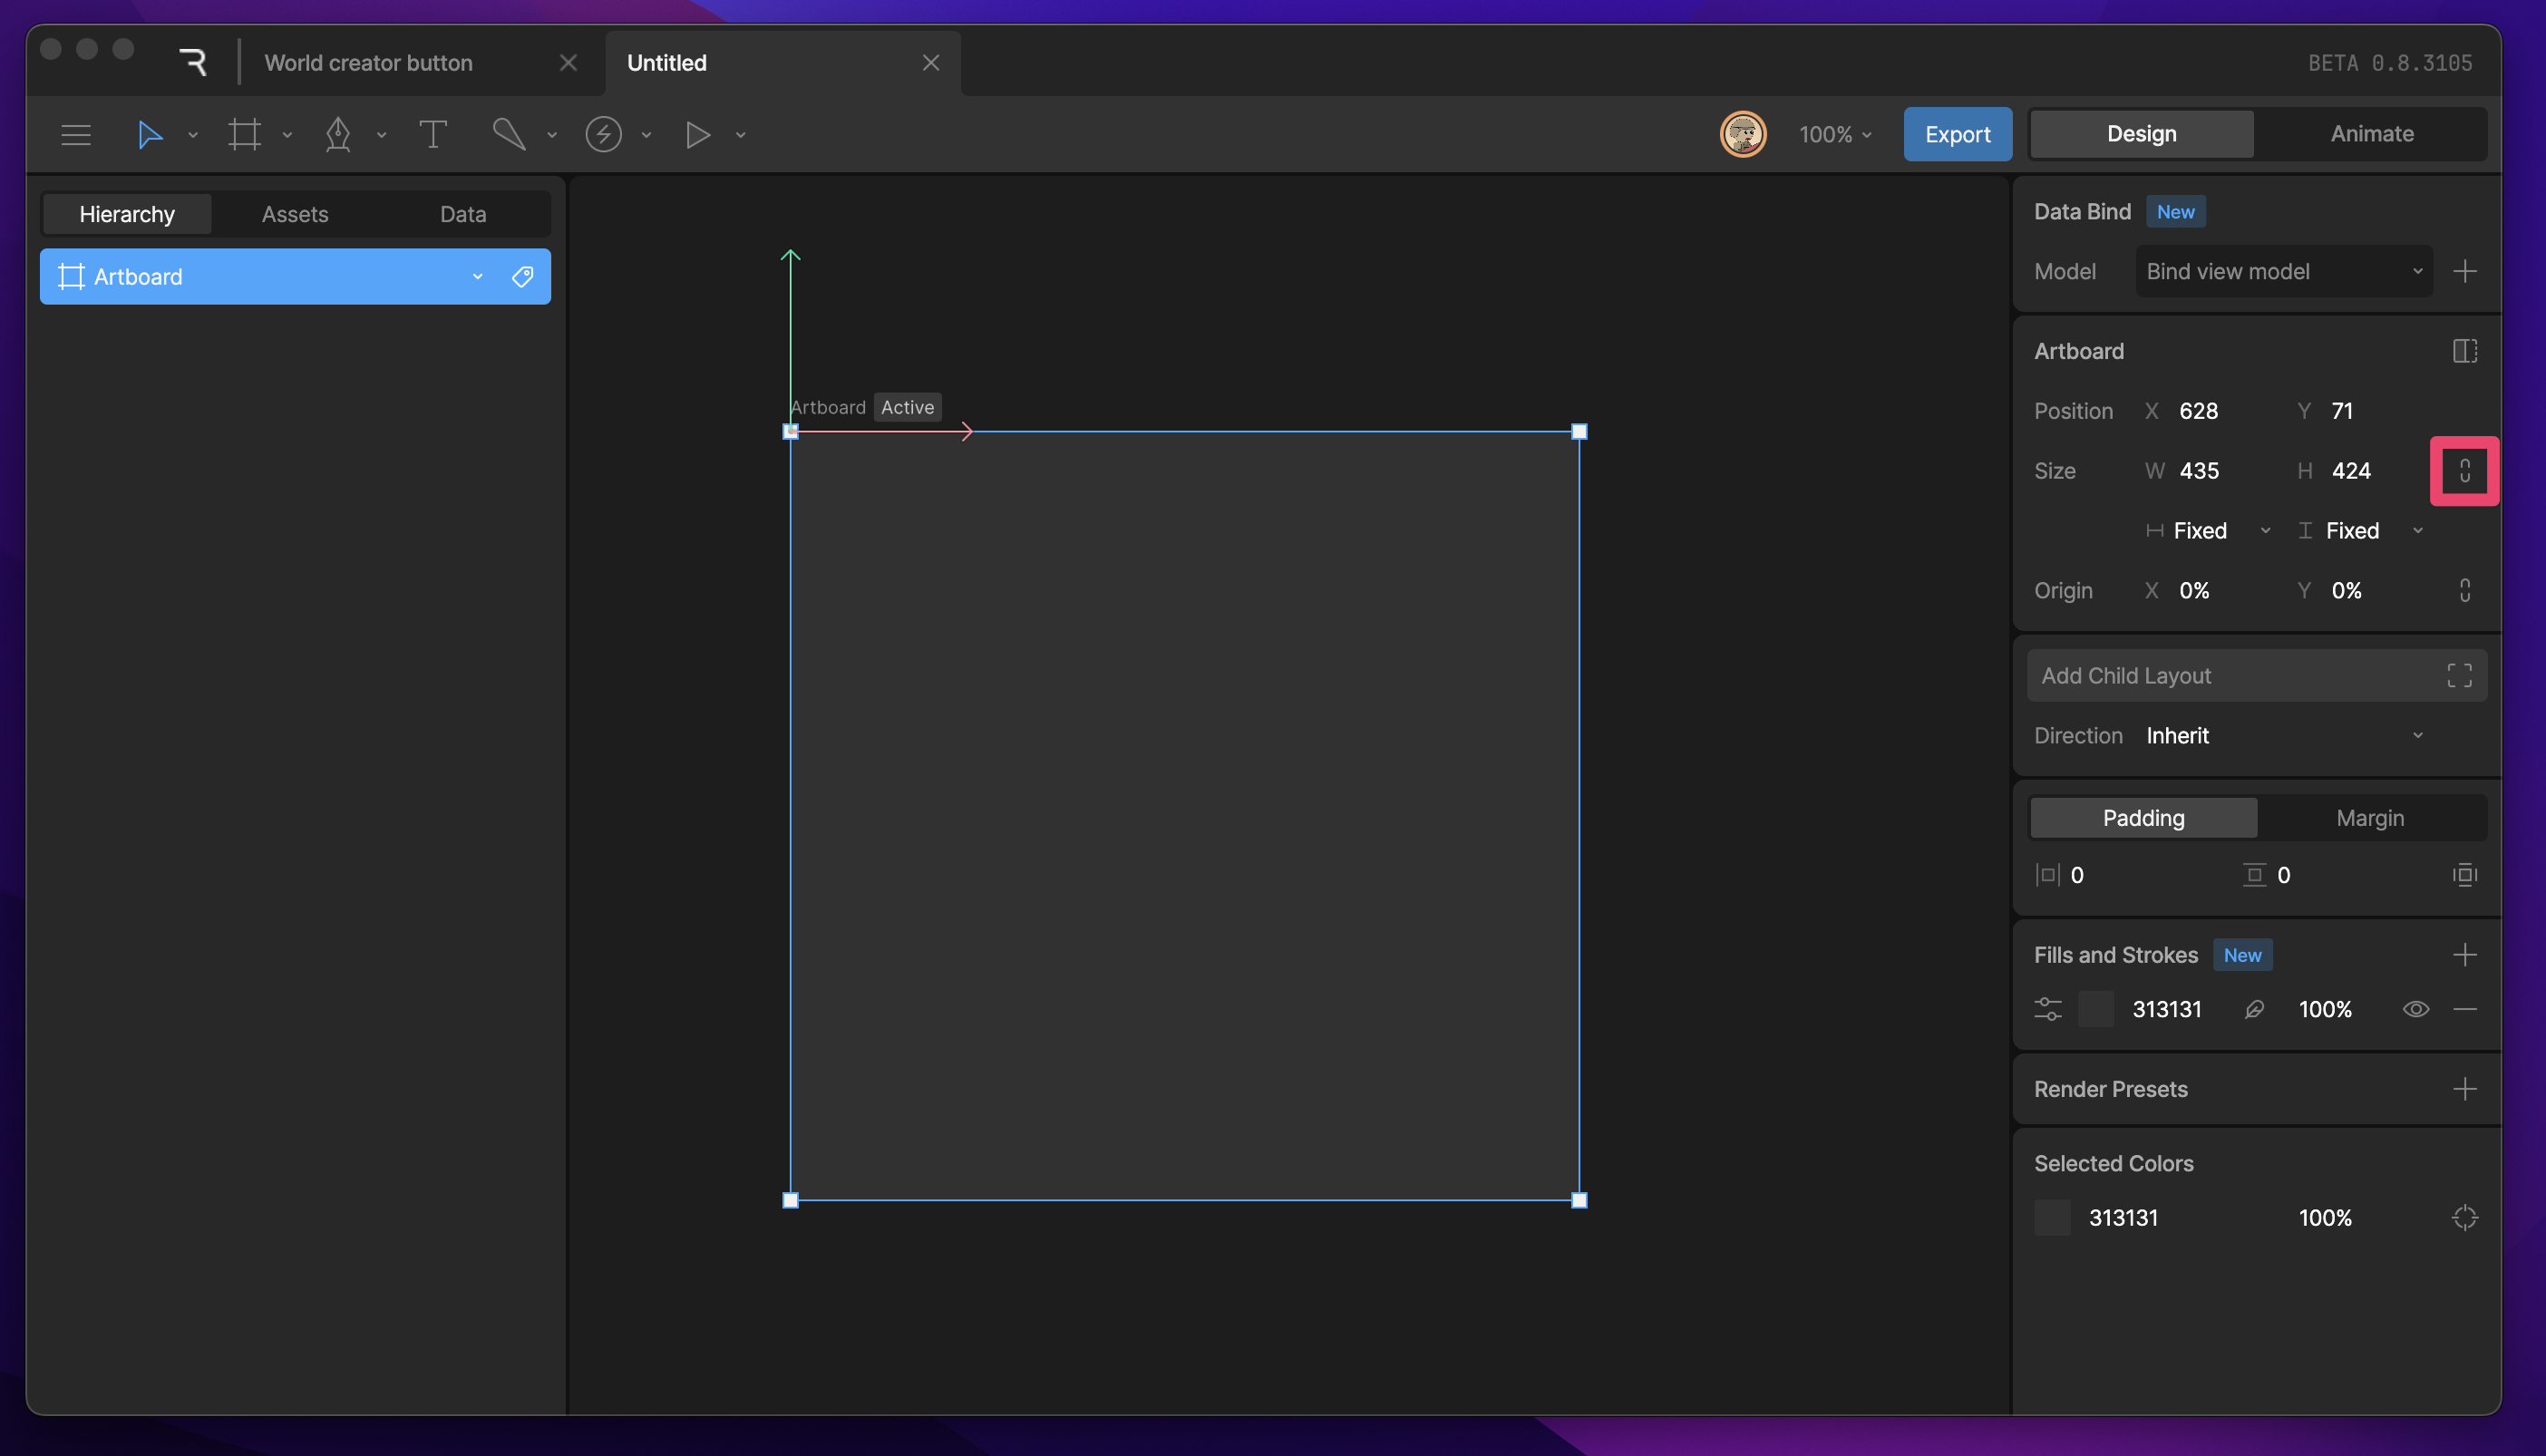
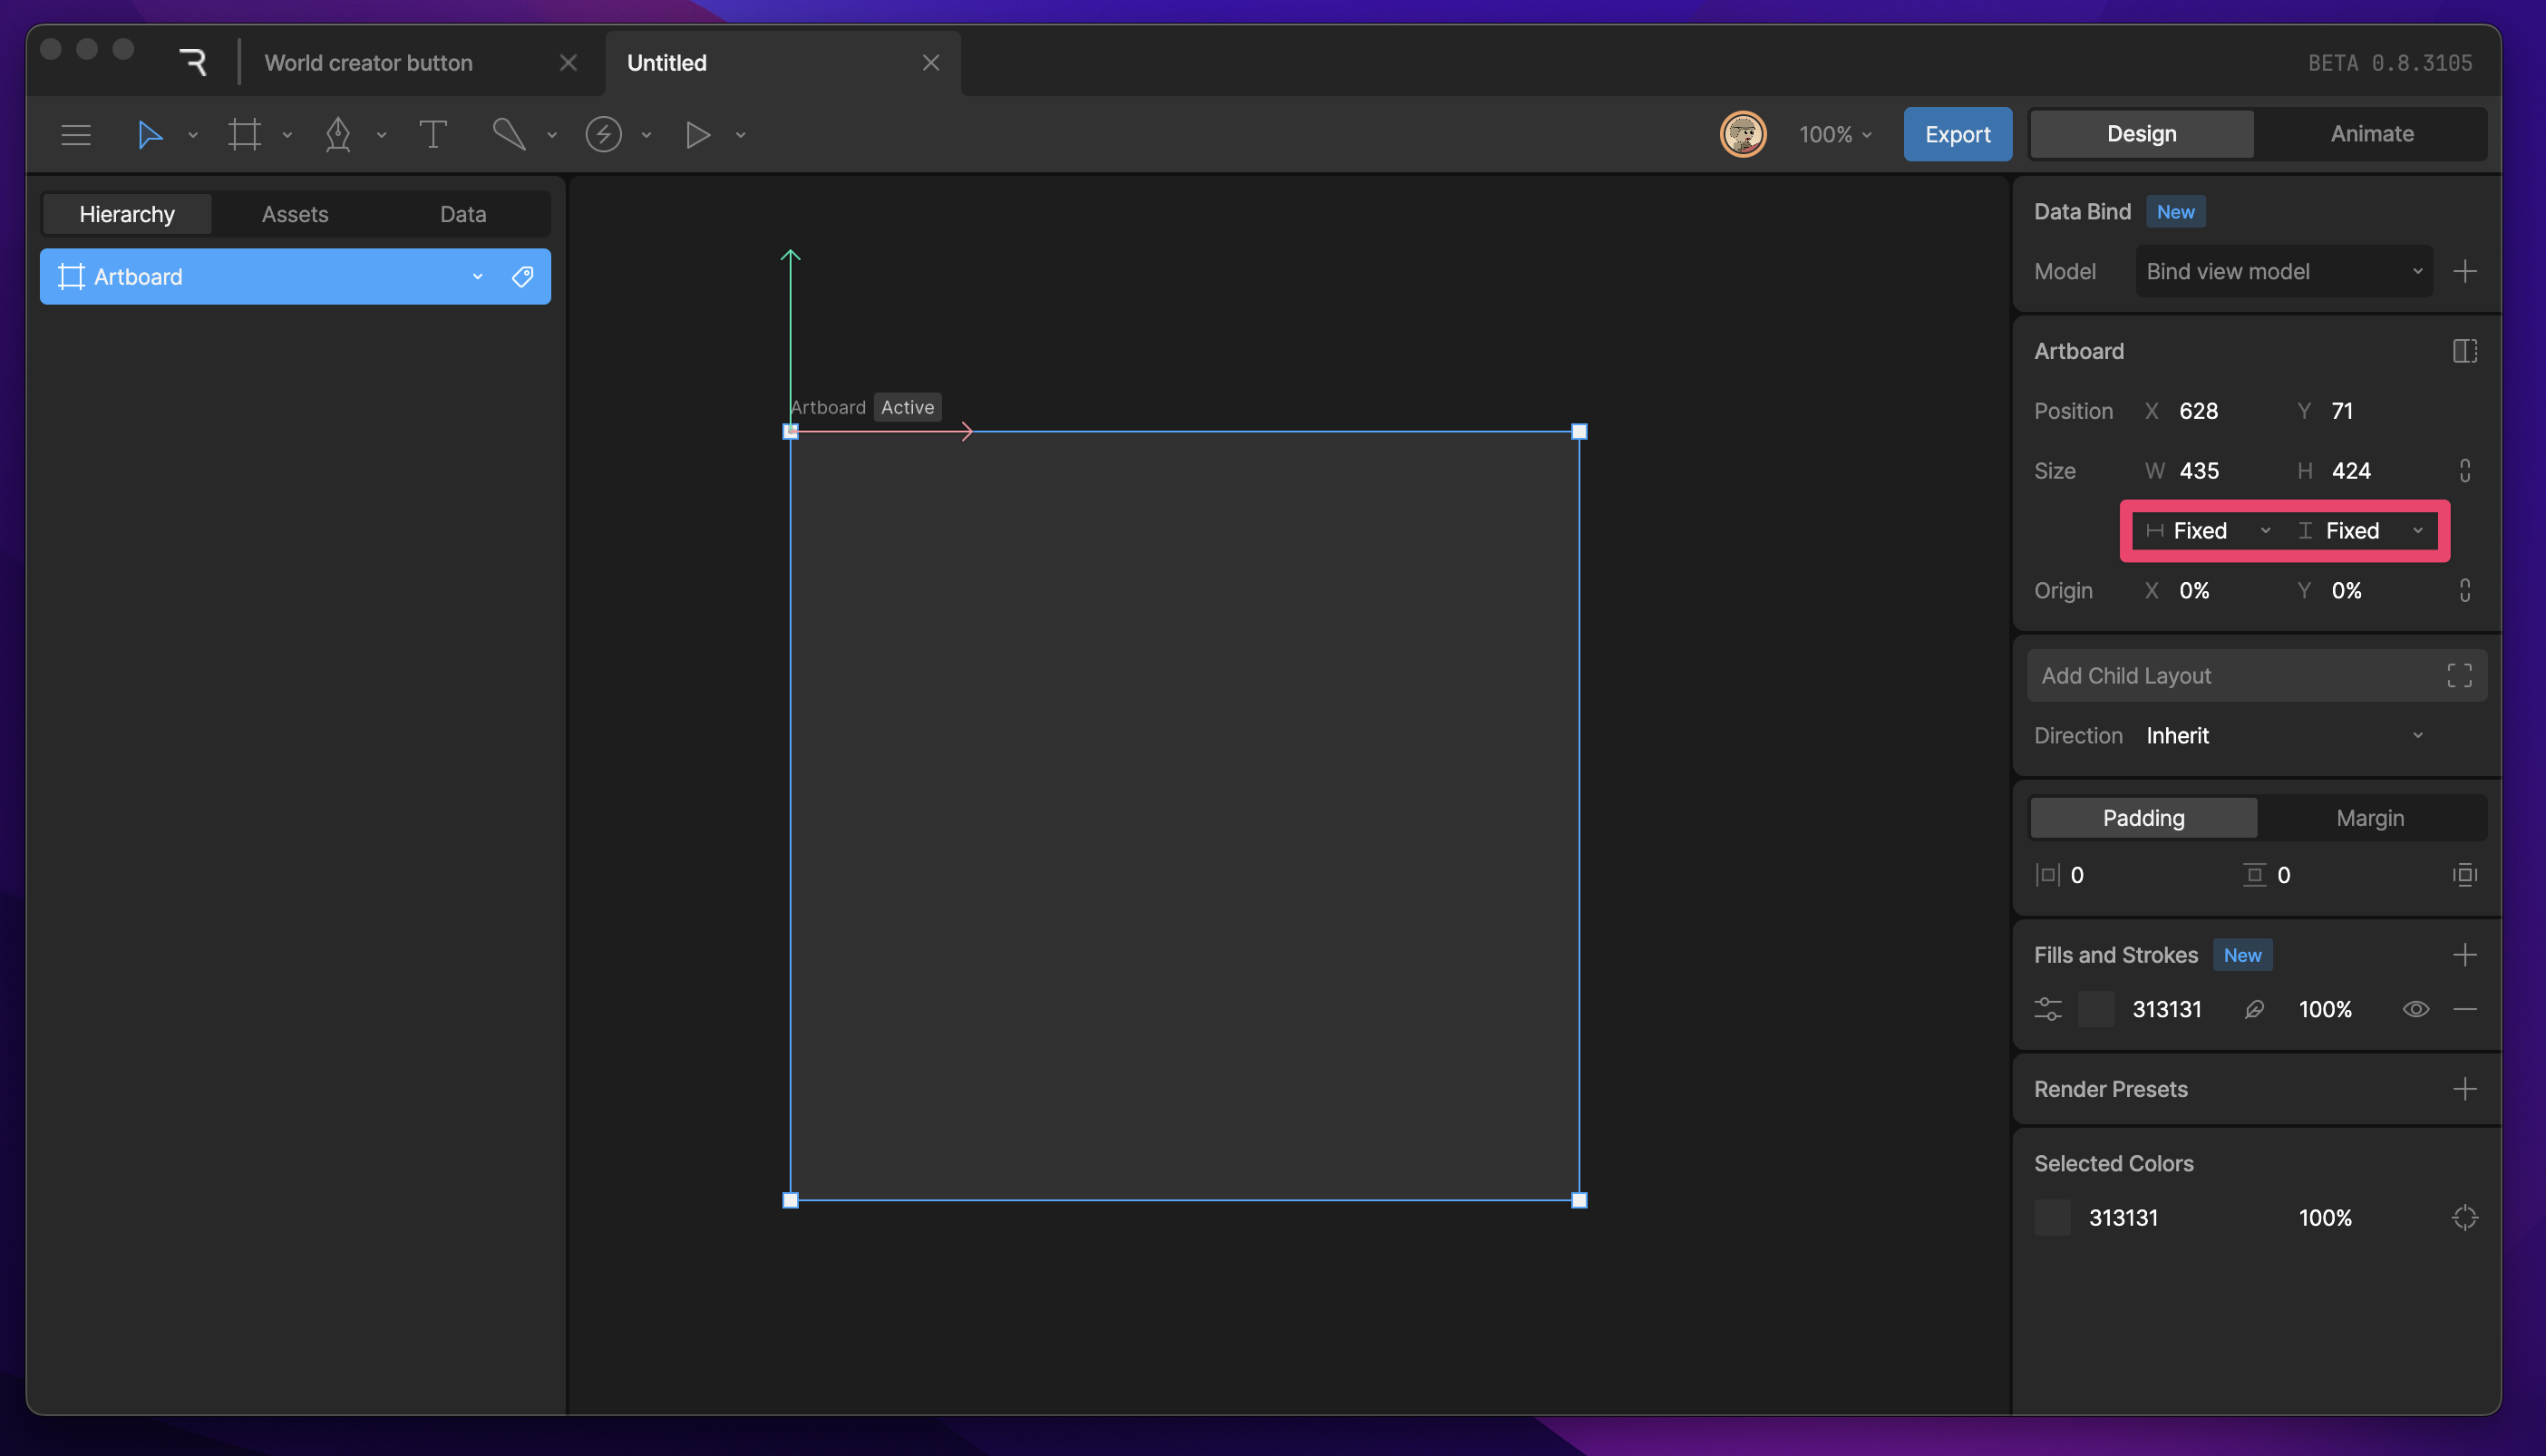
The position of the artboard on the stage is controlled by the position properties of the artboard.

Size and Size Type

By default, artboards are set to a fixed size with that size being determined by the Width and Height properties. Wand H Pn Link Icon Like other properties where the link icon is found, it can be used to lock the current ratio of the size properties. Link Pn Size Type There are two sizing modes an artboard can have; Fixed, and Hug. These can be changed by using the dropdown under both the Width and Height properties. Size Type Pn As the name suggests, the Fixed type allows you to define and animate the artboards size properties. The Hug type will let the artboard automatically size its height, width, or both to fit it’s children. Note that this option is only available if the artboard has at least one child layout object.

Origin

The origin of an artboard determines the point from which all objects associated with the artboard will be measured. By default, the origin of an artboard is X:0%, Y:0%. These values place the origin at the top left of the artboard.
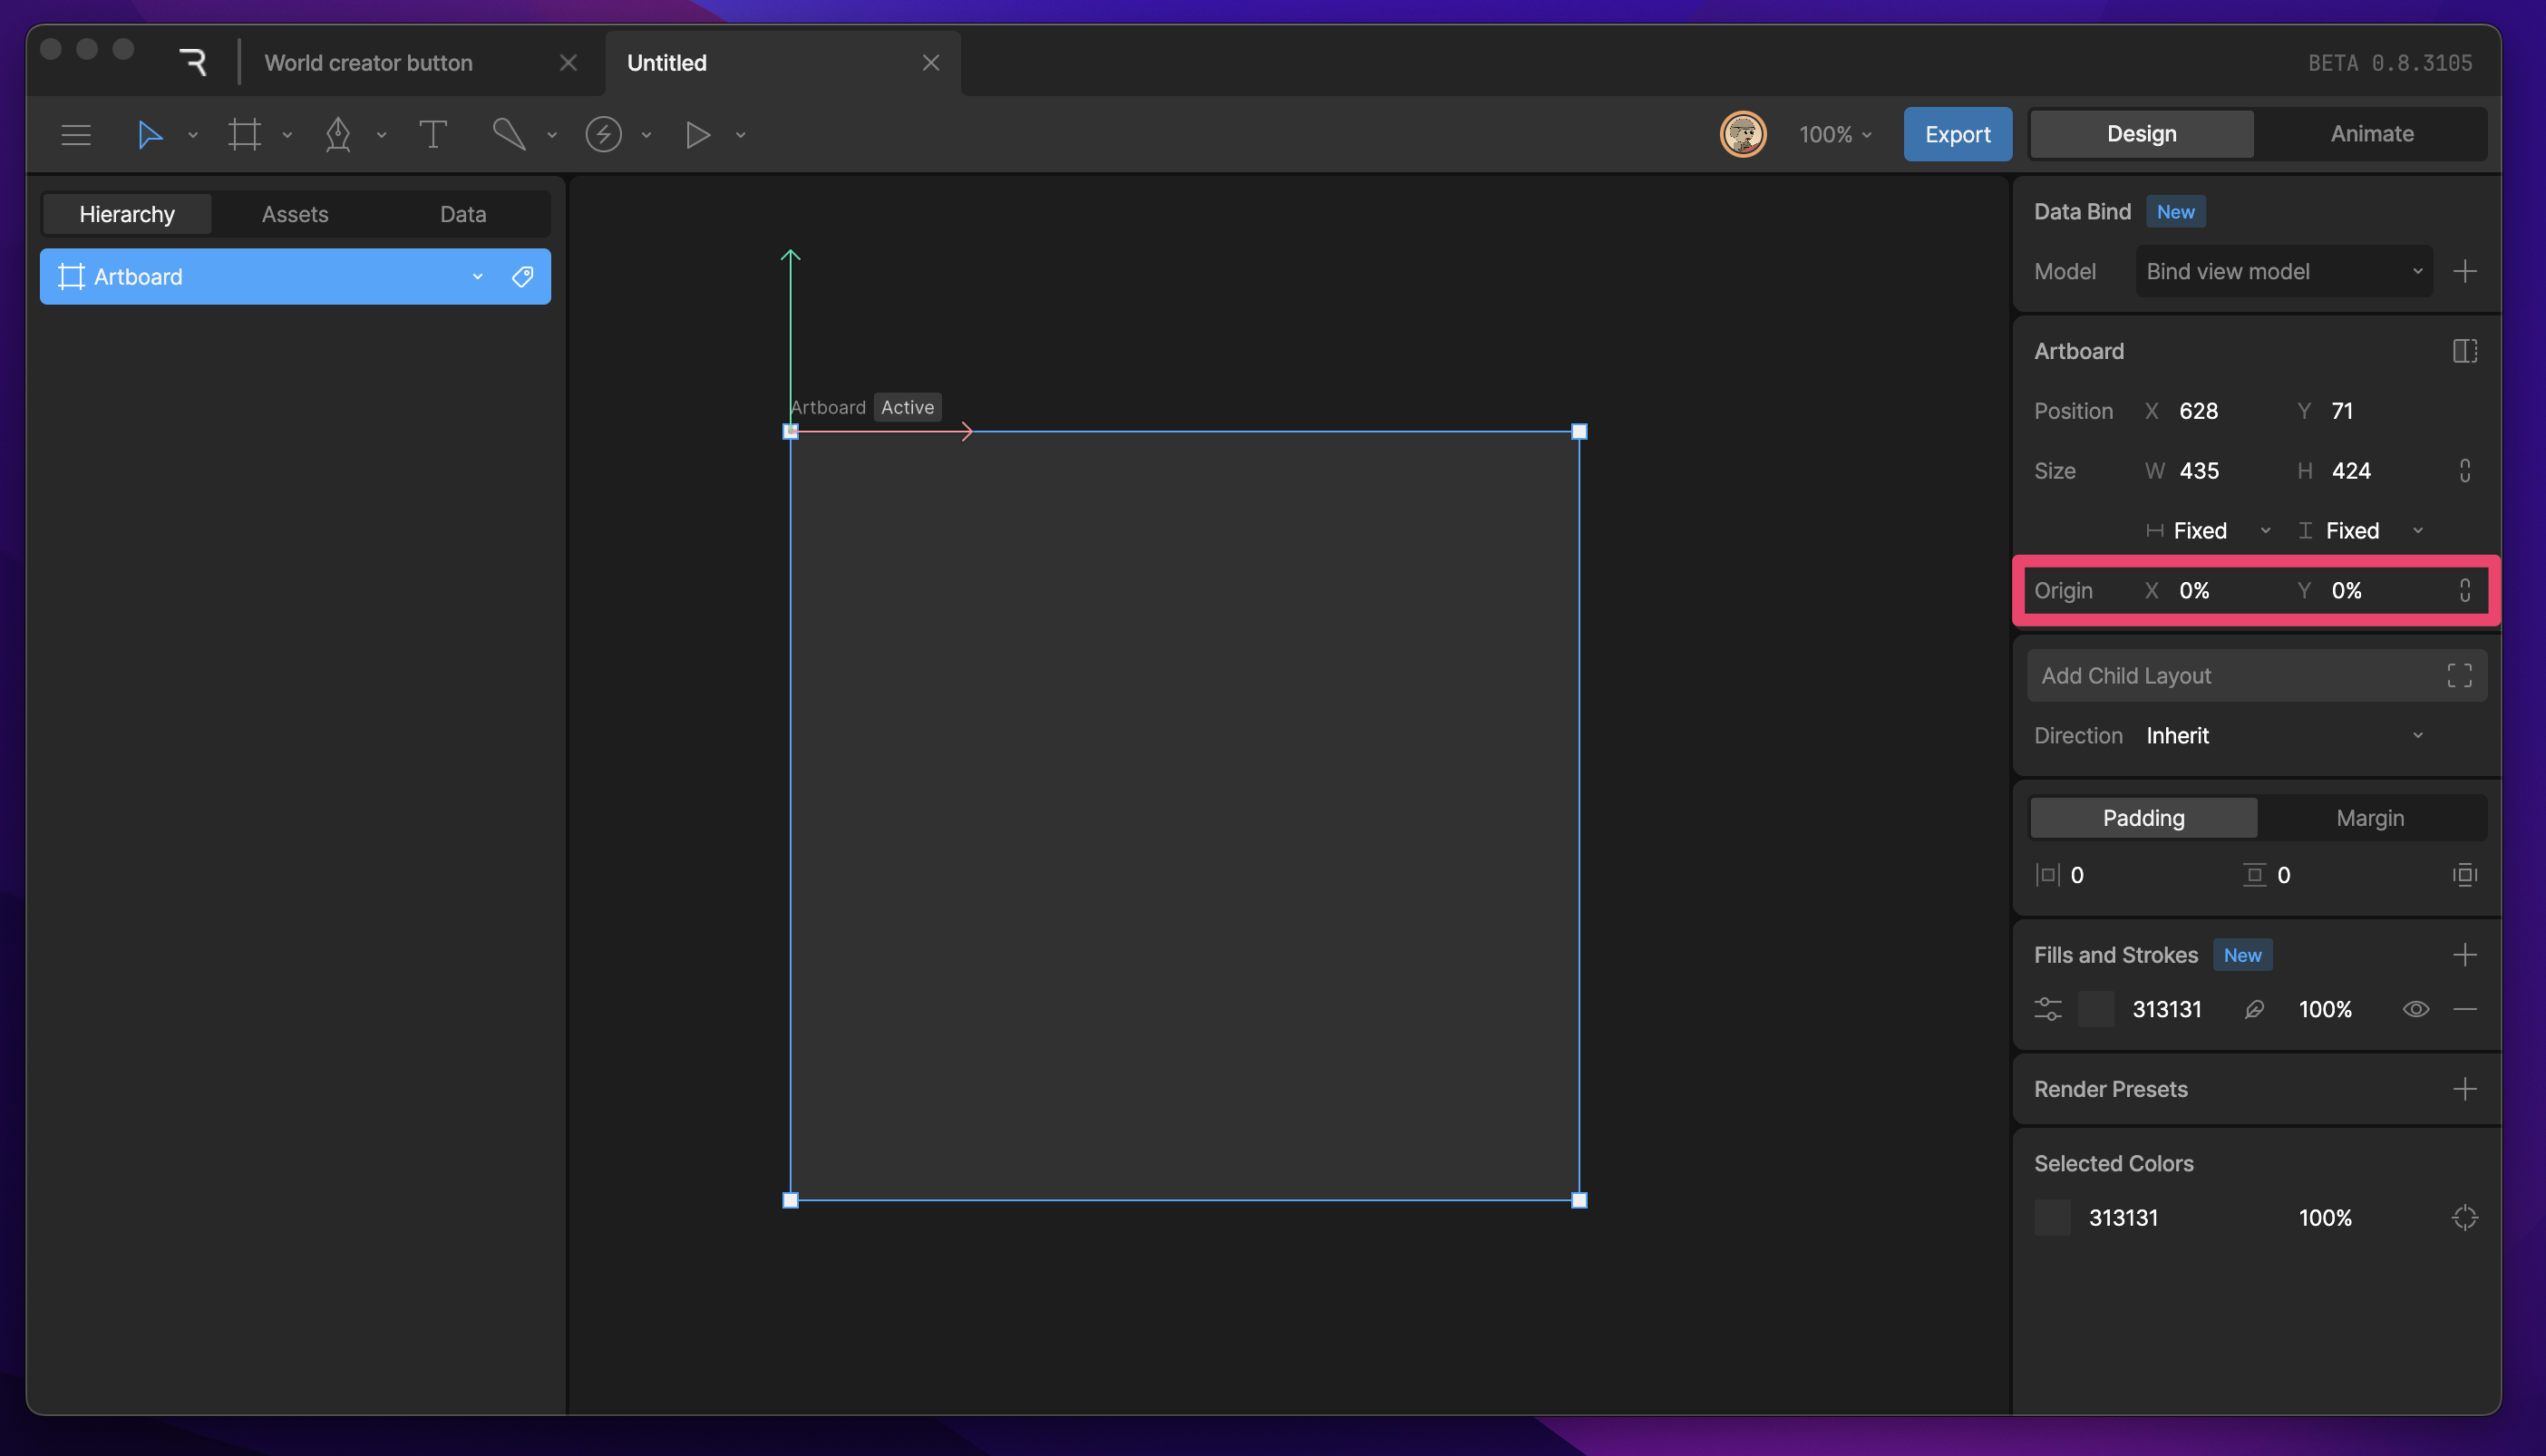
 Origin Pn As you increase the value of either the X or Y, that shifts the origin point to the right (on the X), and down (on the Y). You won’t typically be changing the origin of an artboard, but if you plan on changing the origin, it’s best done before any animation work is done. Changing the origin after animation keys are added can cause objects to appear out of position due to the origin shifting to a new position. Component Origin It’s important to remember that a Component shares the origin of its source artboard. If you plan to do things like scale or rotate the Component, changing the origin will help make that process easier. If you forget to change the origin after adding animations, you can always add the Component to a group, which will give you the same level of control.

Layout Settings

Since an Artboard is the root object that all other objects are added to, Artboards allow you to add and adjust their layout properties. Read more about layouts here.
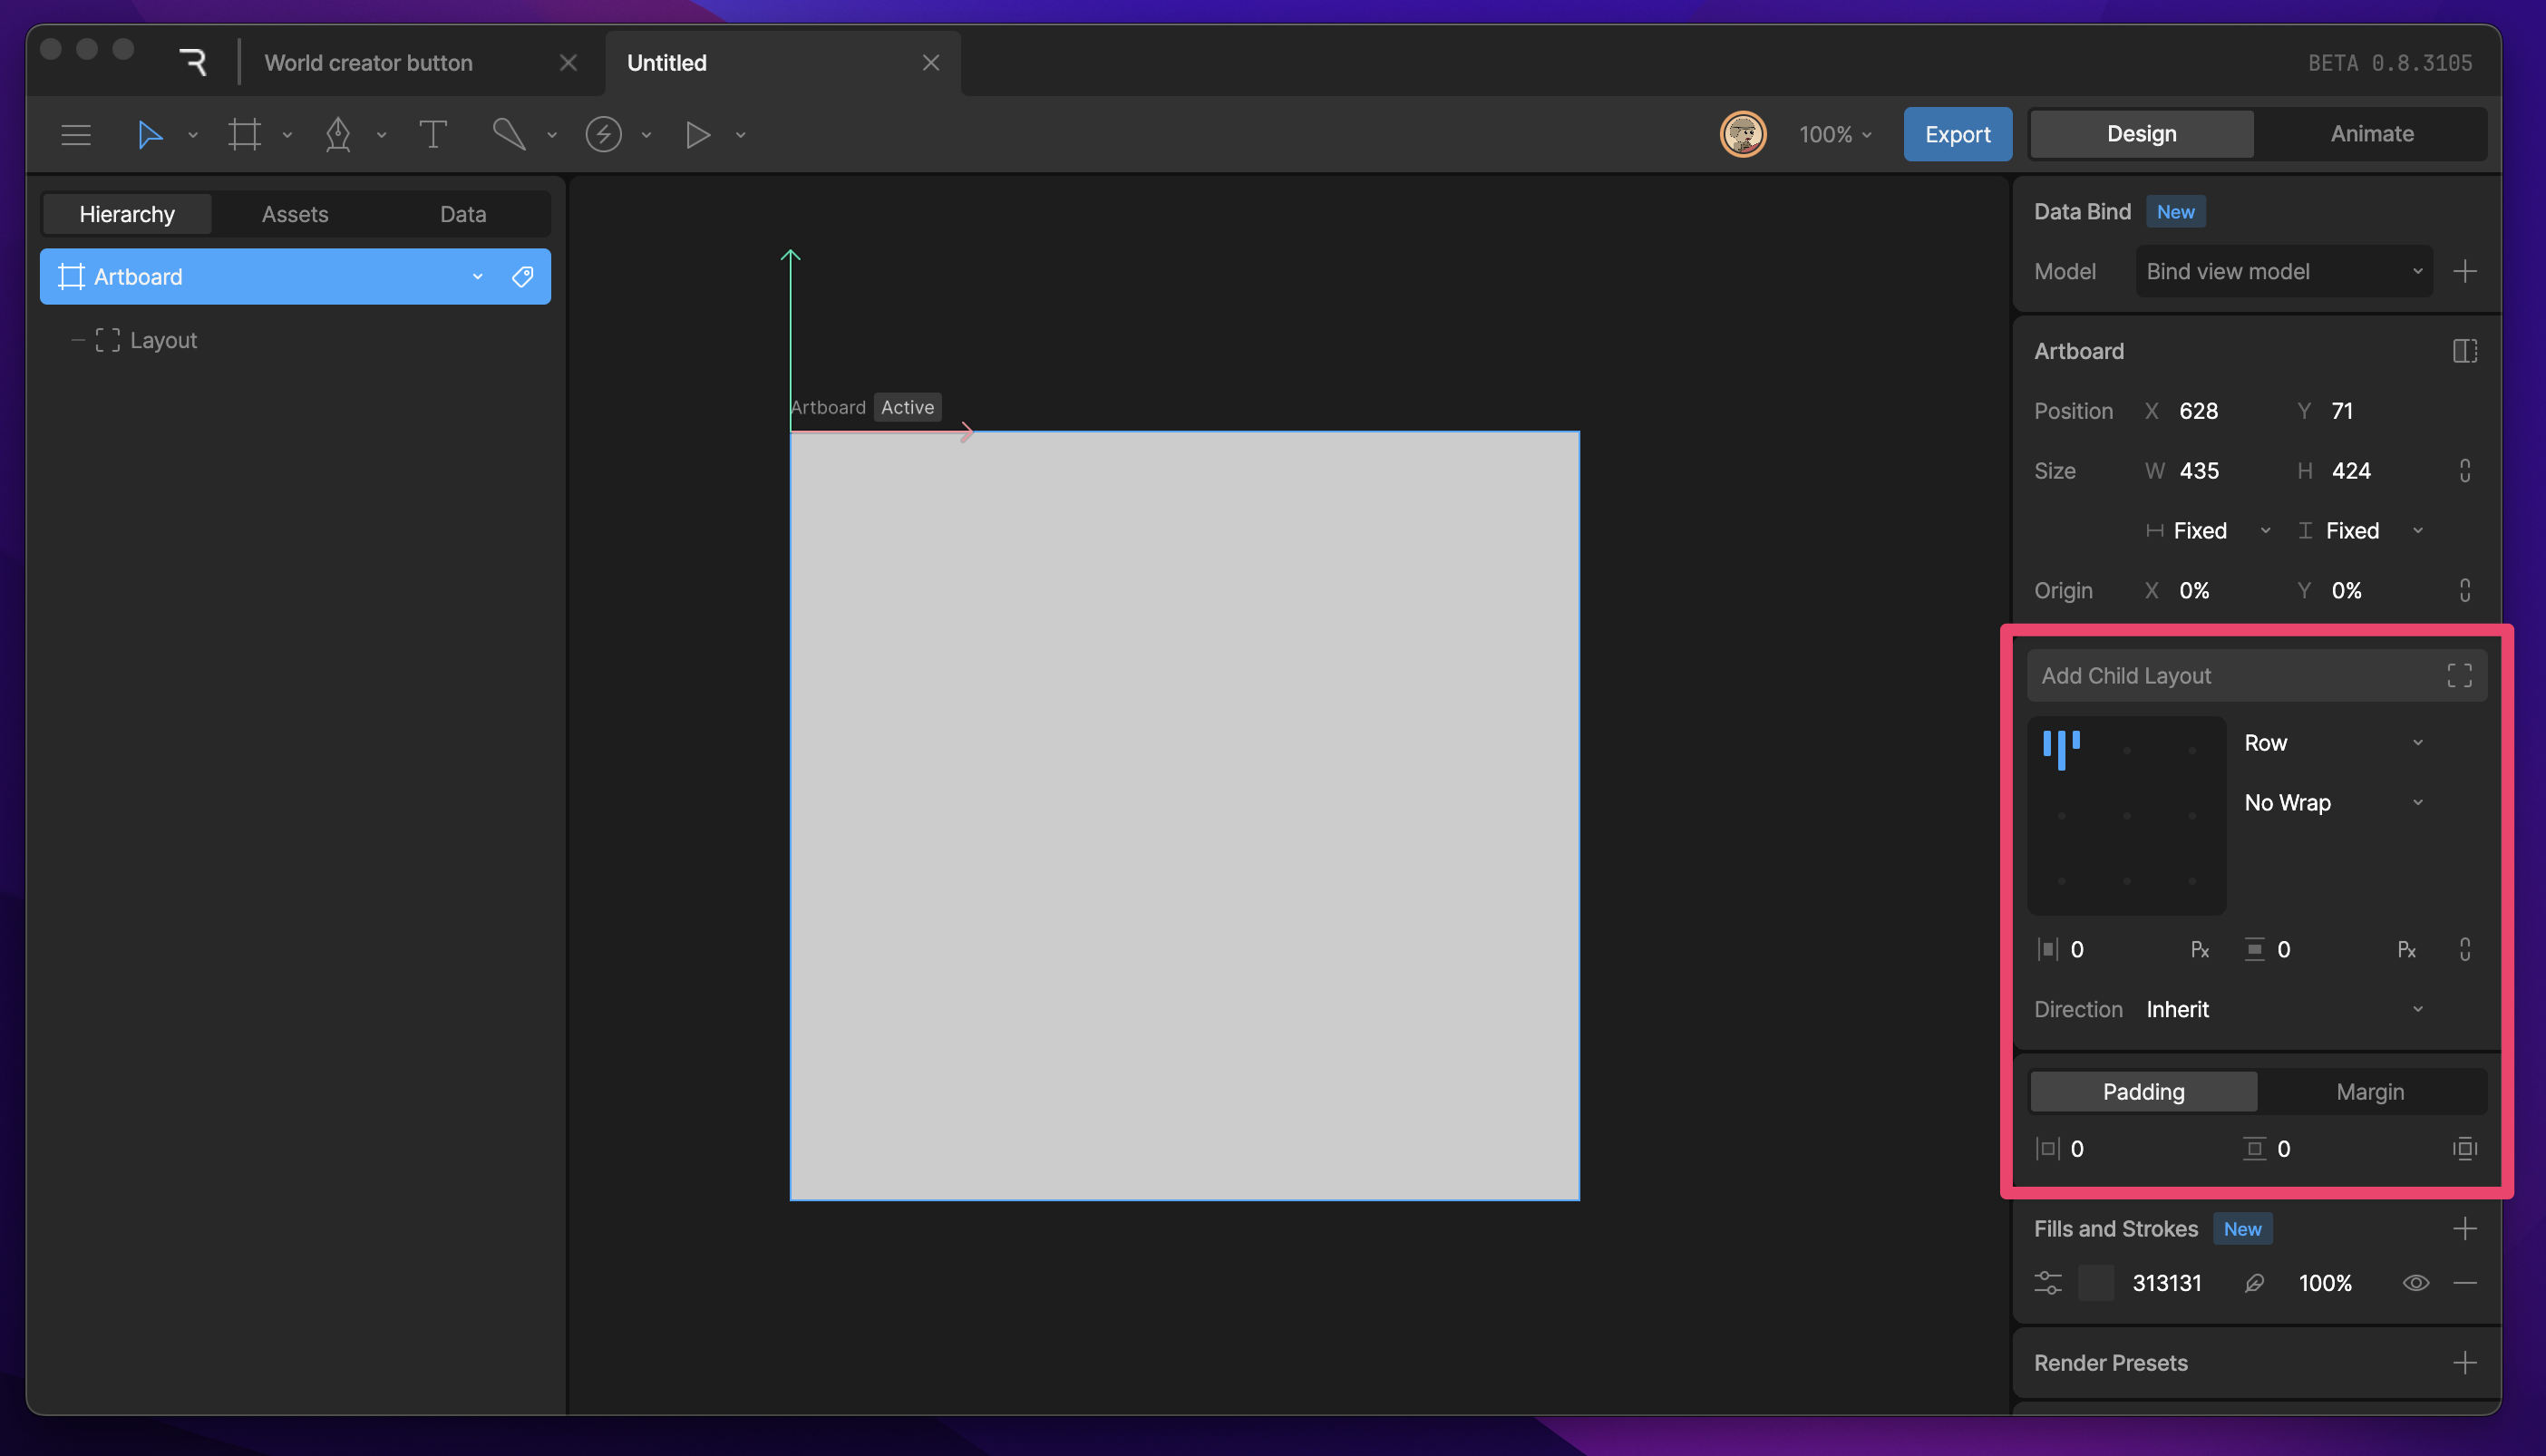
 Layout Pn Note that these properties only take effect when one or more layouts have been added to the artboard.

Fill and Stroke

Like other objects in Rive, Artboards can have one or more fills or strokes added to them. The process of adding and customizing fills and strokes is the same for both artboards and objects in the hierarchy.
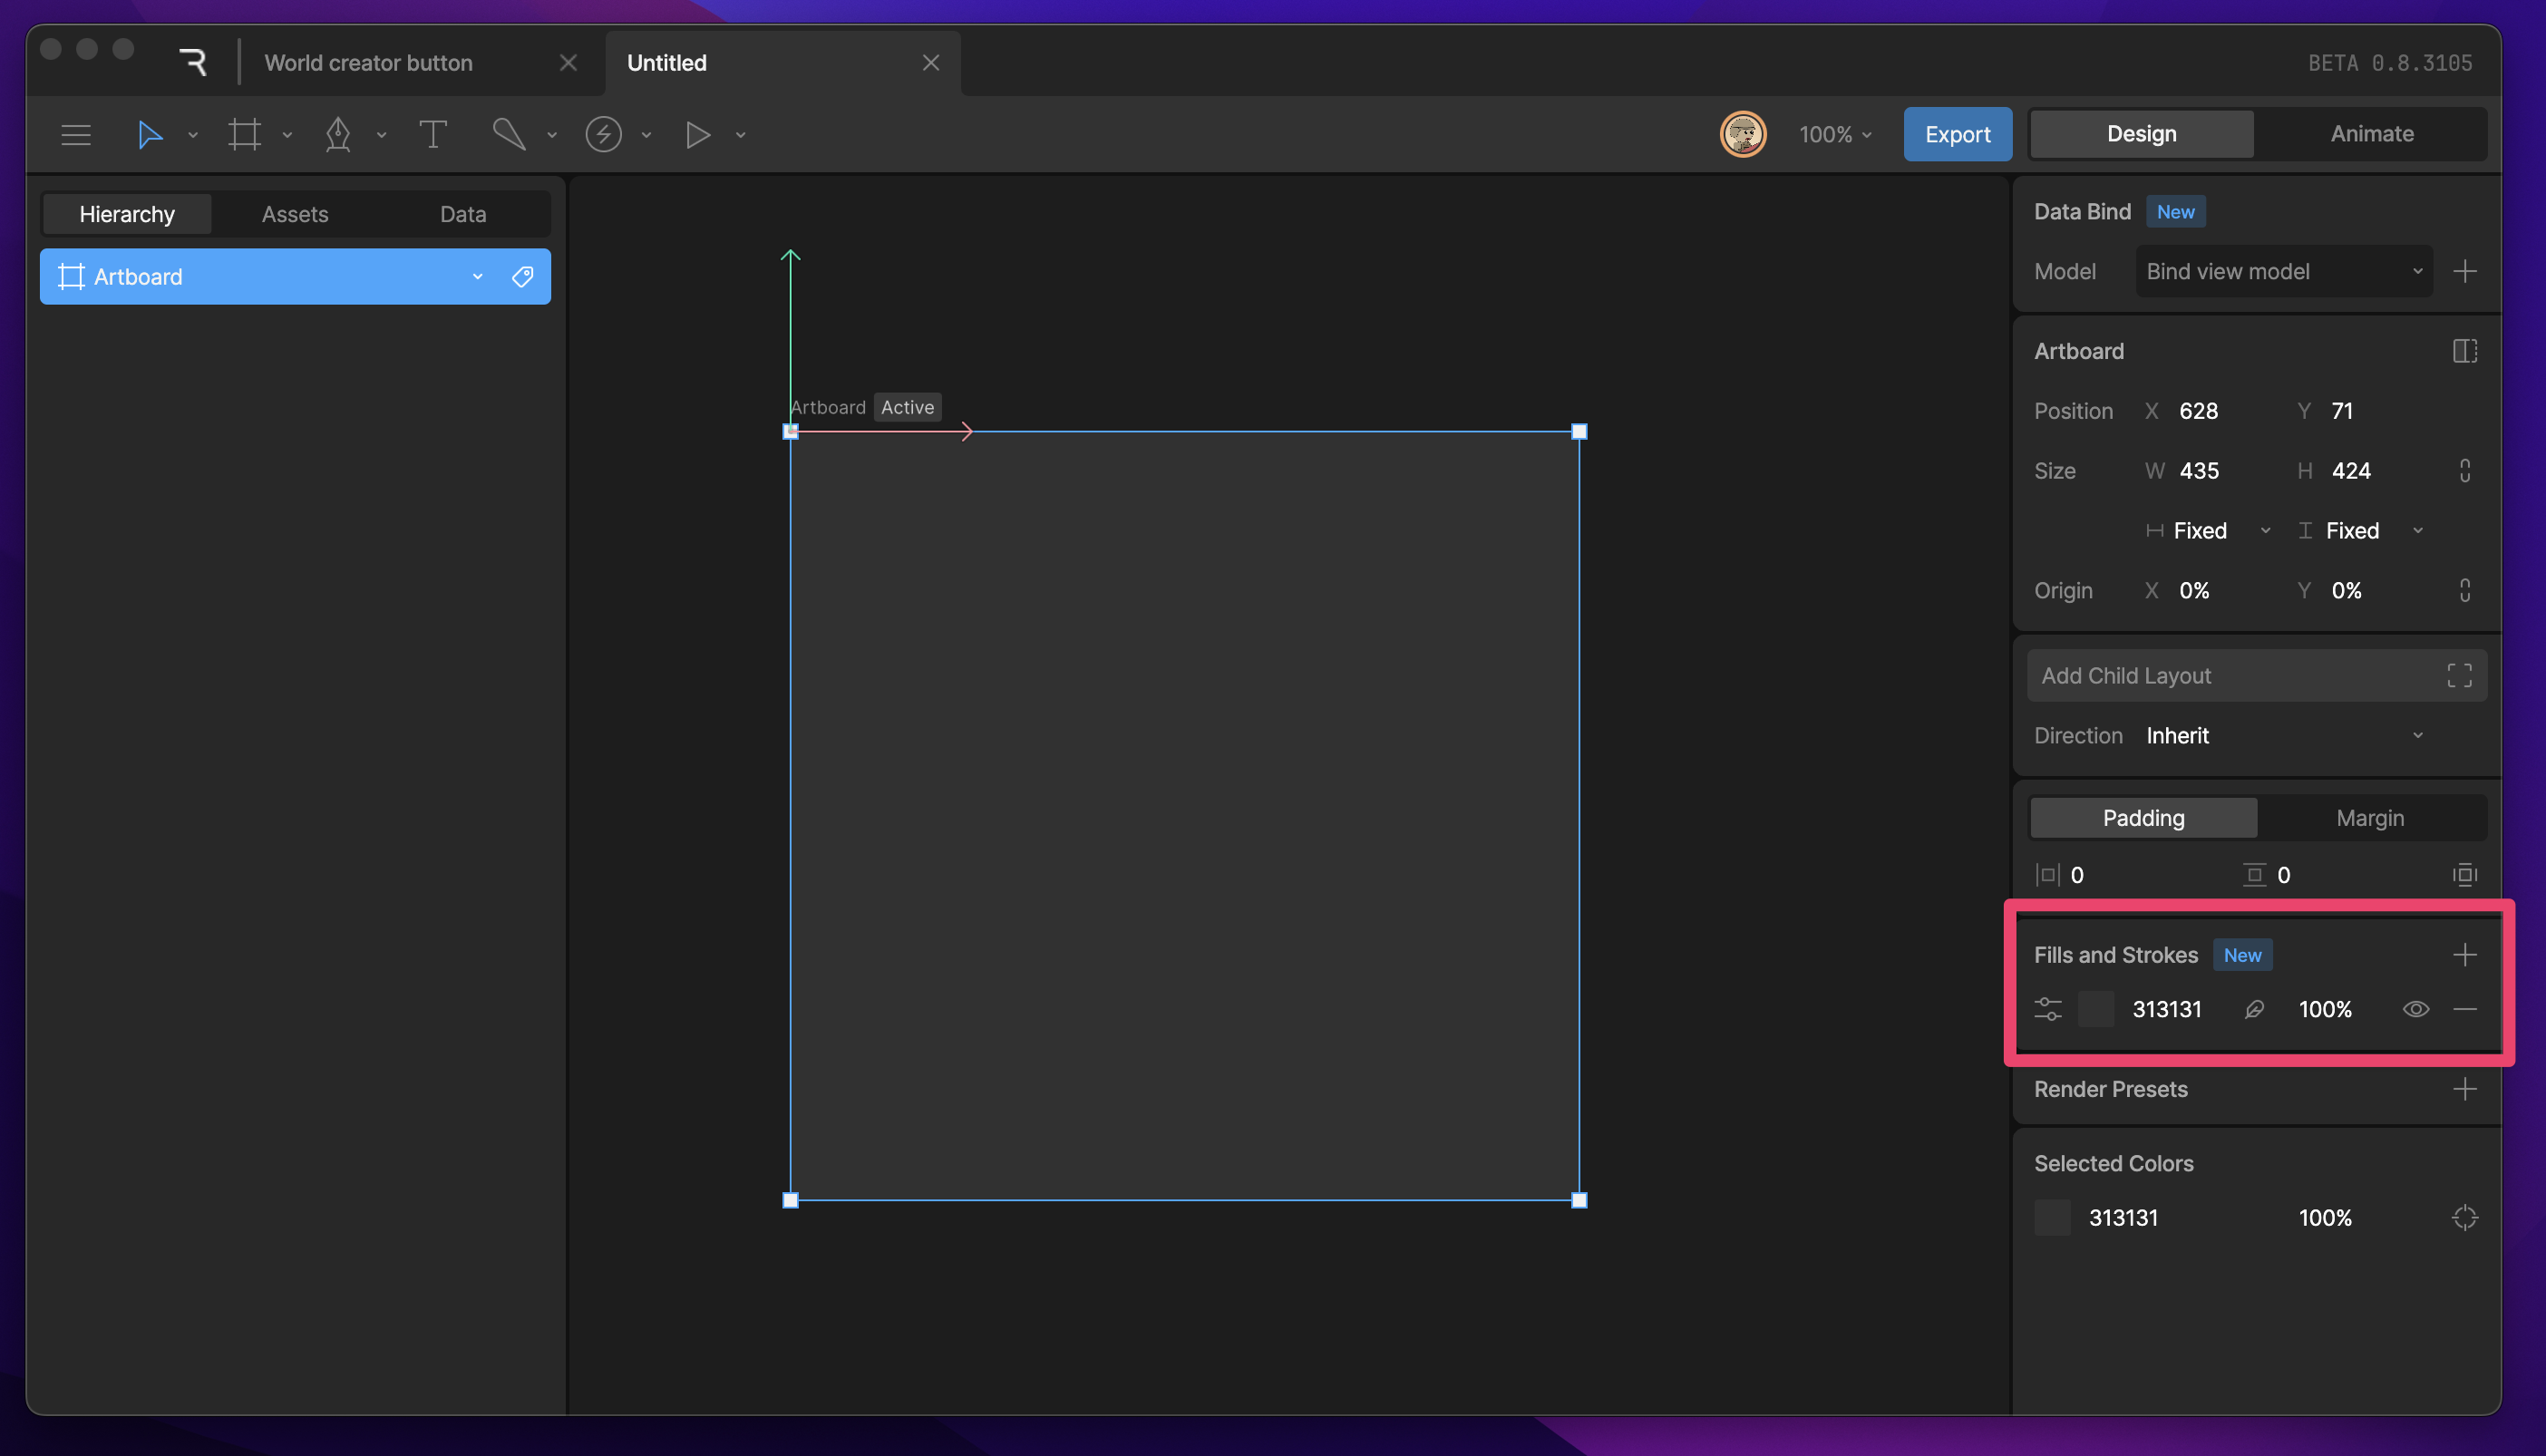
 Fillandstroke Pn Read more about fills and strokes here.

Render Presets

Selecting an artboard allows you to create Render Presets that can be used to render out static graphics such as PNGs and SVGs, as well as video and motion files like PNG sequences and MP4s.
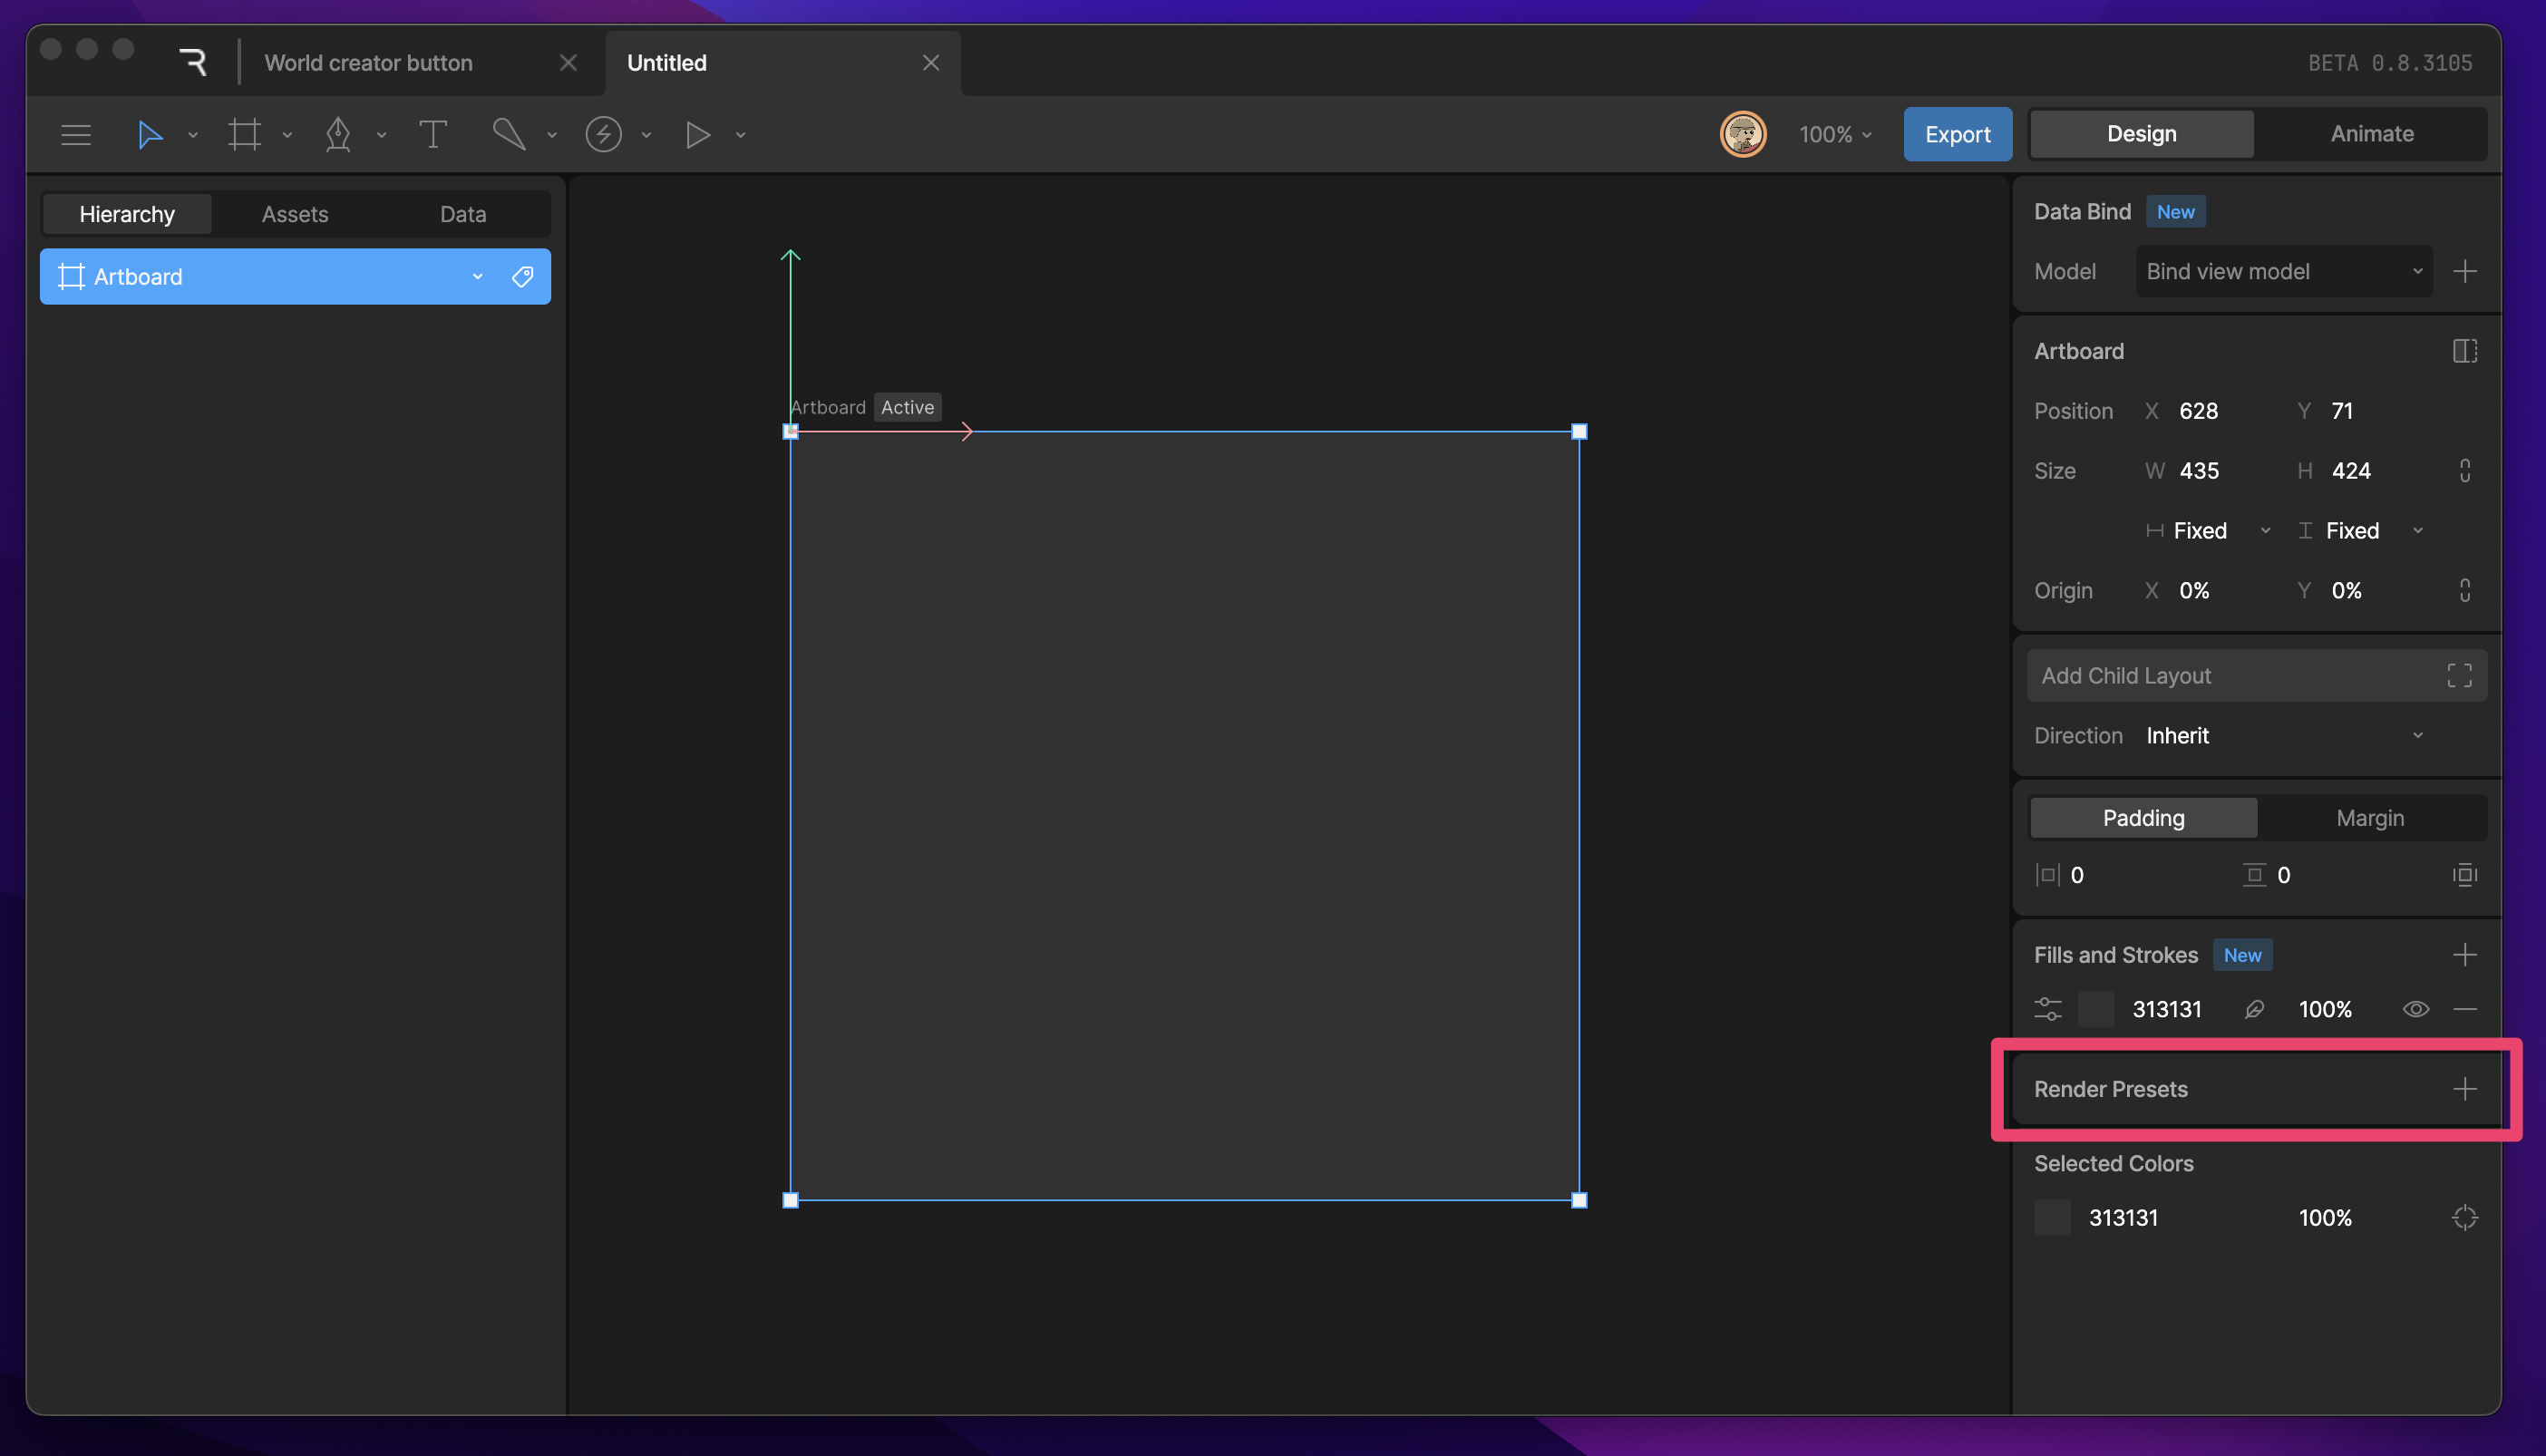
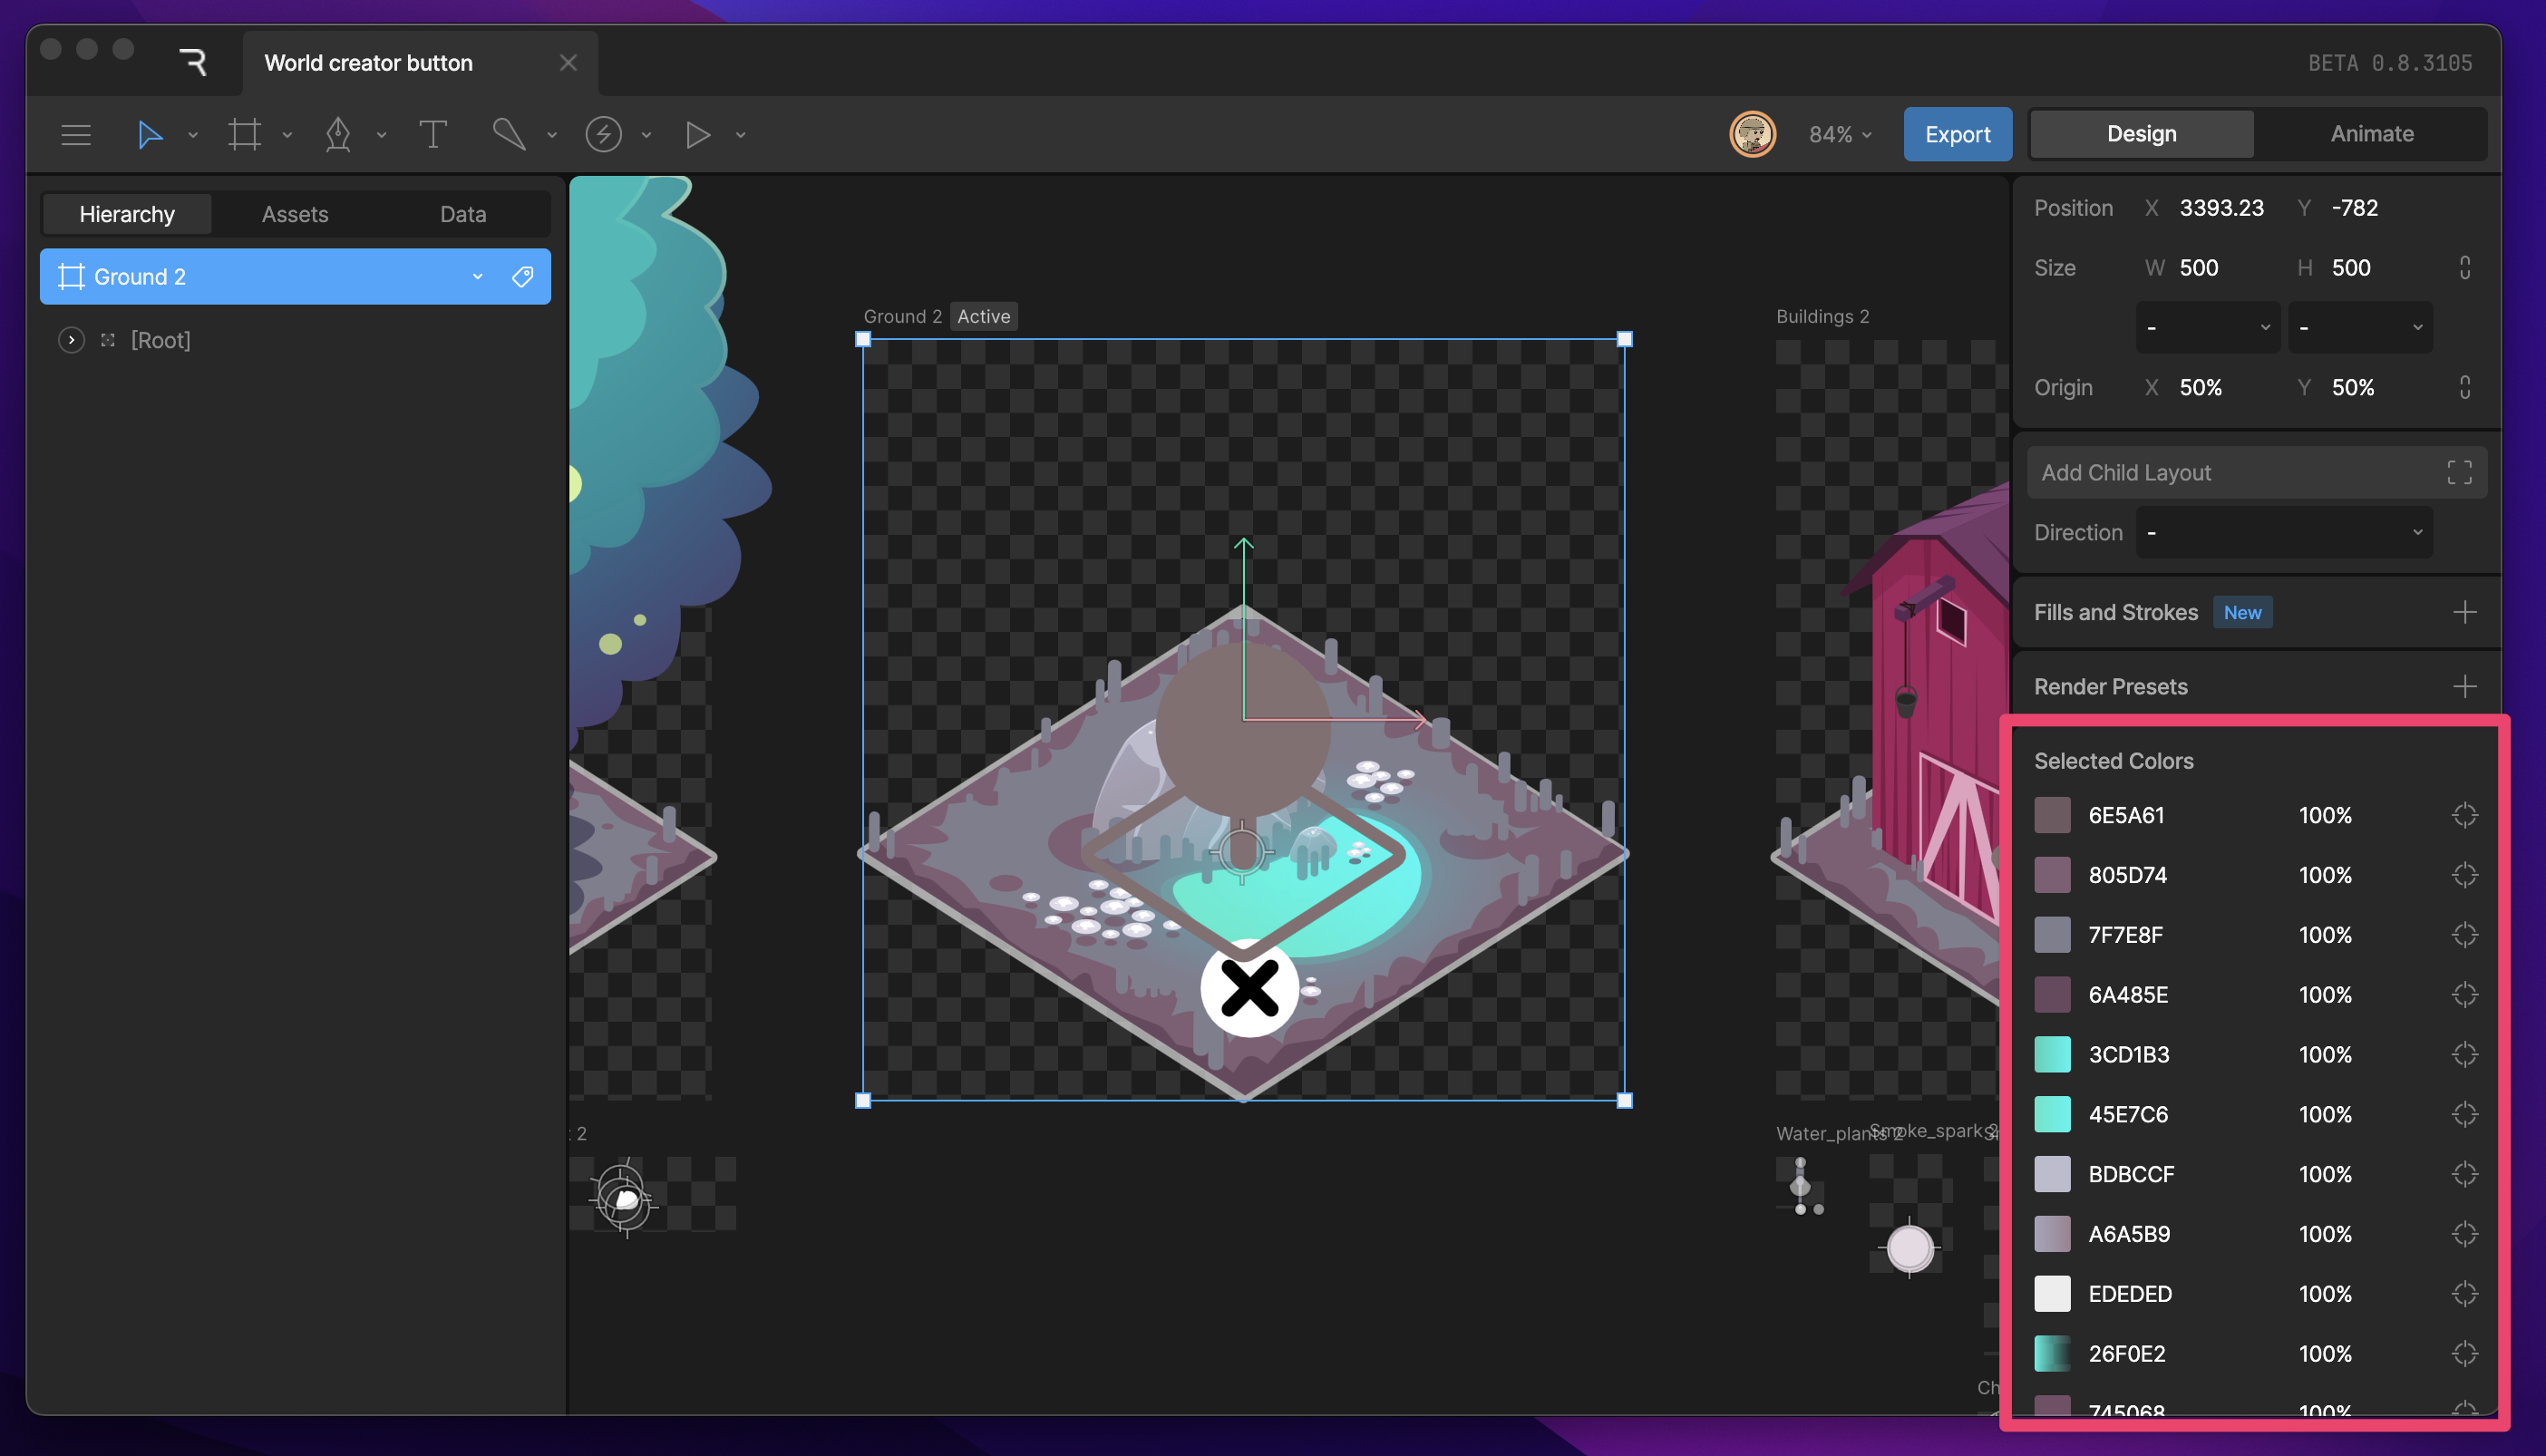
 Render Pn Read more about creating render presets here.

Selected Colors

When an artboard is selected, you can see, target, and adjust all colors associated with every object on the artboard. Select Color Pn