Renaming Items
You can rename items in the Hierarchy to make your file easier to understand and navigate. To rename an item, double-click its name in the Hierarchy, enter a new name, then press Enter.Parent-Child Relationships
Each row in the Hierarchy represents an item on the stage. Items with children have a button with an arrow next to them. Use this button to expand or collapse the list of children. Any object can be a parent or child of another object. When an object is nested under another object, it inherits the transformations of its parent. For example, scaling a parent object also scales its children. Parent transformations are applied from the parent’s origin, not the child’s local origin. You can nest objects as deeply as needed, creating children, grandchildren, great-grandchildren, and so on. To change the relationship between objects, drag an item onto another item to make it a child. Drag it out of the parent to remove the relationship.Draw Order
The Hierarchy also controls draw order. Objects higher in the Hierarchy render above objects lower in the Hierarchy.You can override the default draw order with custom draw order.
Lock, Isolate, and Hide Items
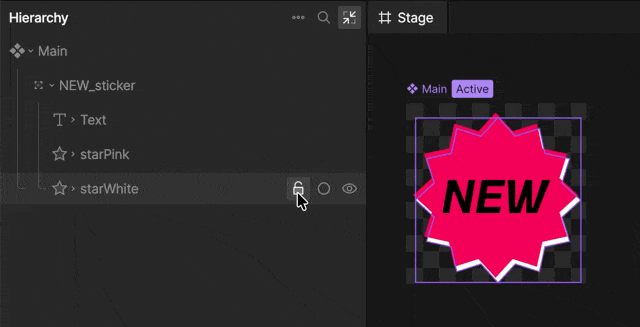
When you hover over an item in the Hierarchy, controls appear for locking, isolating, or hiding that item.- Lock prevents the item from being selected or edited on the stage.
- Isolate focuses on the item by temporarily hiding other items from view.
- Hide temporarily hides the item.
Lock and isolate are editor workflow tools. They do not change the exported file or runtime behavior.
Context Menu
Right-click an item in the Hierarchy to open additional options. Depending on the selected item, options may include: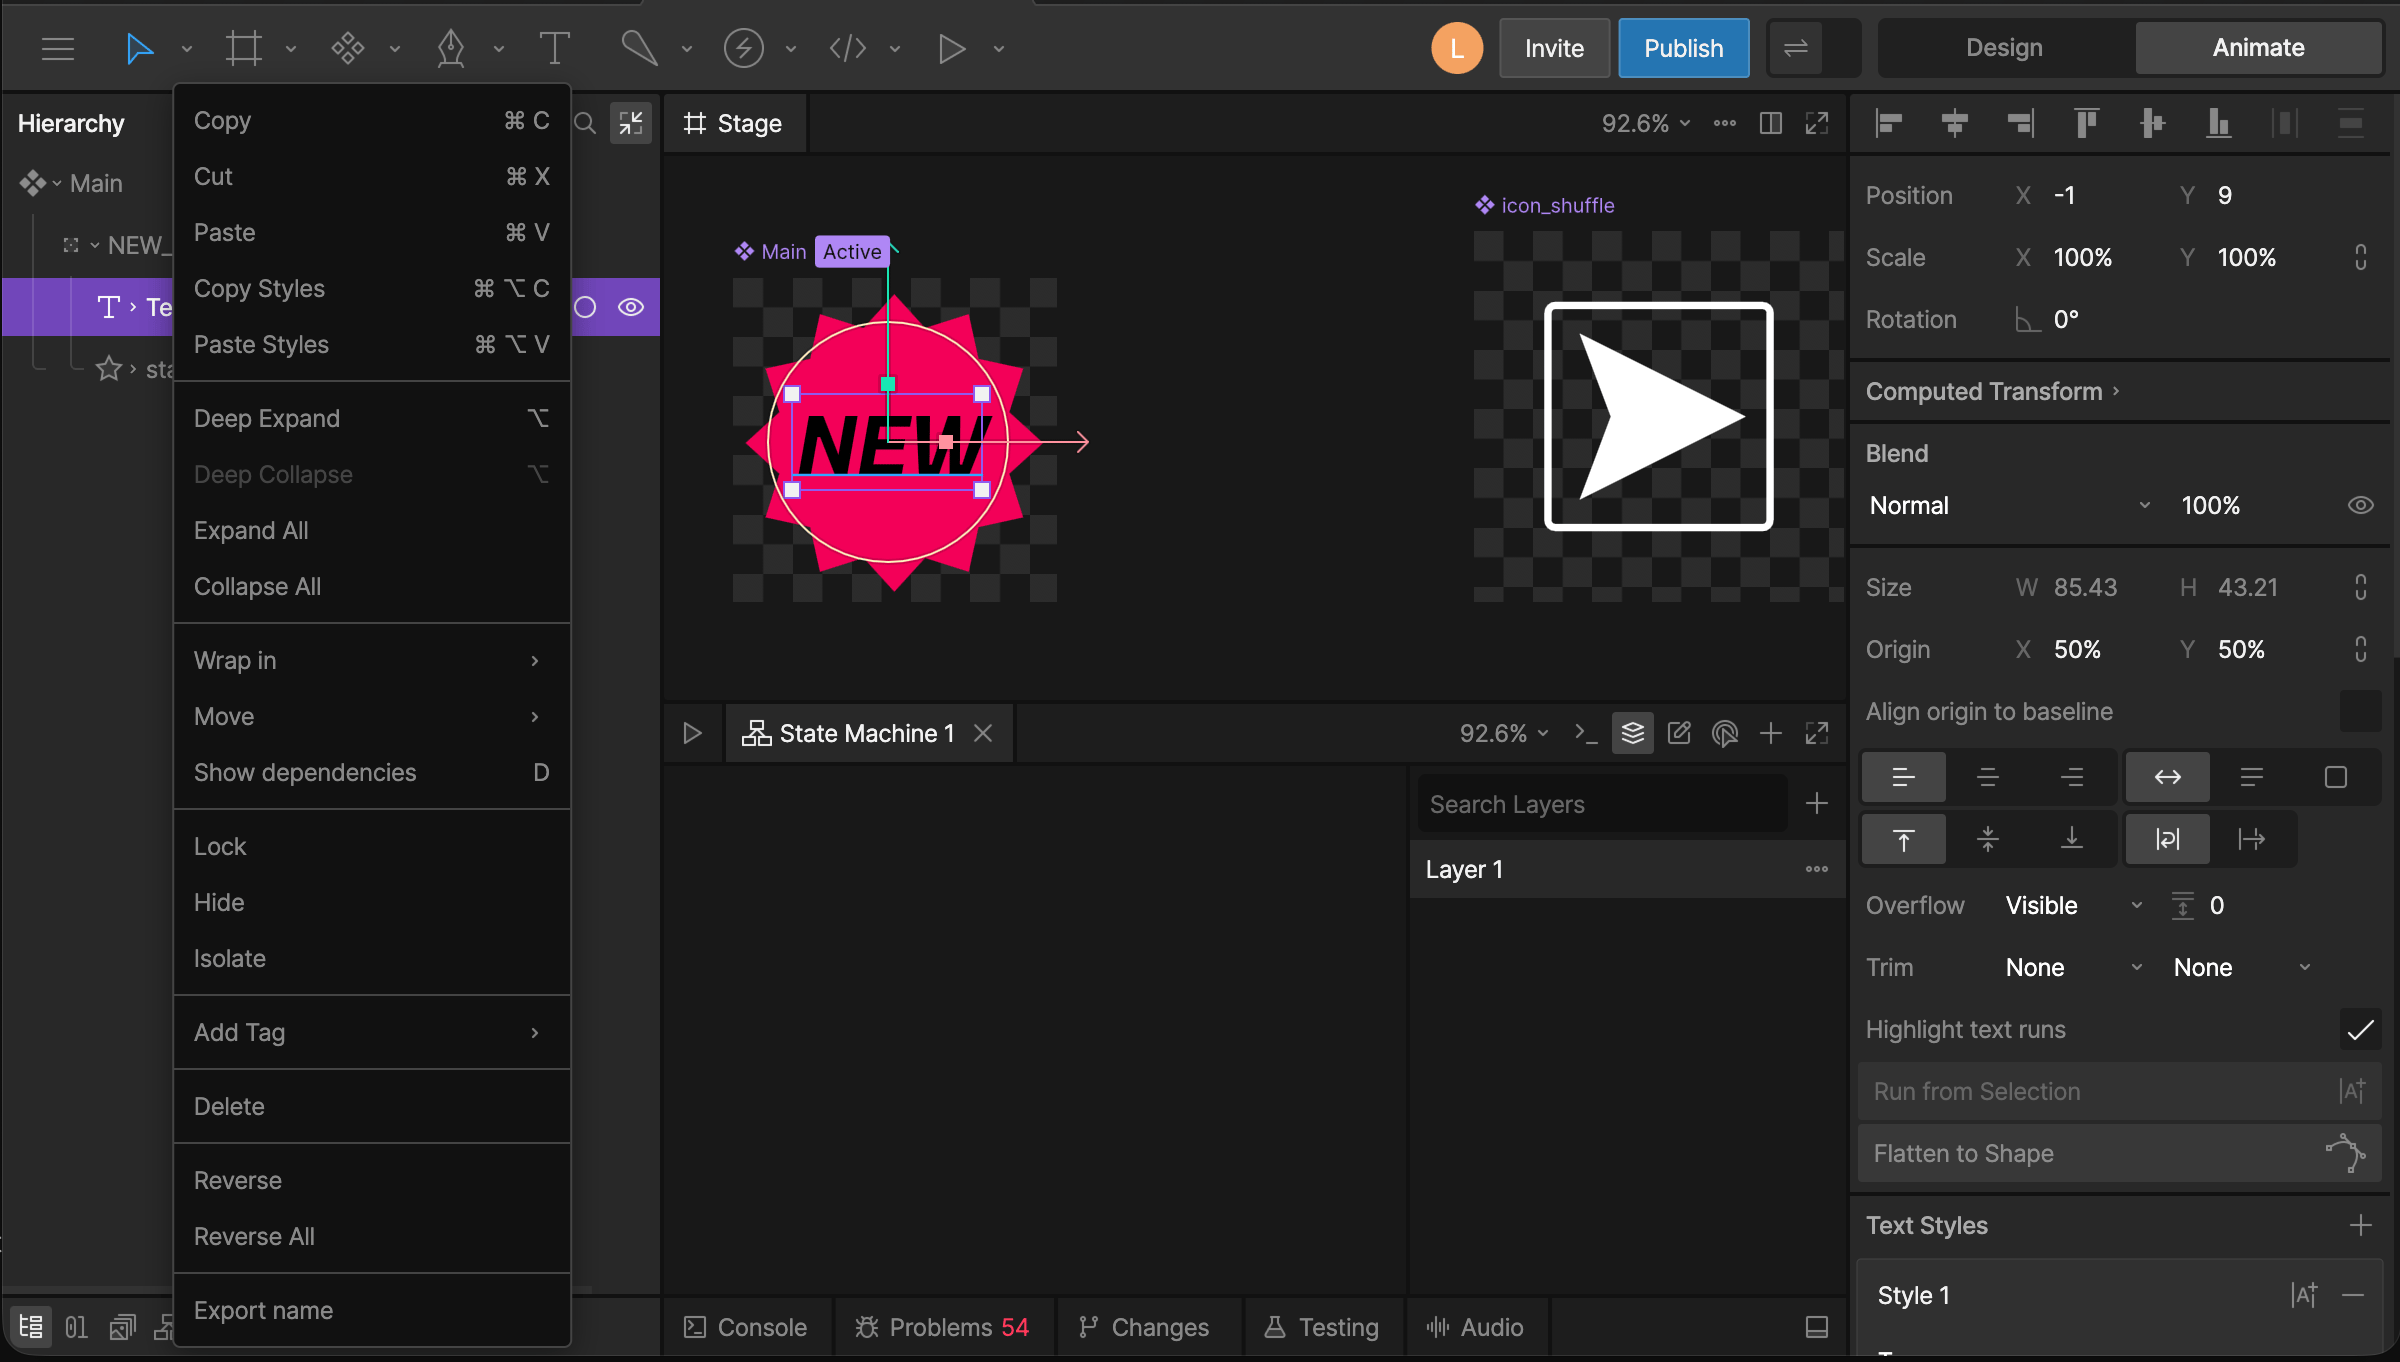
- Copy, cut, paste, delete, copy styles, and paste styles
- Expand or collapse nested items
- Show dependencies
- Lock, hide, or isolate elements
- Add a tag
- Reverse the order of elements
- Export name