How to create bones
To create a chain of bones activate the Bone tool in the Transform Tools menu (or pressB) and click anywhere.
The first click is the start of the first bone. The bone appears blue as it hasn’t actually been created until you click a second time. Continue this process to draw subsequent bones. Each new bone in a chain is the child of the last bone. Hit Esc or switch back to the select tool V when you’re done.
If bones aren’t visible on the stage, open the View Options menu and make sure Bones is enabled.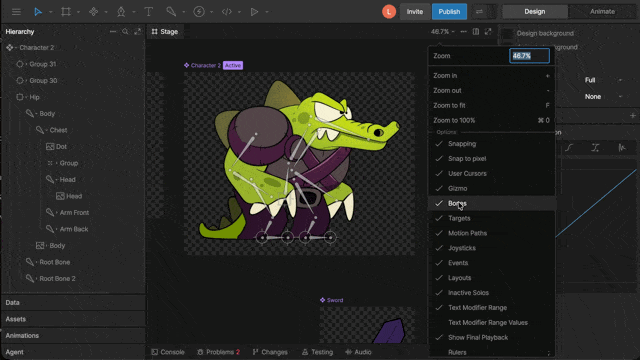
Joints
Joints don’t exist in the hierarchy. They are controls to set up and orient bones in a chain. Moving joints change properties like length and rotation of the nearby bones.Root bones
The first bone in a chain is called a root bone. It is the only bone in a chain that has position X and Y properties. Other bones are defined by their length and rotation relative to their parent.Connecting bones to artwork
Hierarchical relationships
The simplest way to connect shapes and images to bones is through their hierarchical relationships. Any child of a bone will transform with the bone. You can make vector shapes children of bones by dragging and dropping the shape layers onto the desired bone in the hierarchy.Binding
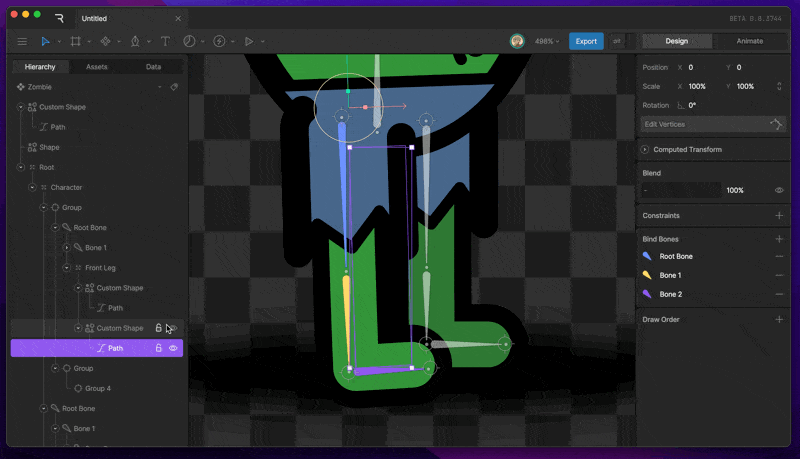
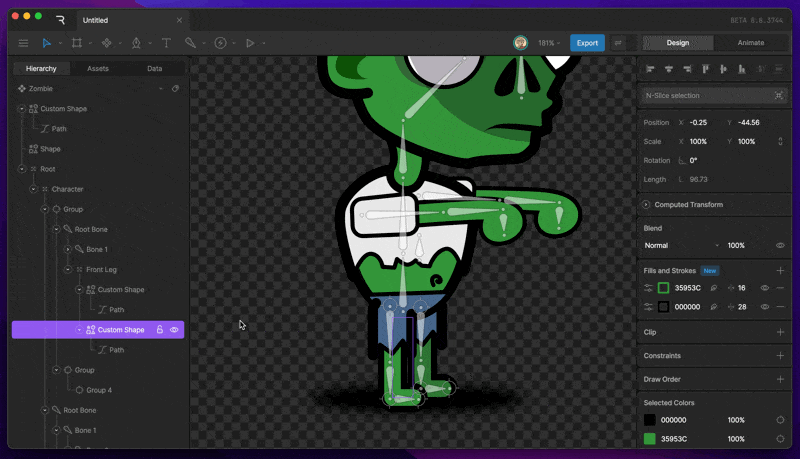
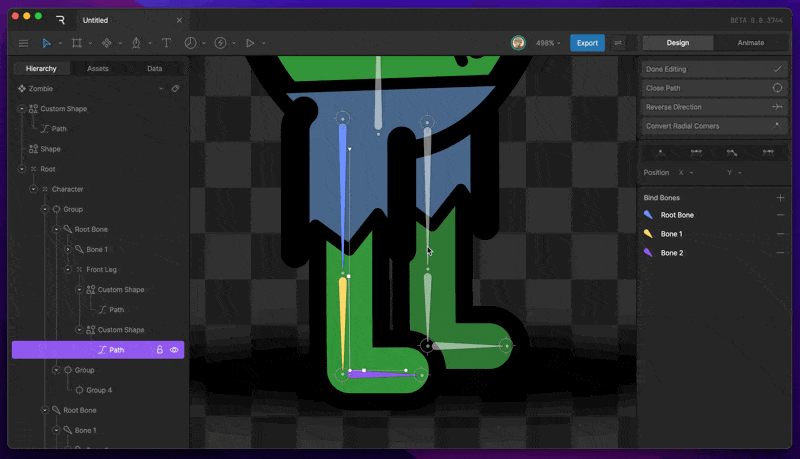
Binding is a way to connect only certain parts of your graphics to bones. This allows you to deform parts of a shape with one bone and another part of the same shape with another bone. To begin binding shapes to bones, select a path layer. The Bind Bones option should now appear in the Inspector. Hit the plus button, then select the bones you want to bind. Hold shift to allow multiple bones to be selected.Procedural shapes like rectangles and ellipses require you to convert them to a custom path. Do this by selecting the path layer, then hitting Enter.
Weighting
Once you’ve finished binding the bones, you need to weight the bones to the vertices or handles of the path. Do this by selecting a vertex and changing the percentage value to reflect the amount of influence you want a bone to have over it.The total weight of all bound bones will always equal 100%.
Weight Tool
The weight tool gives you a visual representation of the current weight distribution. Activate this tool by using Shift + B, or by going into the Bone Tool Menu and selecting the Weight Tool. The weight tool also lets you adjust the weighting. To adjust the weight, select a bone, then click and drag anywhere on the stage.