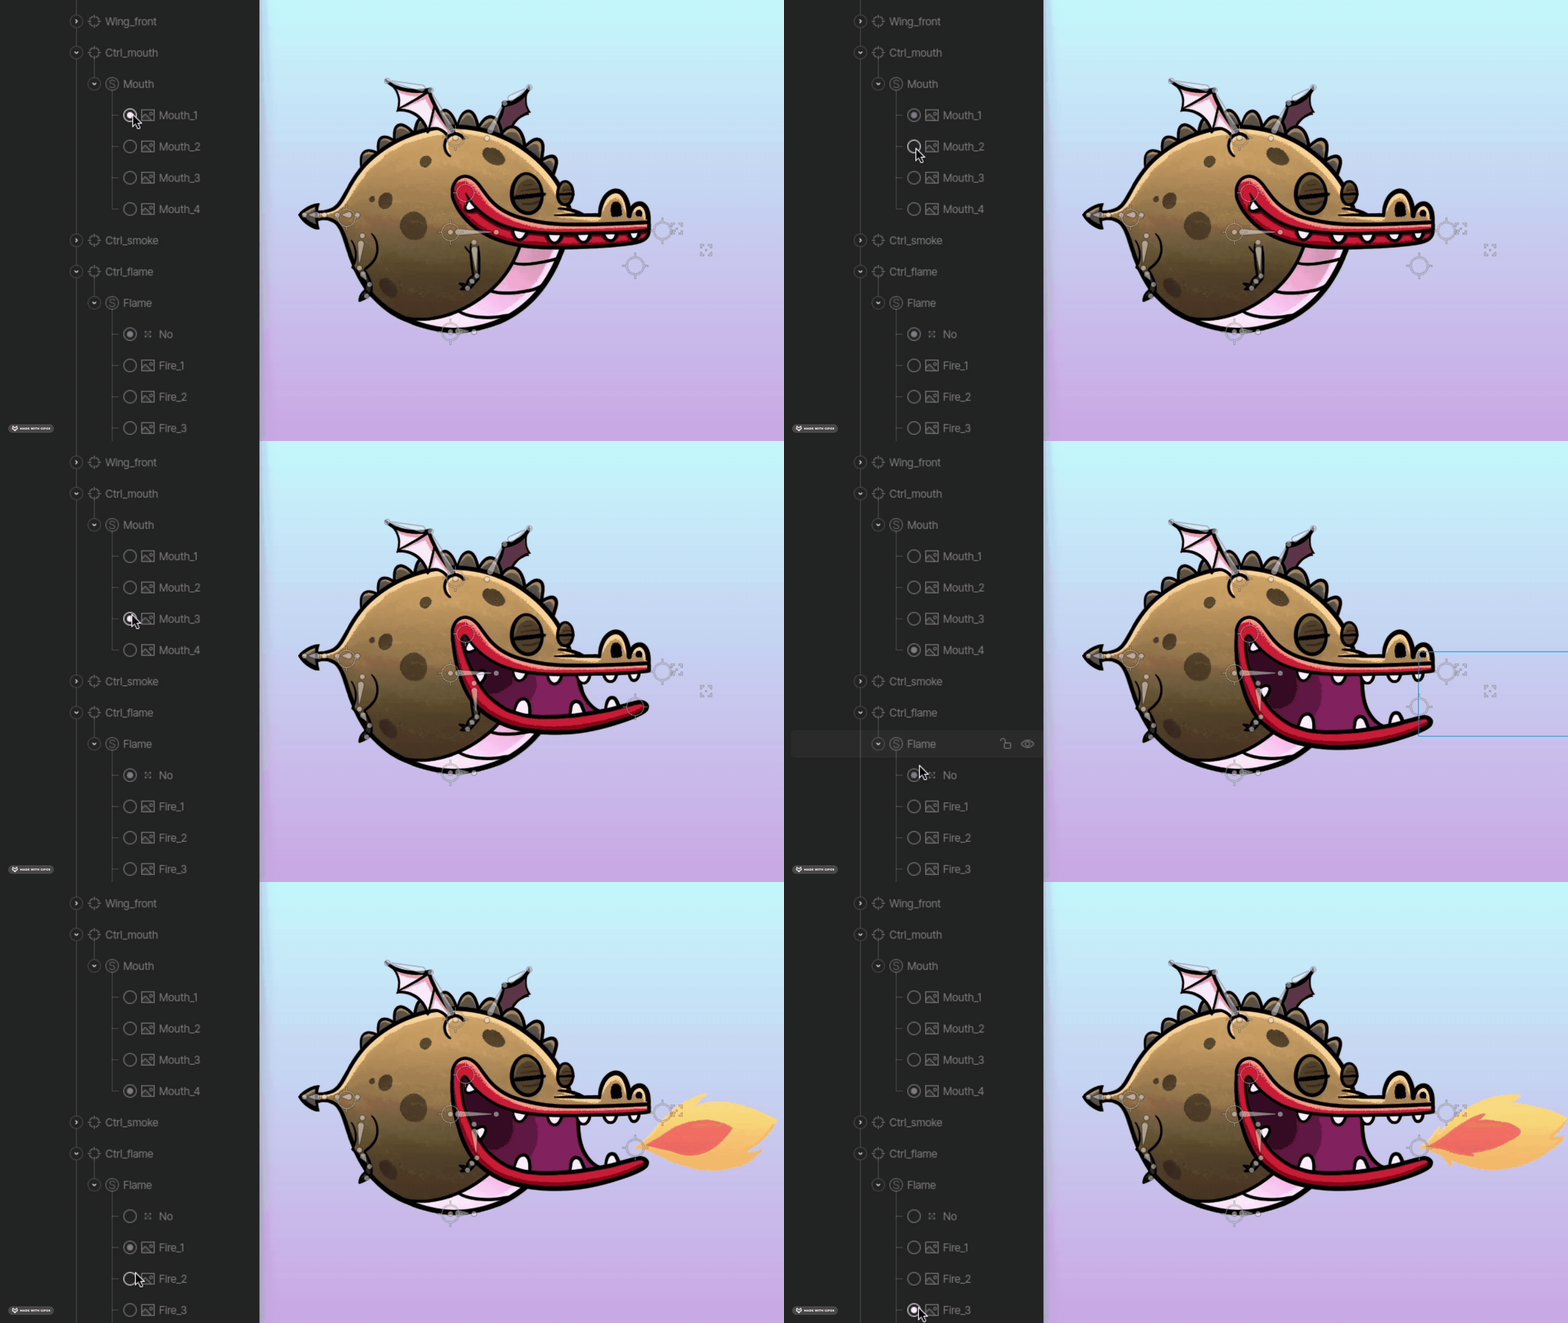
Creating a Solo
- From a selection: Select objects in the Hierarchy, right-click, and choose Wrap in > Solo.
- From a group: Right-click a group and choose Convert to Solo.
- With the Solo tool: Select the Solo tool from the Arrangement Tools menu in the toolbar (or press
S), click the stage, then drag objects into the Solo in the Hierarchy.
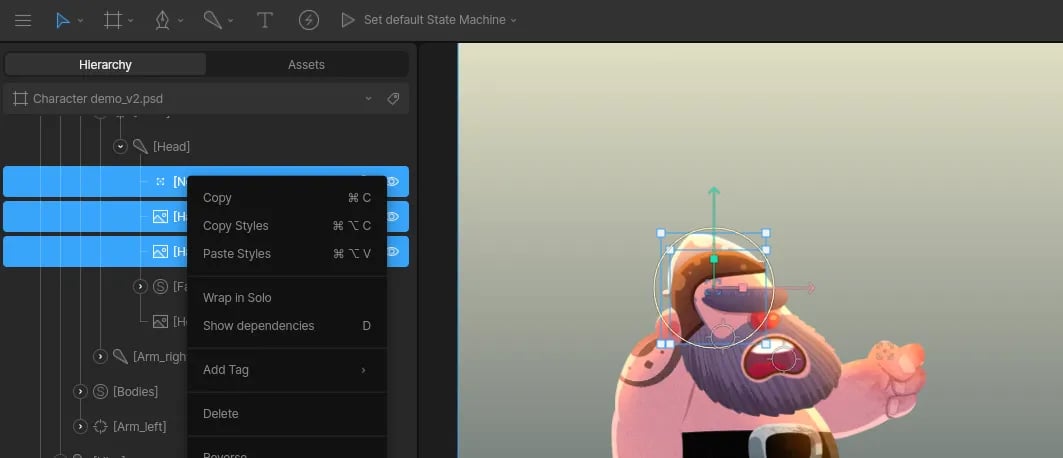
Choosing the active child
Click the radio button next to a child in the Hierarchy, or choose it from Active in the Inspector. Some children aren’t options and are always applied, such as constraints and clipping shapes.Animating a Solo
In a timeline, click a child’s radio button to key the active child. The Solo switches instantly at each key.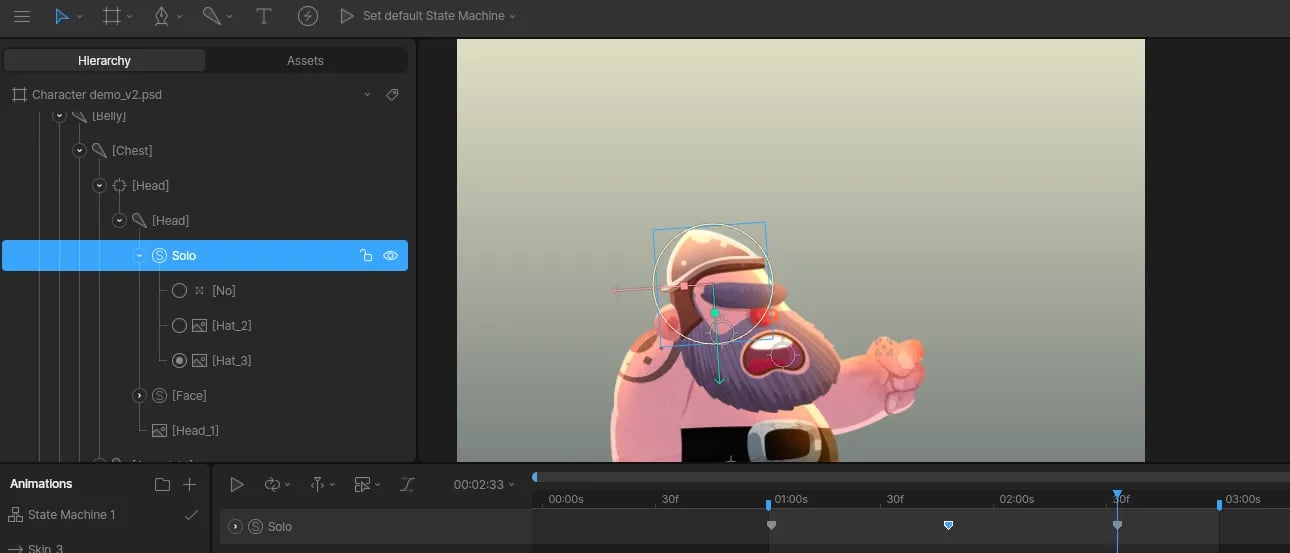
Examples
Skins
Put each version of a part in its own Solo to build swappable skins.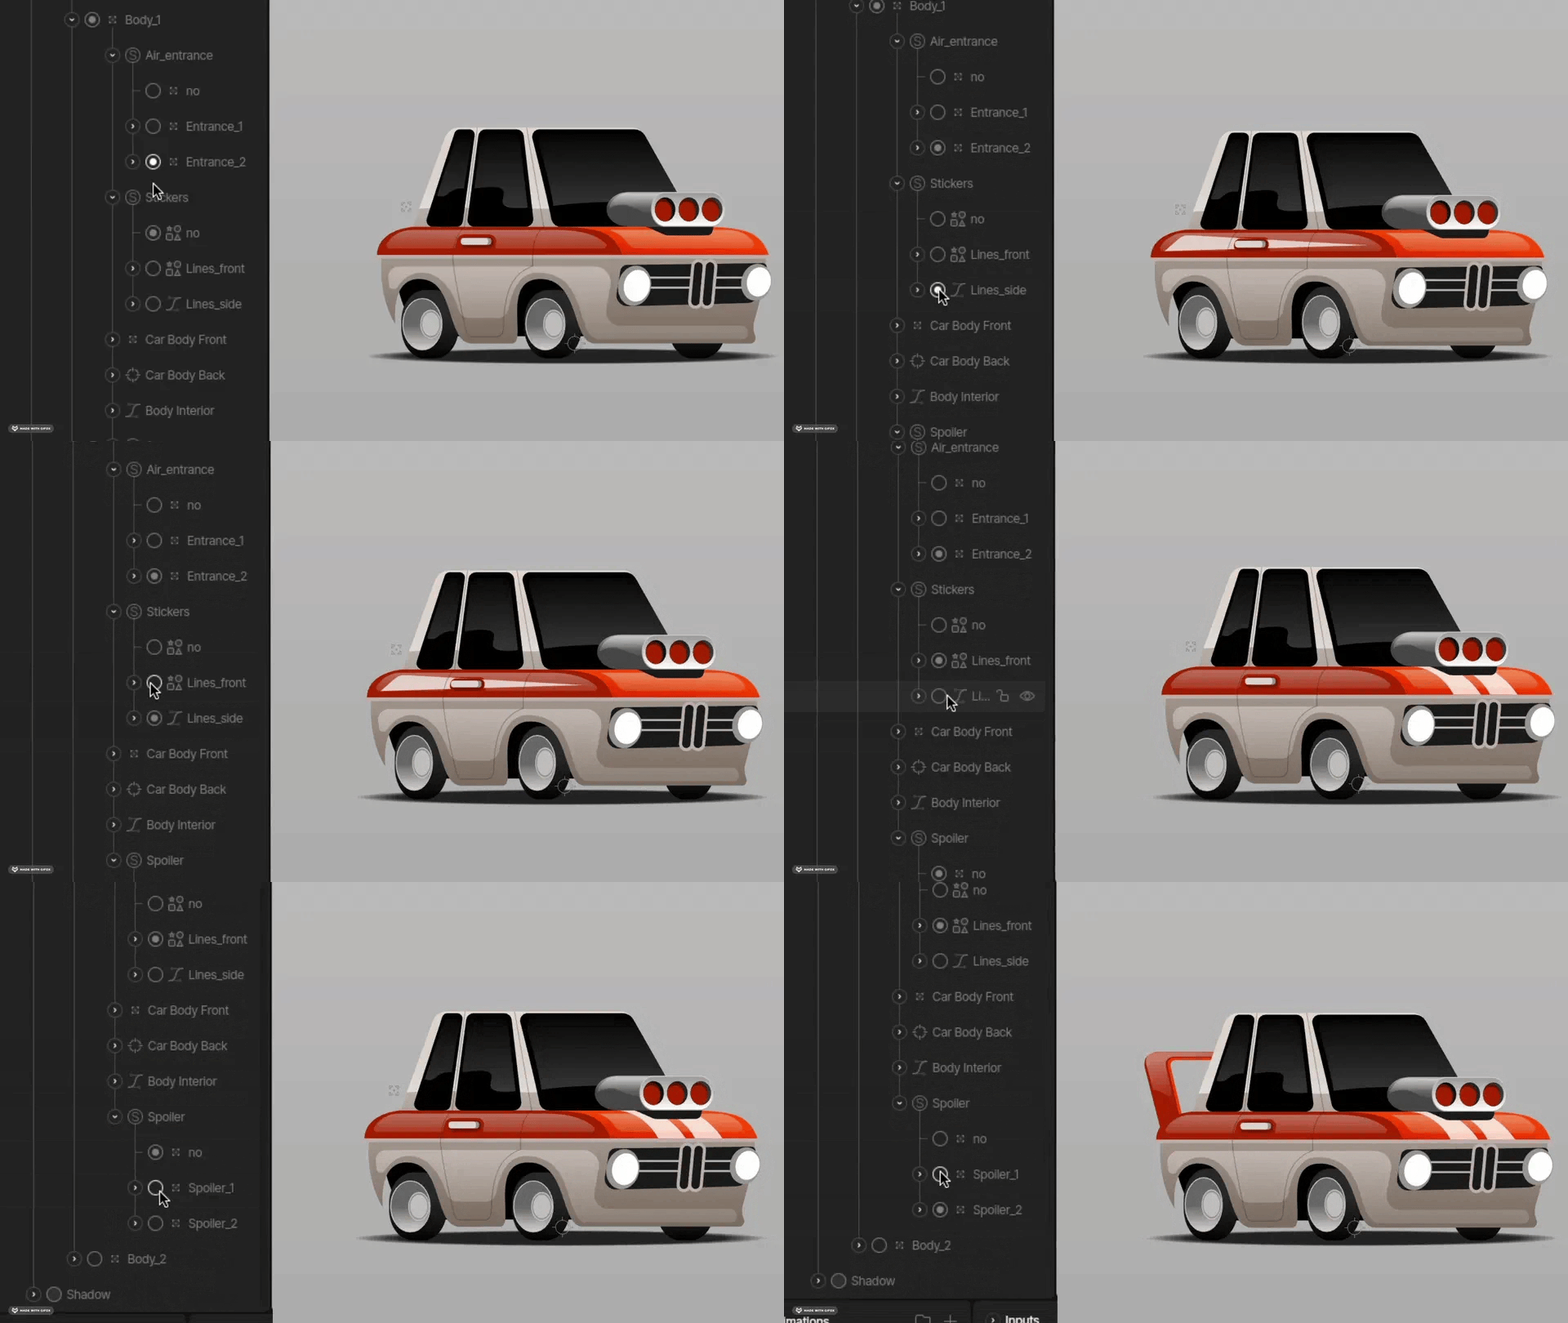
Switching rigs
Rig a character from several angles, put each rig in a Solo, and switch between them as the character turns.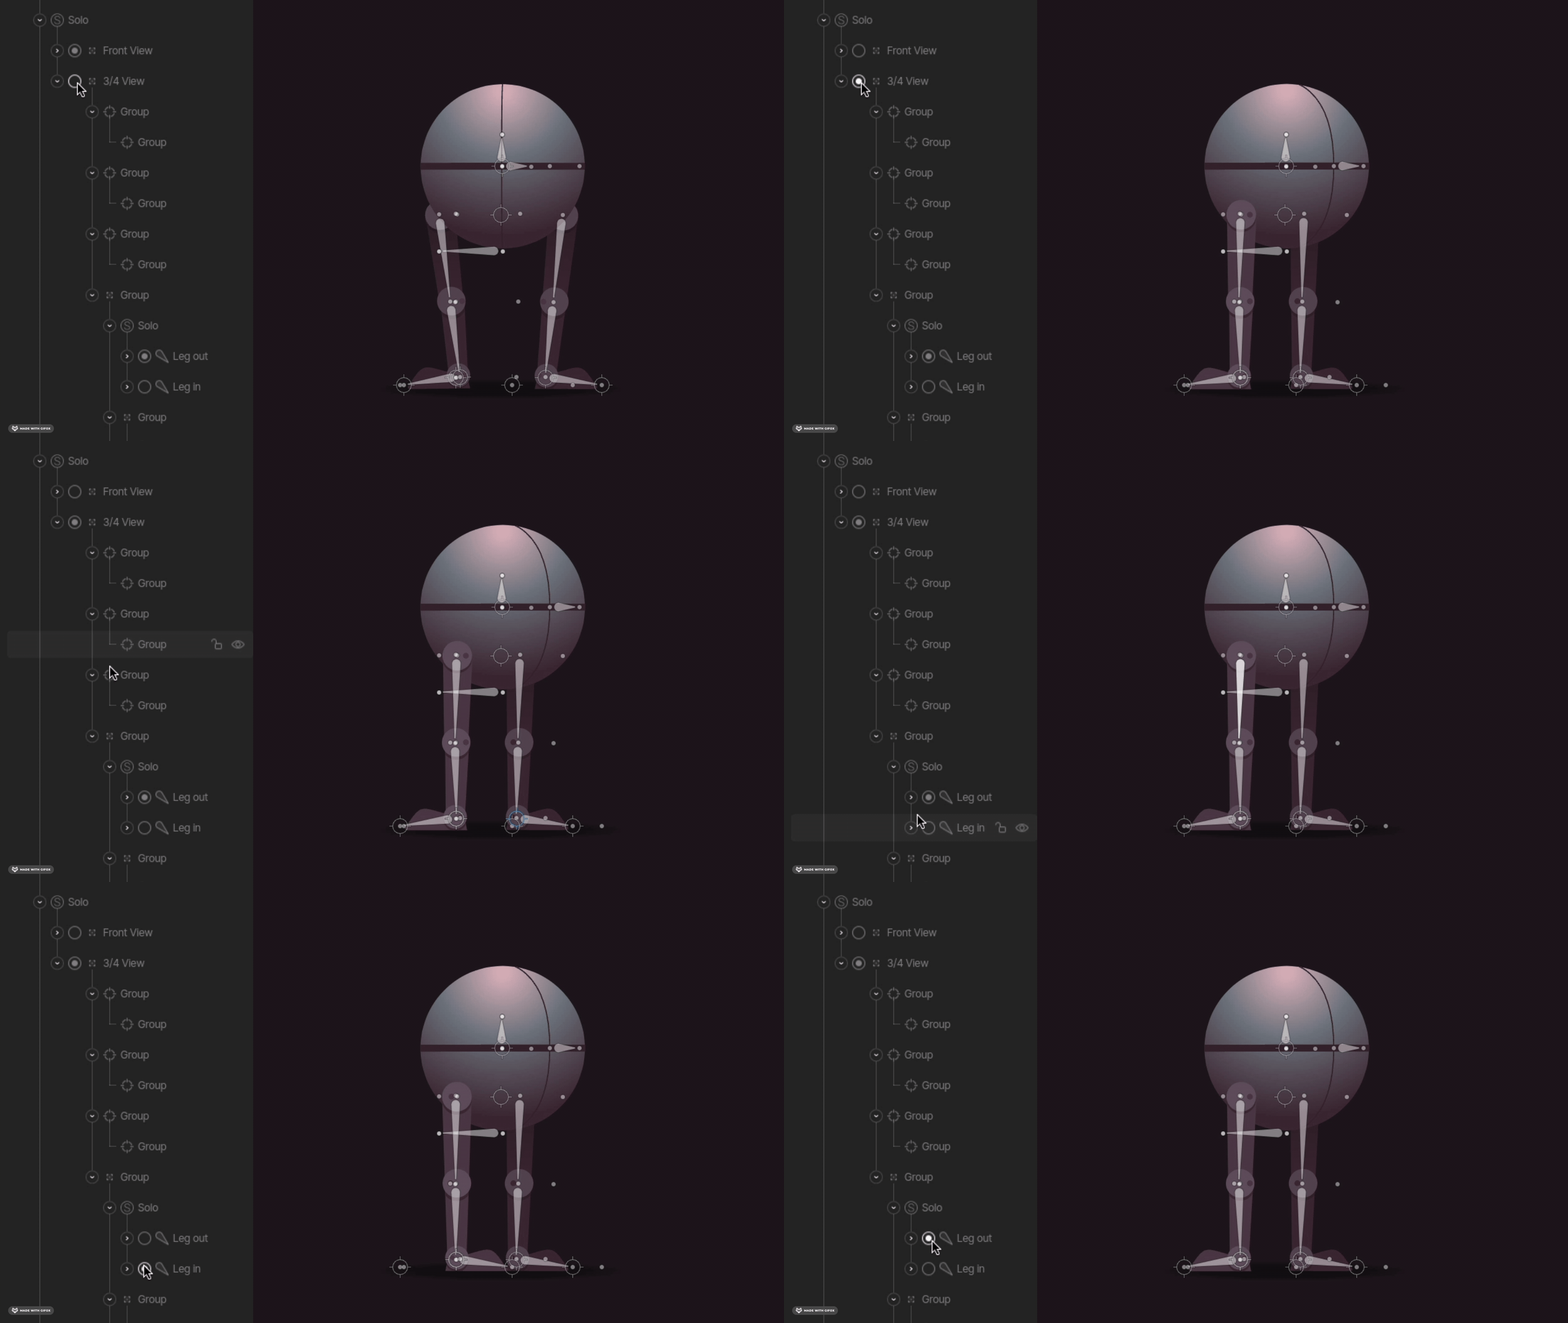
Frame-by-frame animation
Put each frame in a Solo and key the active child on each frame of the timeline.