- Freeze: Drag the origin of any object on the stage.
- Align tools: Snap the origin to an edge or the center of the object.
- Origin property: Set an exact position for shapes drawn with the Shape tools.
Freeze
Moving a parent normally moves its children with it. Freeze lets you move a parent, such as a group, shape, or bone, without moving its children, so you can put its origin anywhere.1
Press
Y, or select Freeze from the Transform Tools menu in the toolbar.2
Select the object and move it to where you want its origin. Its children stay in place.
3
Press
Y again to turn off Freeze.With the align tools
HoldAlt (Windows) or Option (macOS) with an object selected, and the align buttons set its origin instead of moving it. Choose left, center, right, top, middle, or bottom of the object’s bounds.
You can also use these shortcuts:
Origin of a shape
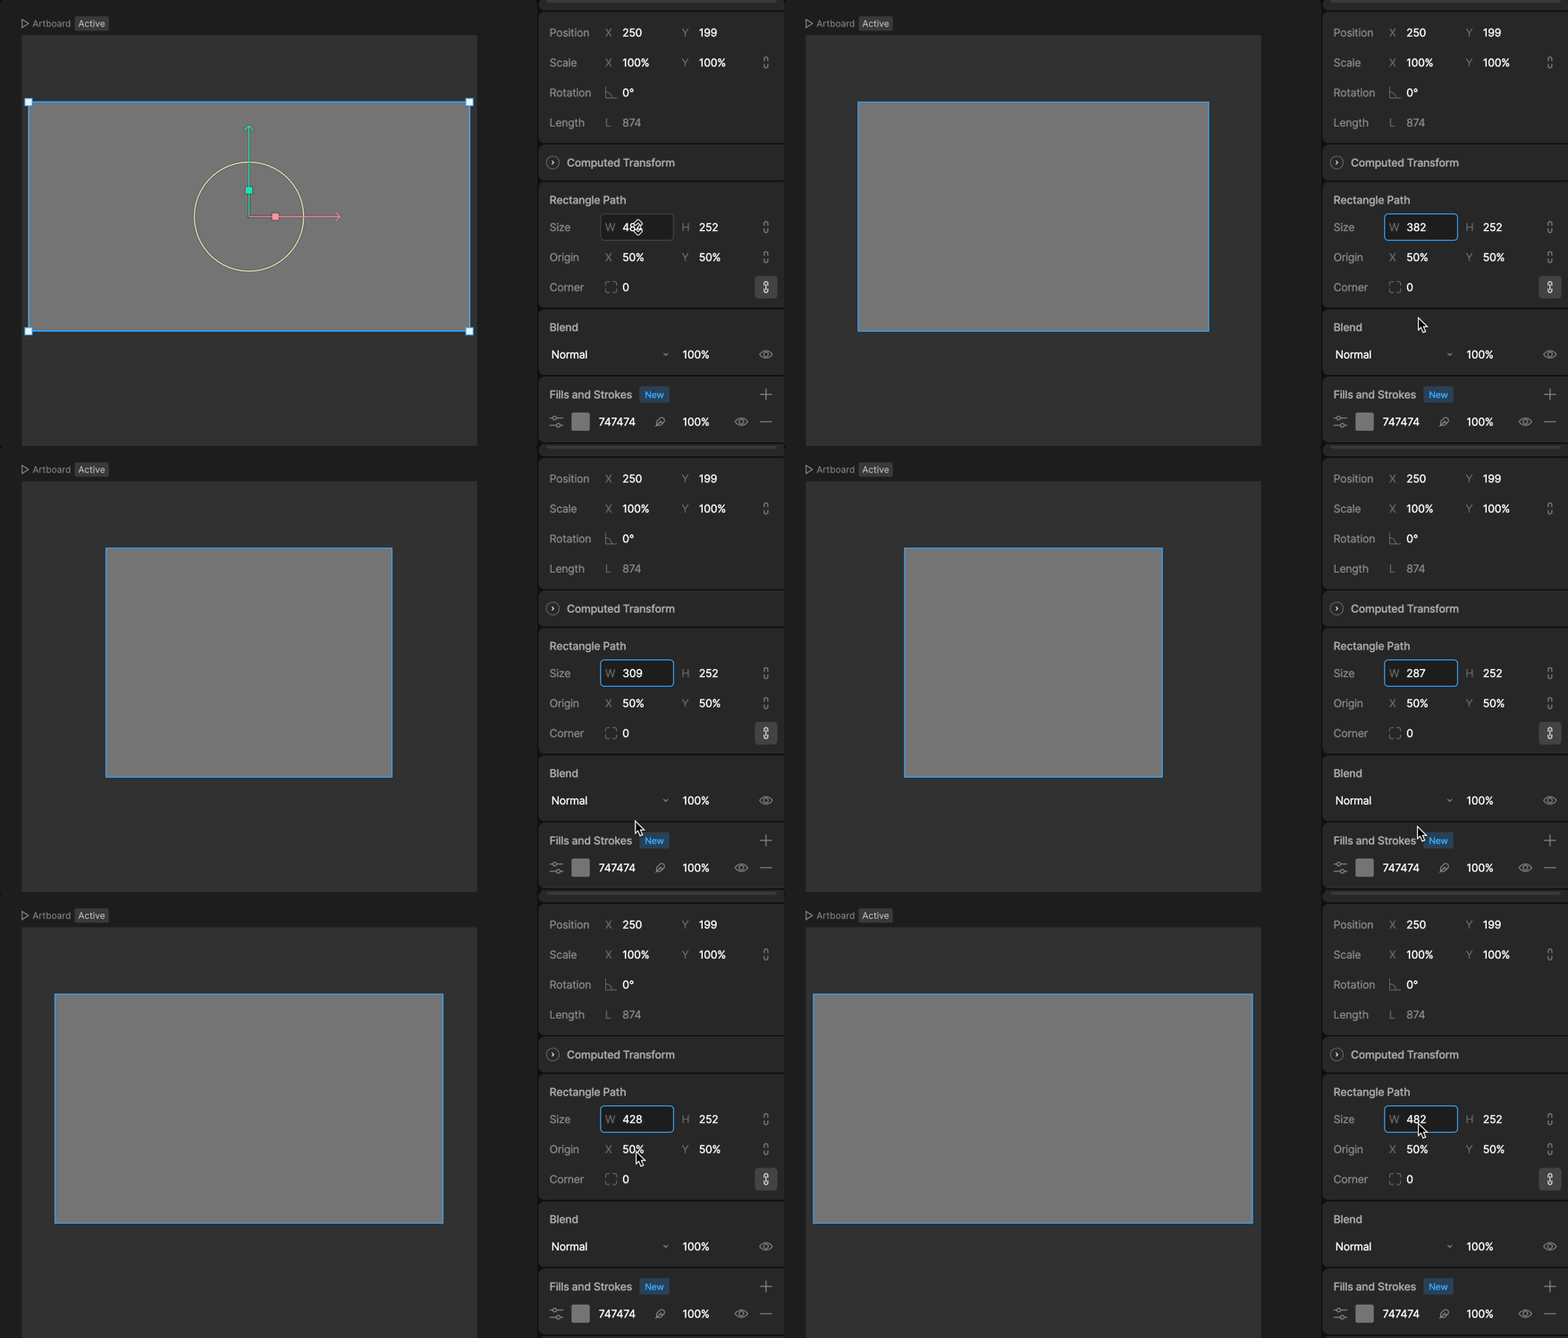
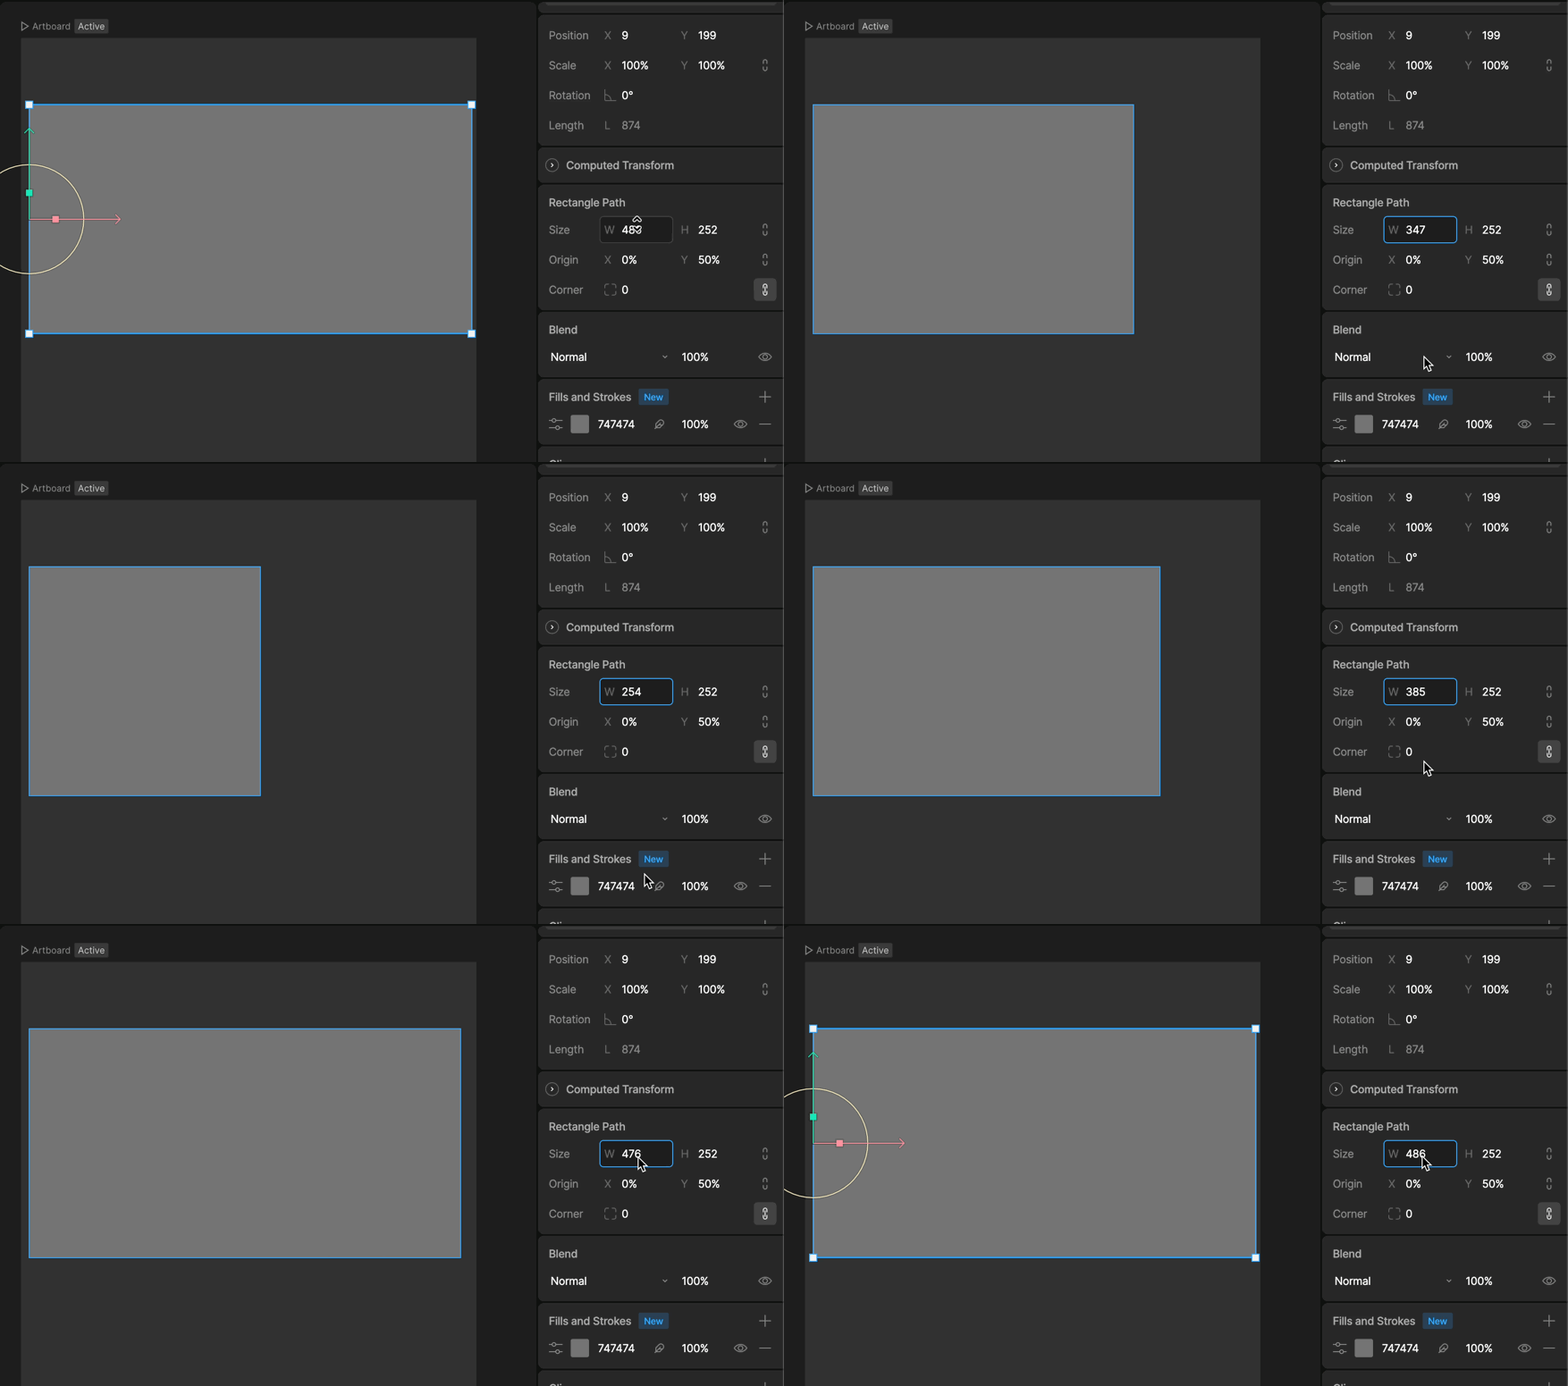
Shapes drawn with the Shape tools have an Origin property in the Inspector, set as a percentage of the shape’s size. It also decides which way the shape grows when you change its size. With the origin at 50% X and 50% Y, changing the width grows the rectangle from its center: