Rive Blog
How to use the AI Coding Agent for real scripting
Great news: you don’t have to be a developer.
Hi, I’m Lance, and I’m from the Developer Relations team here at Rive. I’m usually drawing when I’m not in the Editor.
Rive Scripting is live, and so is the AI Coding Agent. If you have an idea for how something should behave, you can describe it in plain language and let the agent generate the script and the setup work. Then you iterate together until it feels right. The trick is treating it like a collaboration. You steer with small, specific prompts, while sanity-checking what it generates.
In this walkthrough, I’ll take one of my drawings and make it interactive using the AI Coding Agent.
What you’ll get out of this:
Write prompts that generate working scripts and wire them into a file
Combine Scripting with Data Binding, bones, meshes, and state machines
Learn an iterative “prompt → test → refine” workflow that holds up on real projects
Before we start: two tiny guardrails
AI-generated code is a first draft.
Debug small. If something breaks, don’t ask the agent to rewrite the whole script. Paste the smallest failing piece + the exact symptom.
What are we building?
Meet Sasquatch. She’s chill until you point a camera at her.
Here’s the starter file if you want to follow along. The character is already rigged and controlled by Data Binding. If you want to skip ahead, here's the final version.
We’re adding three behaviors:
Ambient depth: leaves fall in the background with randomness
Physical presence: hanging cameras sway with physics and react to pointer movement
Interaction: you can poke (and annoy) Sasquatch
1) Scripting falling leaves
Let’s start with the falling leaves because they’re the easiest to build.
I don’t want the user to specifically notice the leaves. Instead, I only want them to add depth to the environment. If they distract from the foreground, they’re too much.
To simulate the flip, I’ll animate the Y scale of a feathered shape using a timeline animation. Every time it flips, I’ll change the color — a brighter green for the top and a more muted color for the underside.
It doesn’t look much like a leaf yet, but it will when it’s moving and in the background.
Let’s add this leaf to another artboard. This allows us to data-bind the speed of the animation to make each leaf feel more random.
By default, the leaf will rotate from the artboard’s 0x0 position. If we move the leaf to the right, it’ll rotate in loops, making it feel like it’s affected by wind resistance.
It’s time to give the AI Coding Agent some prompts!
Prompt:
Create a new script. It should have an input called “leaf” that is of type Artboard. The artboard has a view model named Leaf.
Let’s add the script to the artboard. Select the artboard and set the `leaf` input to the leaf artboard:

Now the big prompt, broken into a few clear requirements. Notice that anything you want to tune later should become an input, not a hardcoded number.
Prompt:
Create an input for the total number of leaves and the width and height of the area where we will display the leaves. Instantiate the leaves in random positions based on the width and height. Make them animate downward based on a “speed” input. When a leaf reaches the bottom of the area, move it to a random x position at the top of the area.
Each leaf should have a depth value. The depth value will determine its render order and its size (further leaves are smaller). Create an input for min/maxSpeed.
Note: Inputs are basically the levers you can pull to control your script without rewriting it. More levers = easier tuning. |
Select your script, update the inputs in the right sidebar until you’re happy with the results. Here’s what mine looks like so far:
It’s doing exactly what I told it to, but that is not what a falling leaf looks like. We can do better.
Prompt:
Each leaf should rotate as it falls based on a turn speed value. The turn speed should be a random value based on inputs for top and bottom turn speed.
Note: The AI Coding Agent will name your variables using camelCase, which removes spaces and capitalizes all but the first word. So the `turn speed` input will be named `turnSpeed`. |
Update your inputs and you should see something like this:
In my case it looks pretty good, but the leaves are all rotating in the same direction. Let’s fix that with a precise prompt (not a rewrite).
Prompt:
All of the leaves are rotating clockwise. Negative speed values should rotate counterclockwise.
Everything seems to be working as expected. Select the script and fine tune the inputs until you’re happy with the overall feel.
As you can see, working with the agent is an iterative process. Write a small prompt, test, adjust, repeat.
2) Adding physics to the cameras
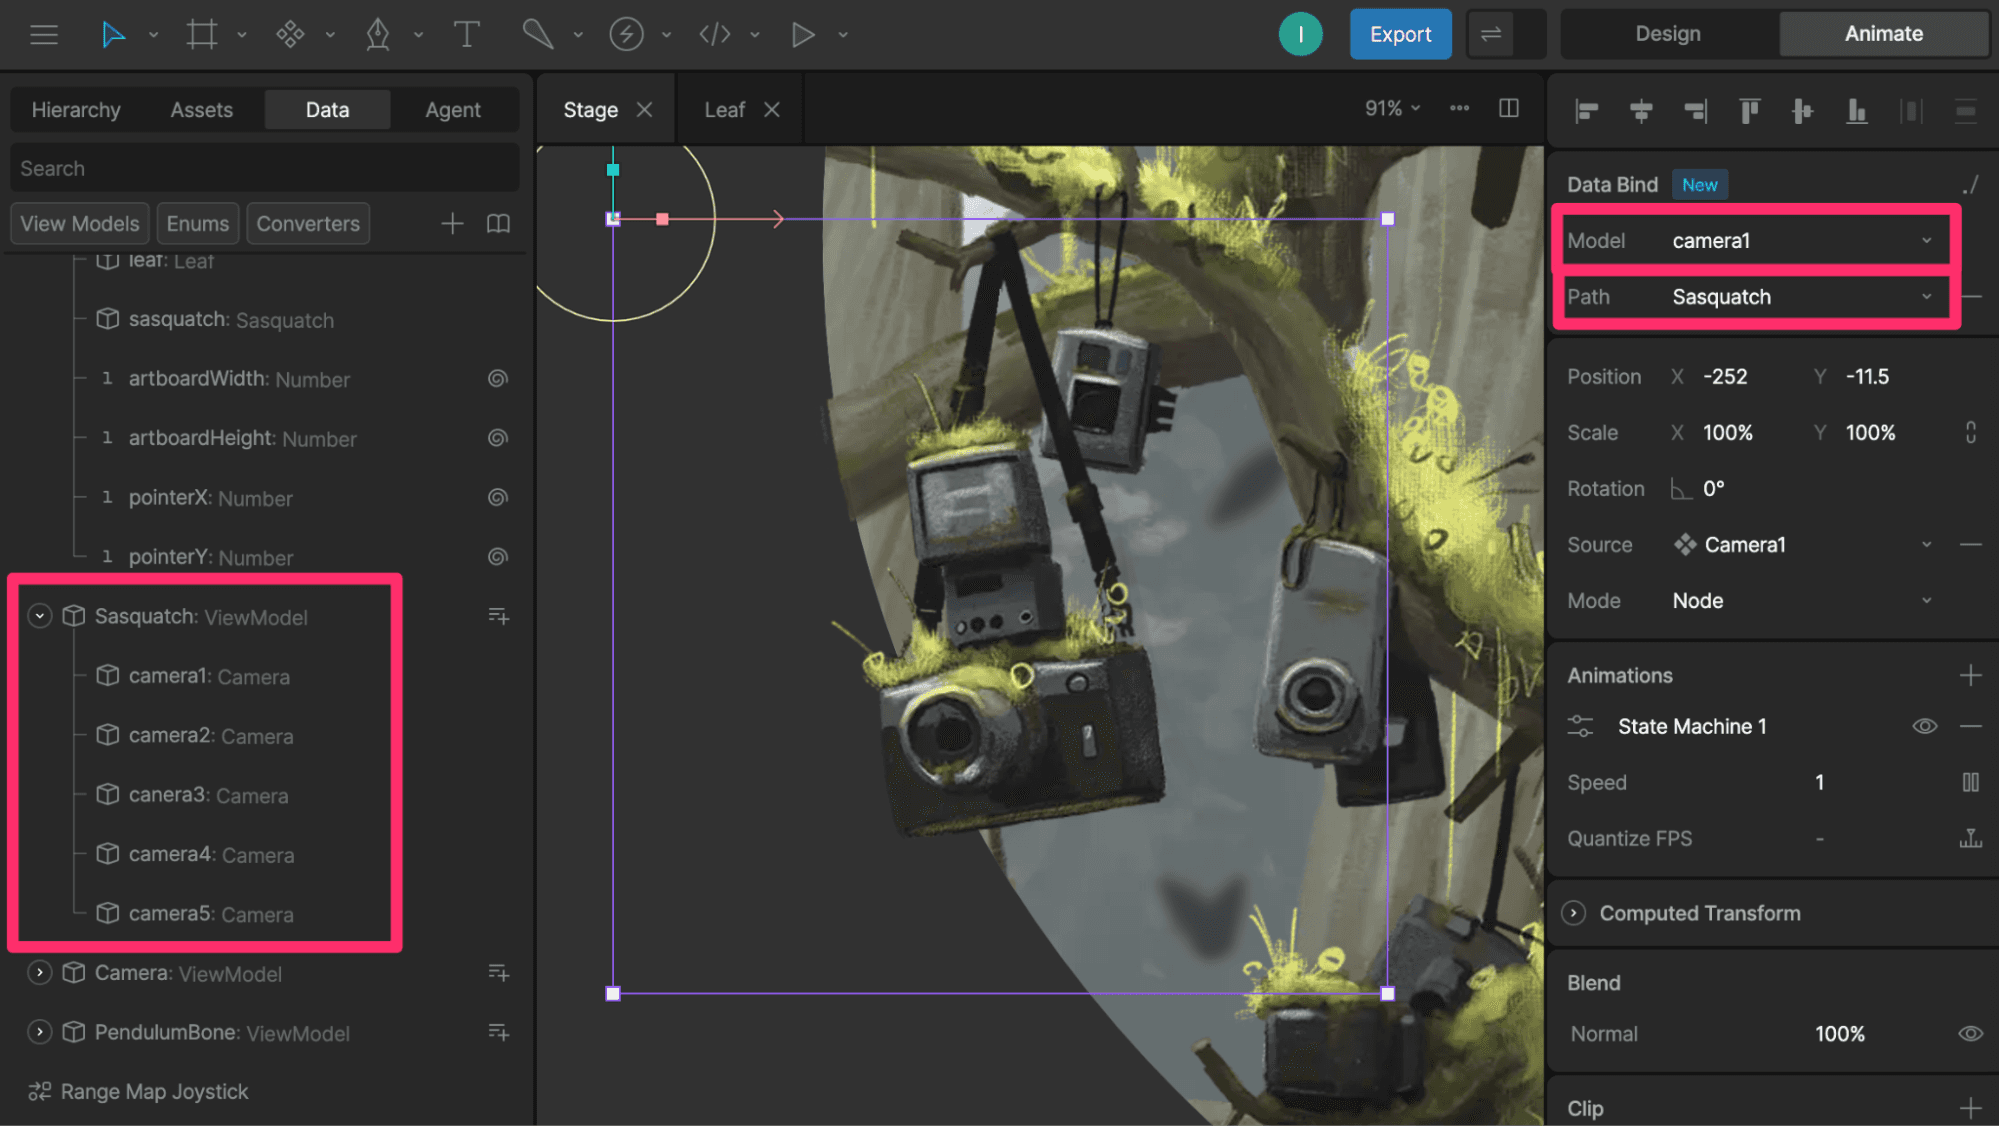
Now we’ll reuse the same pattern (inputs + advance loop), but we’ll drive something that feels physical, and we’ll connect it to view model properties so the art responds.
Before we start scripting, let’s set up the cameras so they’re ready to be controlled by the script.
Each camera consists of two images (the camera body and strap) and two bones.
The strap is a Mesh that allows each side to move and stretch independently. The top points of the mesh are controlled by the blue bone. The bottom points are controlled by the yellow bone.
The X position, Y position, and the rotation of the camera’s bone are controlled by view model properties.
Note: View model properties control what you see in the graphic. Scripts update those properties over time. |
Let’s get prompting! For now we’ll use a rectangle as the hit area and visual placeholder. We’ll attach the camera graphic later.
Prompt:
Create a new script that draws a pendulum with a rectangle at the end. The pendulum should swing like it has physics. Include an input for length (in centimeters), width, height, gravity, and starting angle.
Add the script to the artboard and adjust the inputs until the swinging feels right. The gravity value of 9.8 mimics Earth’s gravity and is what the agent suggested.
Let’s make the rectangle interactive. I want this to be usable on the web, so it should respond to mouse and touch.
Prompt:
I want the pointer to be able to bump into the rectangle. When the cursor swipes one way or the other, add force to the pendulum. This should happen on move, not on drag. Add an input for how much force the cursor applies.

After setting the inputs, the rectangle works pretty well. Now let’s use it to control the view model properties that drive the camera bone.
Prompt:
Create a new input for Data.PendulumBone. On “advance”, update the x, y, and r values to match the rectangle.
Set the `bone` input in the sidebar to `pendulumBone` and the source to `Camera`, which is the artboard’s view model. The script should now control the bone that controls the camera’s position.
It works! Let’s add a boolean to hide everything but the camera and strap.
Prompt:
Add a boolean input to hide the visual parts of the pendulum, including the rectangle, the string, and the anchor.
It looks good, but the rotation of the camera still feels wrong. It’s not rotating how I’d expect something to if it were hanging by two straps, which makes sense because I told it to make a pendulum on a single string.
Prompt:
Right now the rectangle's rotation is based on physics. Instead let's have it be a multiplier of the rotation of the string. The multiplier should be an input.
After setting the inputs, this feels much better.
We can now use the same script on the other cameras using different input values.
You should be able to go to the Sasquatch artboard and see all of your cameras swaying and reacting to your cursor or touch.
Note: I’ve already set up the view models in the starter file, but here’s the gist:
 |
3) Scripting our character
In this final step we’re going to let the user interact with Sasquatch.
When the user touches or clicks the screen, Sasquatch will look toward the tap position. Her annoyance, represented by a number property called `anger`where 0 is calm and 100 is pure rage, will go up with each tap.
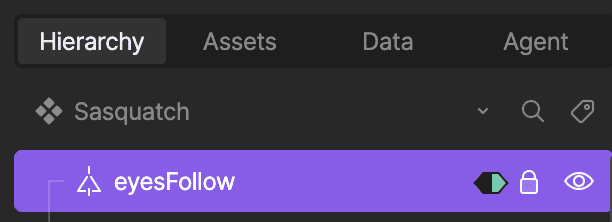
Before adding another script, let’s look at how this character is set up.
At the top of the hierarchy we have a single group called eyesFollow. This empty group will control Sasquatch’s eyes and head direction. Wherever that group is, Sasquatch will look. This group’s position is controlled by the `eyesFollowX` and `eyesFollowY` view model properties.
The 3D-ish turning head effect is done with a mesh where points are controlled by bones. I’ve added a timeline to control the bones and a couple of other things. When the timeline is at 0, Sasquatch is looking left. When it’s at the end, she’s looking right. This timeline is controlled by a joystick. The handle of the joystick is the eyesFollow group.

Each eye has a distance and a translation constraint. The translation constraint makes the eye try to match the X/Y position of the eyesFollow group. The distance constraint prevents the eye from going too far from the center.
We have a state machine layer that controls the hand holding the bone. When `anger` is below 40, she will gently wiggle it. When `anger` is equal to or greater than 40, she grips it.
Warning: That bone is used for smashing people. |

There are two mouth animations — breathing and growling. I used a blend state controlled by the `anger` property to determine the balance between them.
It’s promptin’ time!
Create a new script called Eyes. It needs a Variable for the Eyes view model and an input of type number called anger.
Add the script to the artboard and set the eyes input to the `eyes` property.
Note: `eyes` appears in the dropdown because there’s a property in the artboard’s view model called `eyes` of type `Eyes`. If Sasquatch had other properties of type `Eyes`, they would also show up in the dropdown. |
Because I know exactly what I want and it’s straightforward, I’m going to include several instructions in a single prompt — but I’m still keeping each requirement explicit.
Prompt:
The eyesFollowX and eyesFollowY properties in the input called eyesVM control where the character is looking. Anger controls how angry the character is.
When anger = 0, eyesFollowX/Y positions should randomly update every few seconds. When anger is higher (up to 100), the positions should move more often.
Create new inputs for min and max eye speed. The higher the anger, the higher the eye speed.
Add an input for screen width and height. This will define the bounds of the random position.
Add a min and max interval value, but each interval should be random +- 1 second.
When the user touches the screen, the eyesFollowX/Y positions should match the x/y position of the tap.
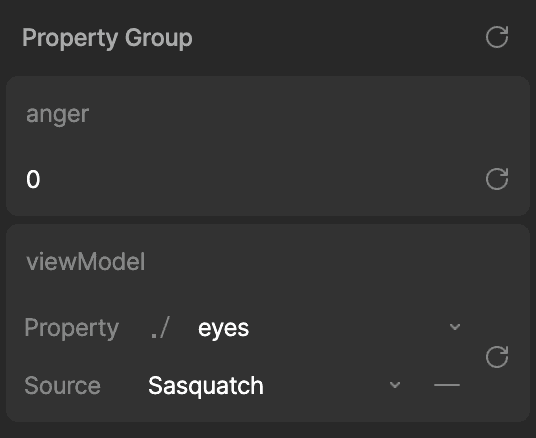
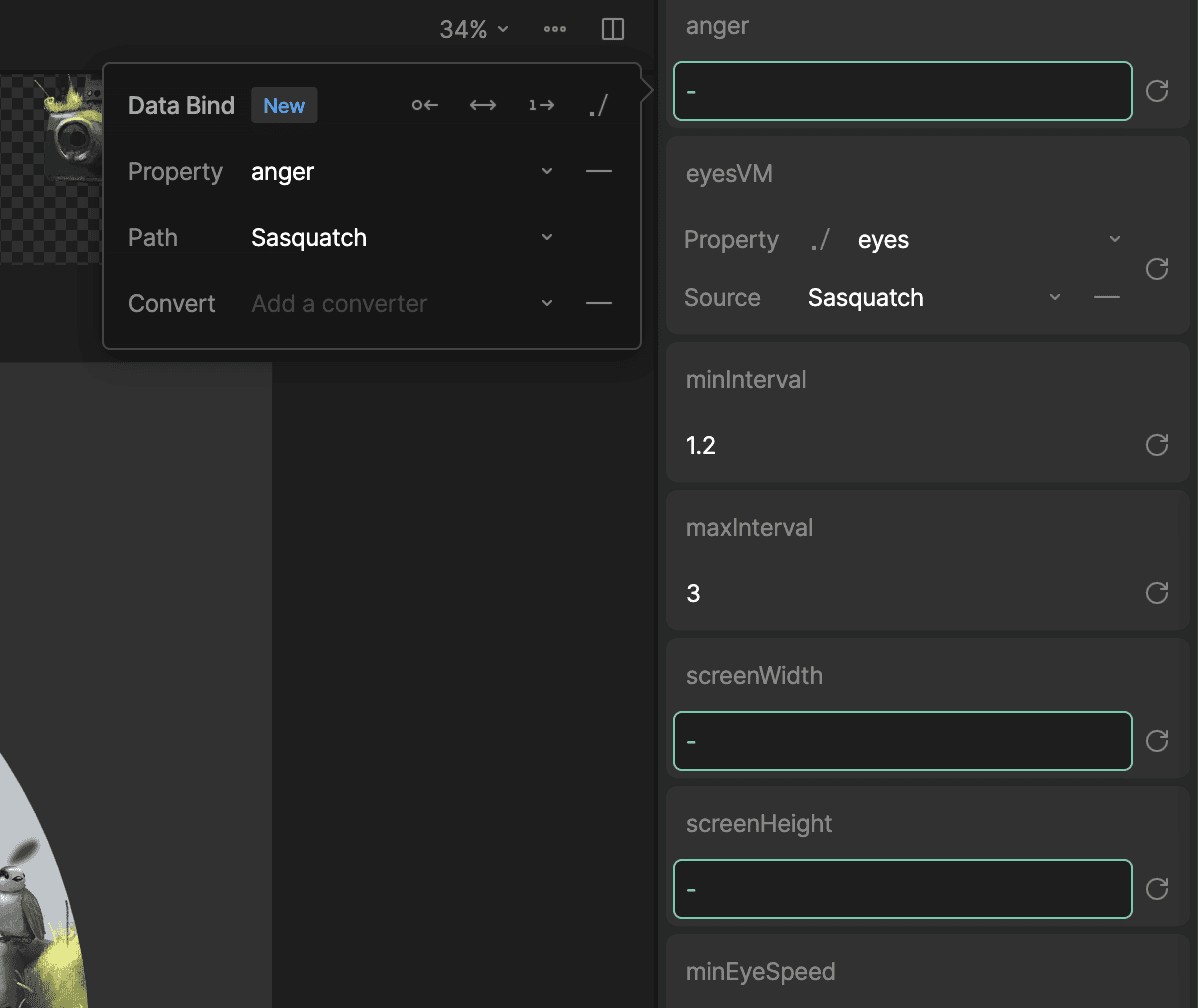
Select the script and bind the `anger`, `screenWidth`, and `screenHeight` values to the relevant inputs:
Here’s what you should see:
It looks good, but she’s a little too patient with all the screen taps. Let’s create one more script using the AI coding prompt. This one will listen for taps and control the `anger` value.
Prompt:
Create a new script called Anger. Add an input for the Sasquatch view model, which has a property called “anger”.
The `anger` property will never go below 0 or above 100.
The anger will go down over time. Add an input for the amount it goes down per second.
Tapping anywhere causes the anger to rise by an input value called anger per tap
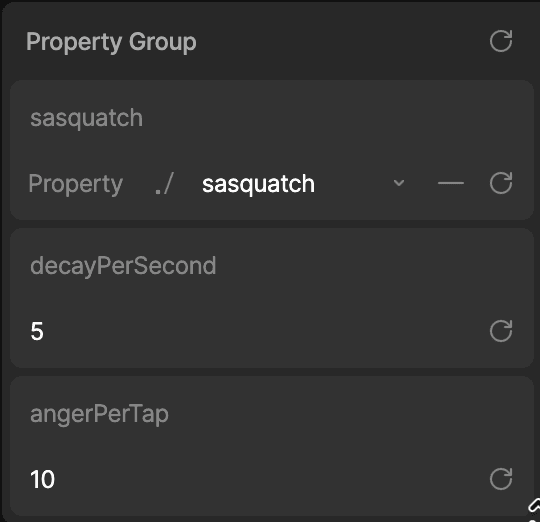
Add the script to the Main artboard, set the `sasquatch` input to the Sasquatch view model:
And here’s our final interactive scene:
Start Scripting on your own
You just built three real patterns you’ll reuse constantly: a particle system (leaves), a physics-driven interaction (cameras), and character behavior controlled by view models and state machines (Sasquatch).
Next steps:
Hit the Scripting documentation to lock in the fundamentals (scripts, inputs, the advance loop, pointer events, and driving view model properties)
Work through the “build your first script” video end-to-end once, then redo it with an intentional twist (add an input, change an interaction, or bind a new property).
Skim a few demos/sample files in the Marketplace to see common patterns for particles, physics motion, and view model control in the wild.
And when you get stuck, resist the full rewrite. Copy the smallest failing snippet into the AI Coding Agent with the exact symptom you’re seeing. You’ll get better results, and you’ll learn faster, too.
Join our newsletter
Get all the latest Rive news delivered to your inbox.