Scripted Inputs are the bridge between your scripts and the Rive editor, allowing you to customize and control script behavior through custom input fields. By defining inputs in your scripts, you expose configurable properties — like numbers, colors, booleans, and artboard components — that appear directly in the Rive interface. This means you can write the logic once in a script, and then experiment freely with values, animate properties over time, bind data from external sources, and reuse the same script across multiple instances with different configurations. Inputs transform static scripts into flexible, designer-friendly tools that enable true collaboration and rapid iteration.

Defining Inputs

To make new script inputs, add them to the type and set the defaults in the script’s return function.
-- Define the script's data and inputs.
-- These properties will be available in `self`
type MyNode = {
  myNumber: Input<number>,
  myColor: Input<Color>,
  -- This input expects a View Model named Points
  myViewModel: Input<Data.Points>,
  -- This input expects an Artboard with a View Model named Points
  myArtboard: Input<Artboard<Data.Points>>,
  -- This will be accessible via self, but not in the inputs panel
  myString: string,
}

function init(self: SnakeGame): boolean
  print("myString", self.myString)
  print("myNumber", self.myNumber)
  print("myColor", self.myColor)
  print("myViewModel value", self.myViewModel.someString.value)
  print("myViewModel value", self.myArtboard.data.someEnum.value)

  return true
end

return function(): Node<MyNode>
  return {
    init = init,
    draw = draw,
    myString = "Rive for president!"
    -- Sets default value when creating a new instance of the script
    -- This will be overridden by a value set in the script's inputs
    myNumber = 0,
    myColor = Color.rgba(255, 255, 0, 255), -- 0xFFFFFF00

    -- Use late() to mark this input as assigned at runtime
    myViewModel = late(),
    myArtboard = late()
  }
end

Using inputs, instances of Artboards can be added to your scene at runtime. See Instantiating Components.

Setting Input Values

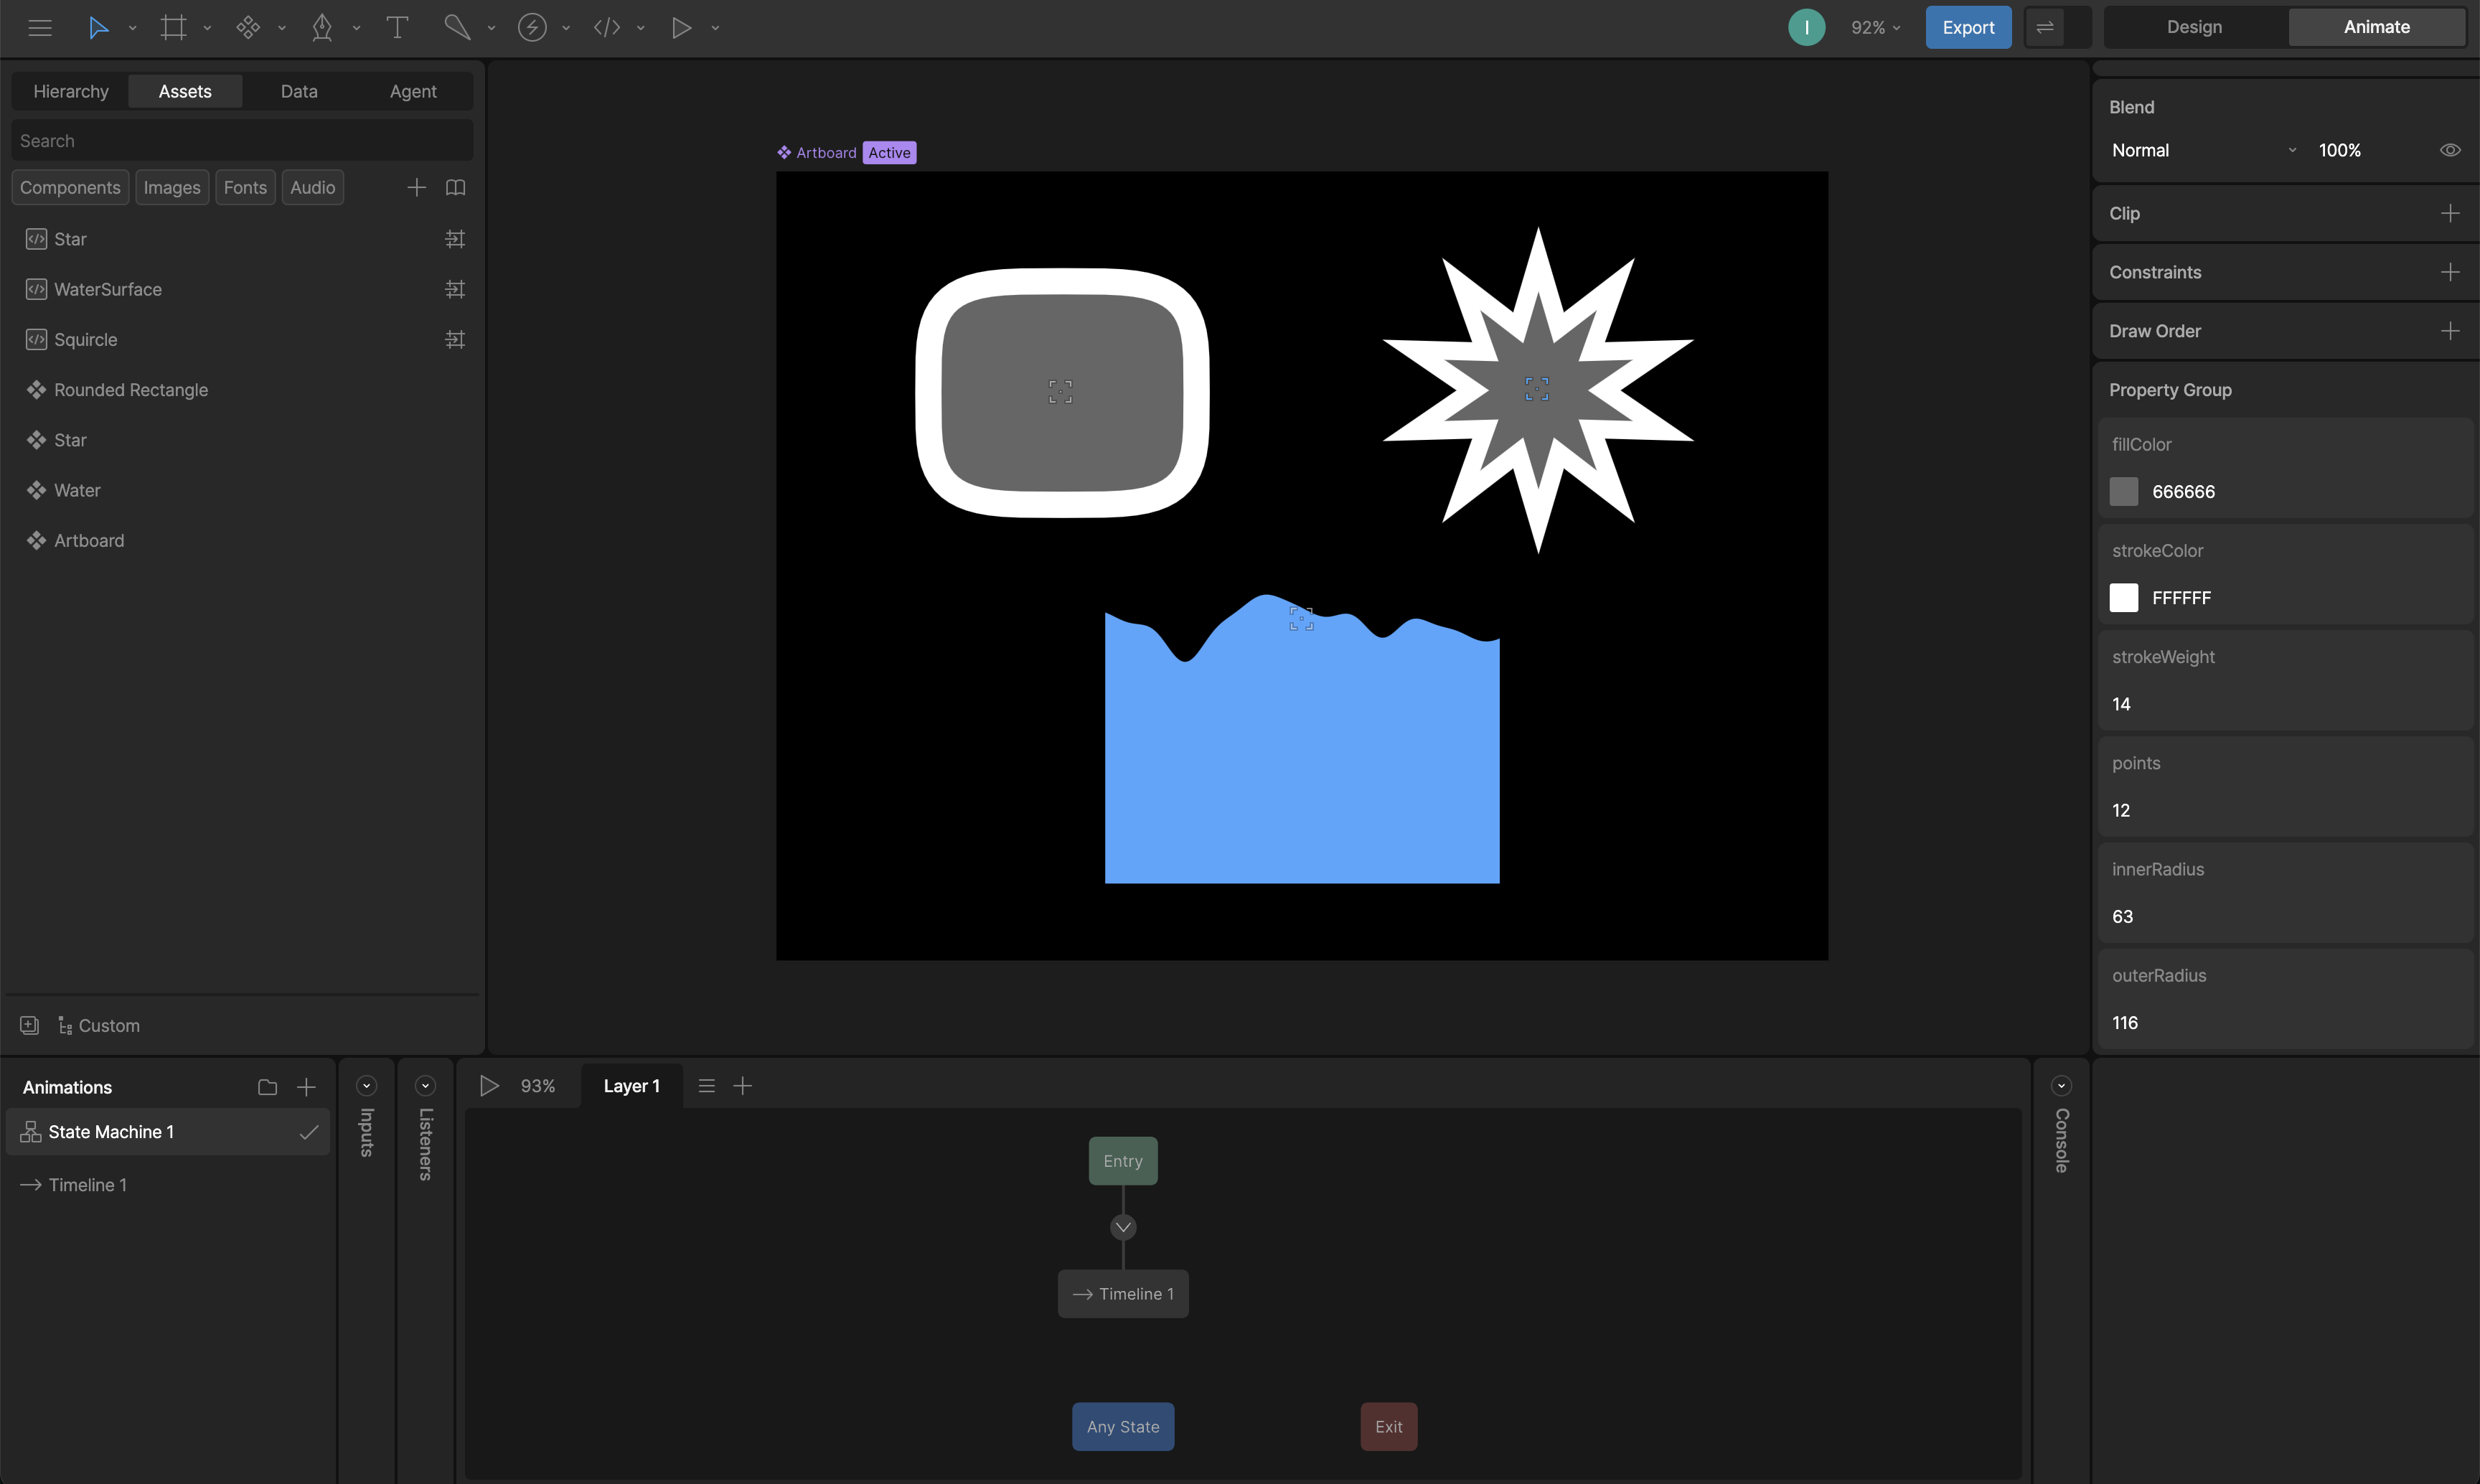
To access the input properties in the right sidebar of the editor, select your Node or Layout script in the Hierarchy Panel or the Converter in the Data Panel. Node script input
Data Binding Inputs

You can use Data Binding to control input values at runtime.
Inputs can control scripts, but scripts can’t change the value of inputs.If you need to control a view model property from your script, use View Model Inputs
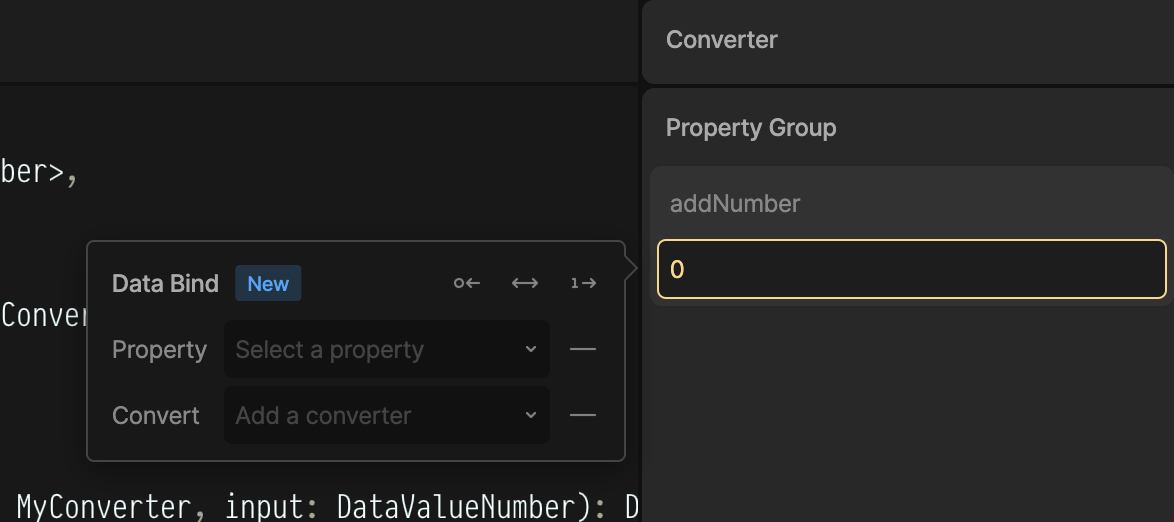
To data bind an input, right-click the input field in right sidebar, choose Data Bind, and select a property. Data bind a converter input

Listening for Changes to Inputs

The update function fires every time any input changes.
function update(self: MyNode)
  print('An update changed')
end
You can also listen for changes to specific properties:
function handleMyStringChanged()
  print('myString changed!')
end

function handleMyNumberChanged(myNumber: number)
  print('myNumber changed!', myNumber)
end

function init(self: MyApp): boolean
  -- handleMyStringChanged fires when self.myString changes
  local myString = self.myString
  myString:addListener(handleMyStringChanged)

  -- Pass a parameter to the handleMyStringChanged callback
  local myNumber = self.myNumber
  myNumber:addListener(myNumber.value, handleMyNumberChanged)

  return true
end

View Model Inputs

View Model Inputs let your script read from and write to View Model properties. These properties can control any element in your Rive scene via (See Data Binding).

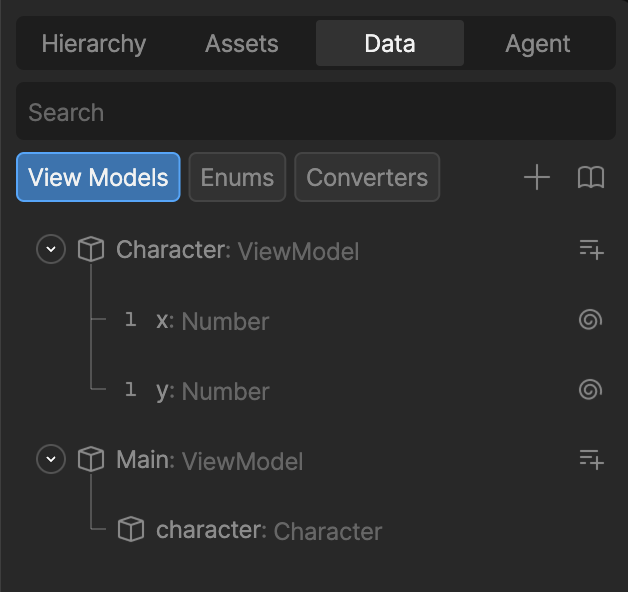
Setting Up Your View Model

Scripts can only access nested, but not top-level View Models.
In this example:
  • The Main view model has a property named character.
  • The character property is itself a Character view model.
  • The Character view model contains two number properties (x and y) that you want to control from your script.
Nested

Defining a View Model Input

Inside your script, declare a new input whose type matches the nested view model you want to reference (Data. + the name of your nested view model). In this case, the Character view model type becomes Data.Character.
type MyNode = {
  -- This input expects a view model instance of type Character
  character: Input<Data.Character>
}

return function(): Node<MyNode>
  return {
    init = init,
    advance = advance,
    draw = draw,
    -- Initialize with `late()` so the value
    -- can be provided by the editor at runtime.
    character = late(),
  }
end

Connecting the Input in the Editor

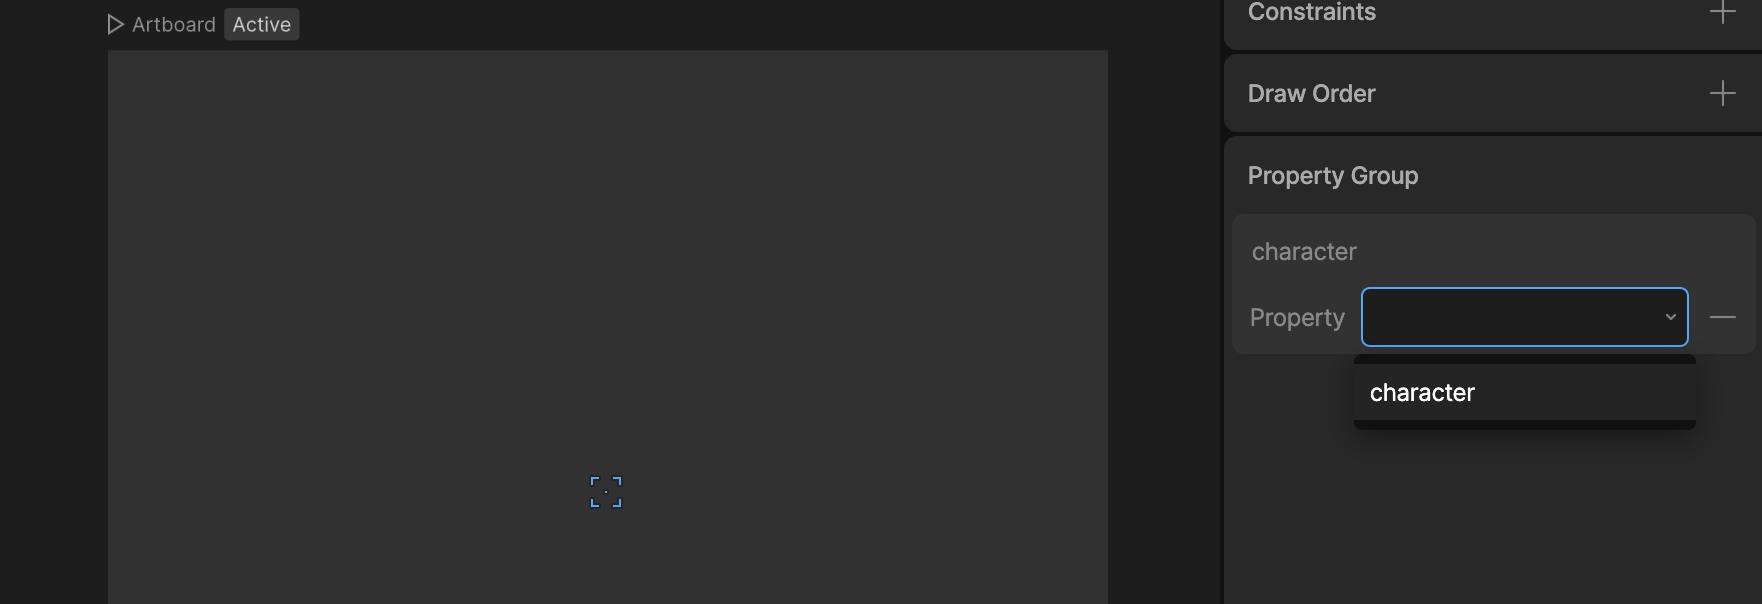
  1. Select your script in the Scene panel (or the converter if you’re using a Converter script)
  2. In the right sidebar, look for the Property Group section
  3. You’ll see a dropdown for your character input
  4. Select your nested character property from the Main view model
Nested

Reading and Writing View Model Properties

Once connected, you can access the nested view model directly from your script:
function moveCharacter(self: MyNode)
  print('Current x: ', self.character.x.value)
  self.character.x.value = 10
end
Because character is a view model instance, you can access all of its public properties:
self.character.<propertyName>.value