Adding Rive files
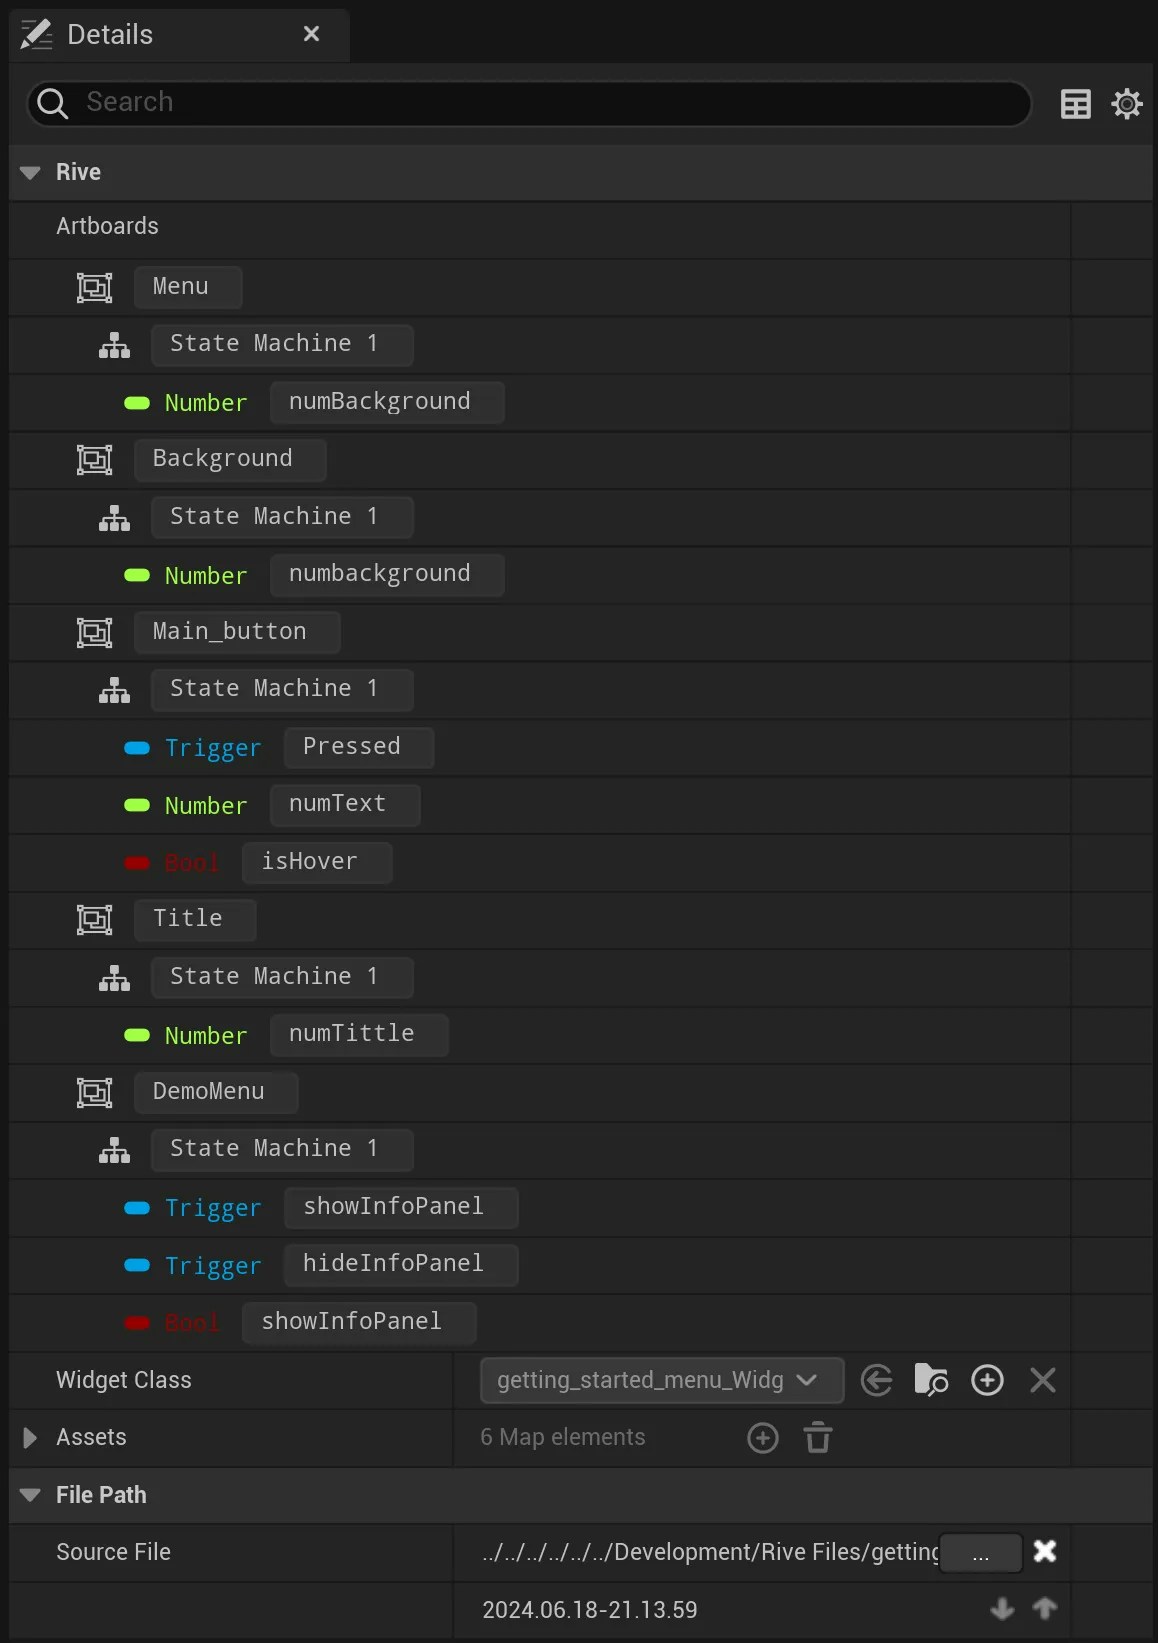
To add a.riv file to an Unreal project, simply drag it into Unreal’s Content Browser. Once dropped, a Rive File, Rive Texture Object, and Widget Blueprint asset will be automatically created. A RiveFile is a wrapper component configuring the Rive graphic to display, using a backing .riv file’s data. It contains the following properties:
- Artboard name: The artboard to load.
- State machine name: The state machine to play.
- Rive fit type: How the graphic should fit in the available sizes (see Fit).
- Size: The size of the underlying render target to which the graphic is drawn. The default value is equal to the artboard size, as set in the Rive editor.
- Other texture properties.
RiveTextureObjects
While a RiveFile contains the data of a Rive asset, it is the RiveTextureObject that handles running the animations and handling state machines. Every RiveTextureObject runs independently, even if created from the same RiveFile. When you double-click on a RiveTextureObject you can examine and change various values associated with that object: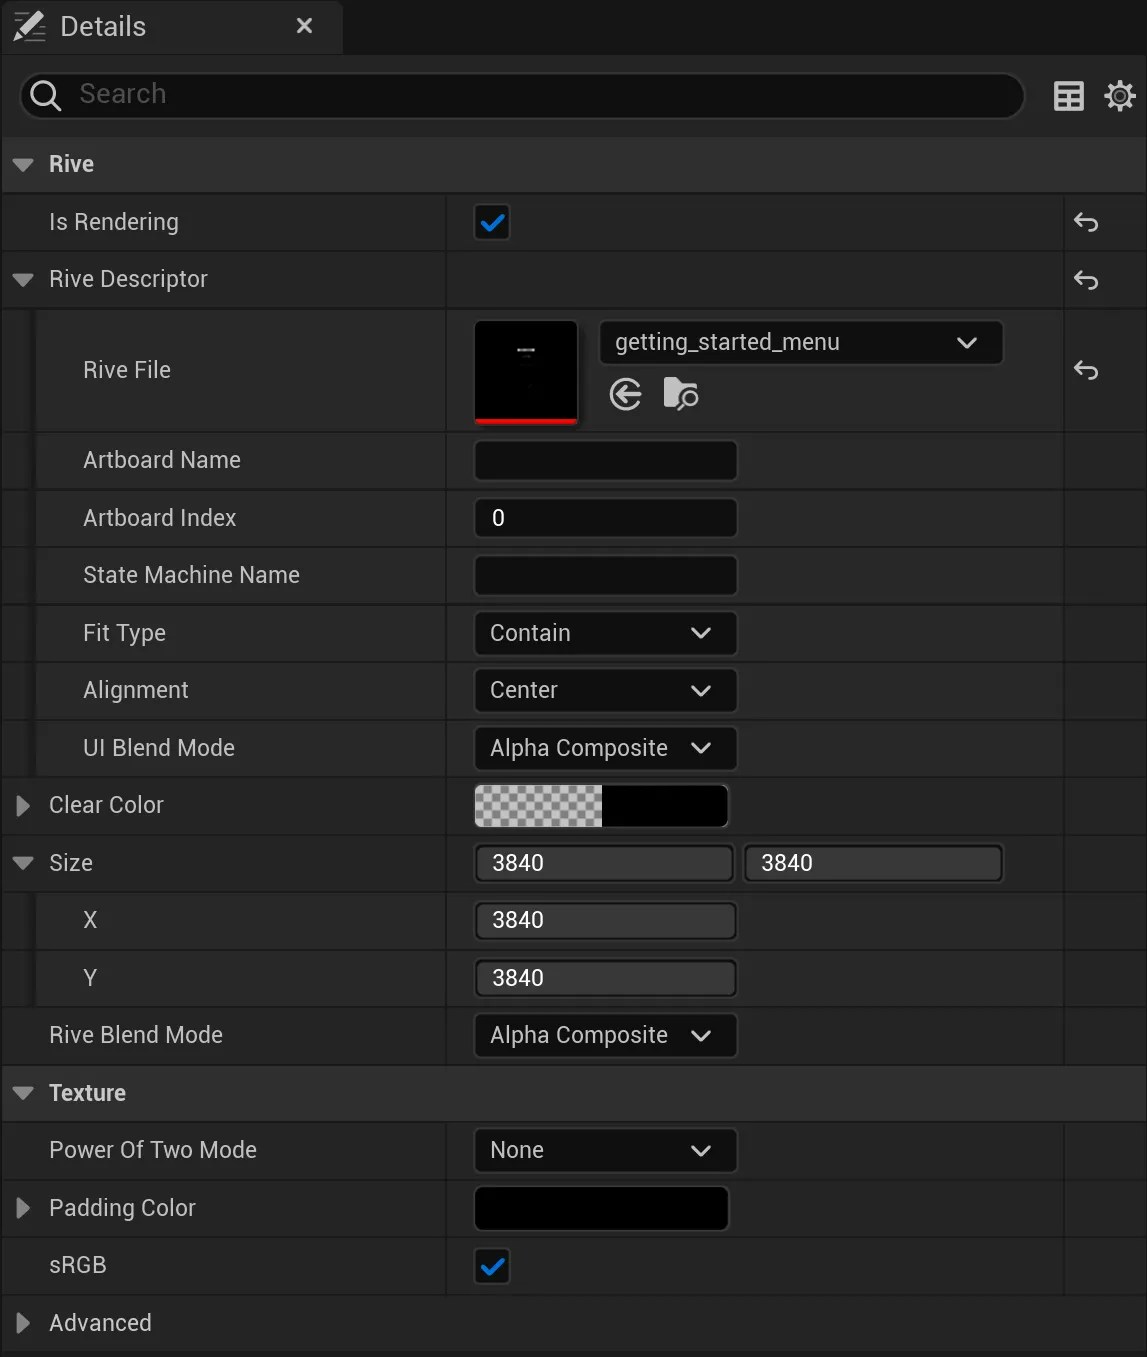
Note that the size attribute determines the width and height of the underlying render texture. A larger size improves the quality but increases the memory usage.
Create Rive Widget, Create Rive Texture Object, and Reimport
Right-click a RiveFile to access common actions: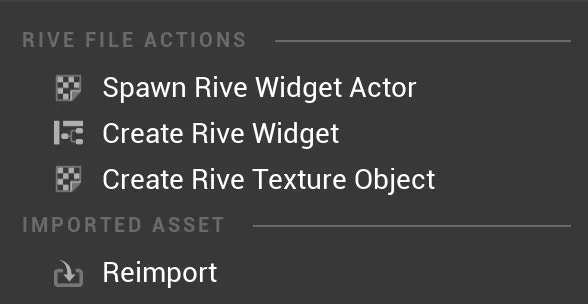
Create a material asset
You can easily create a material asset from a RiveTextureObject:- Right-click and select “Create Material”
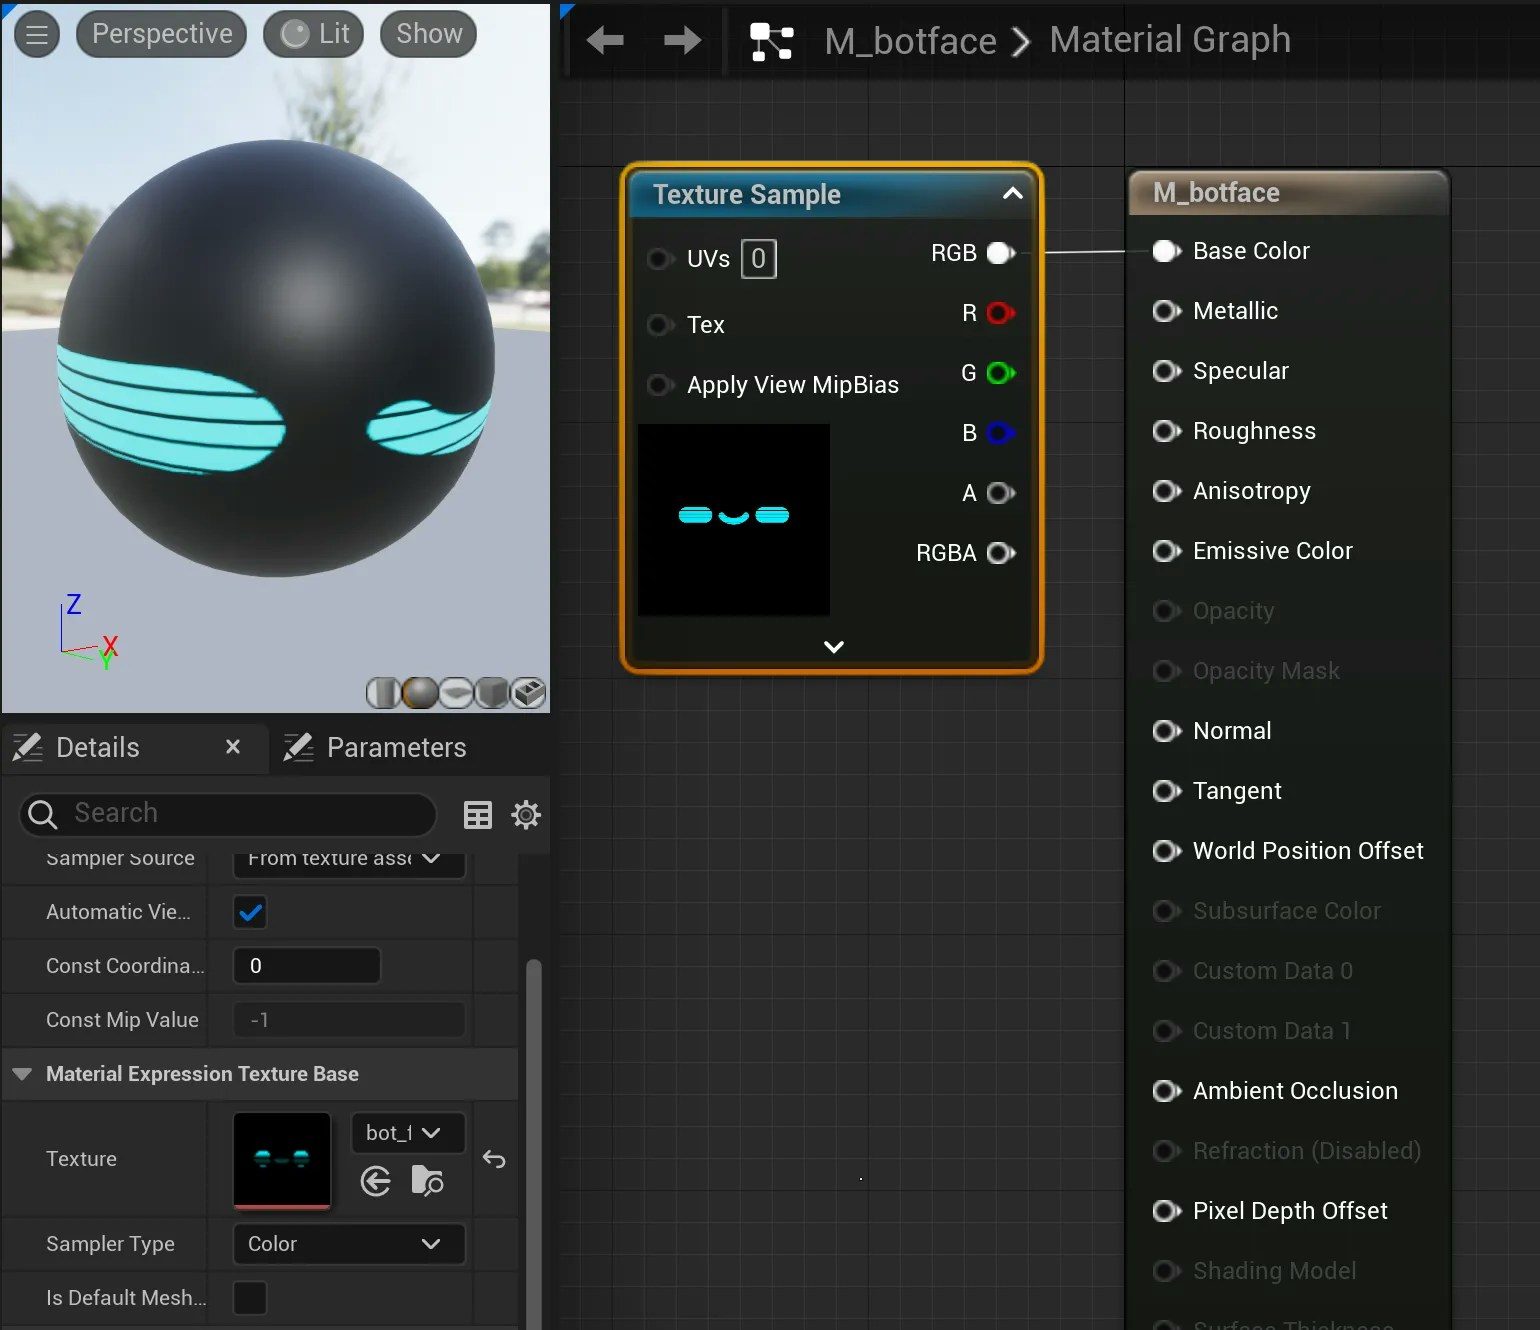
Displaying
This material can be added to a 3D mesh to be rendered in the scene, just like any other material.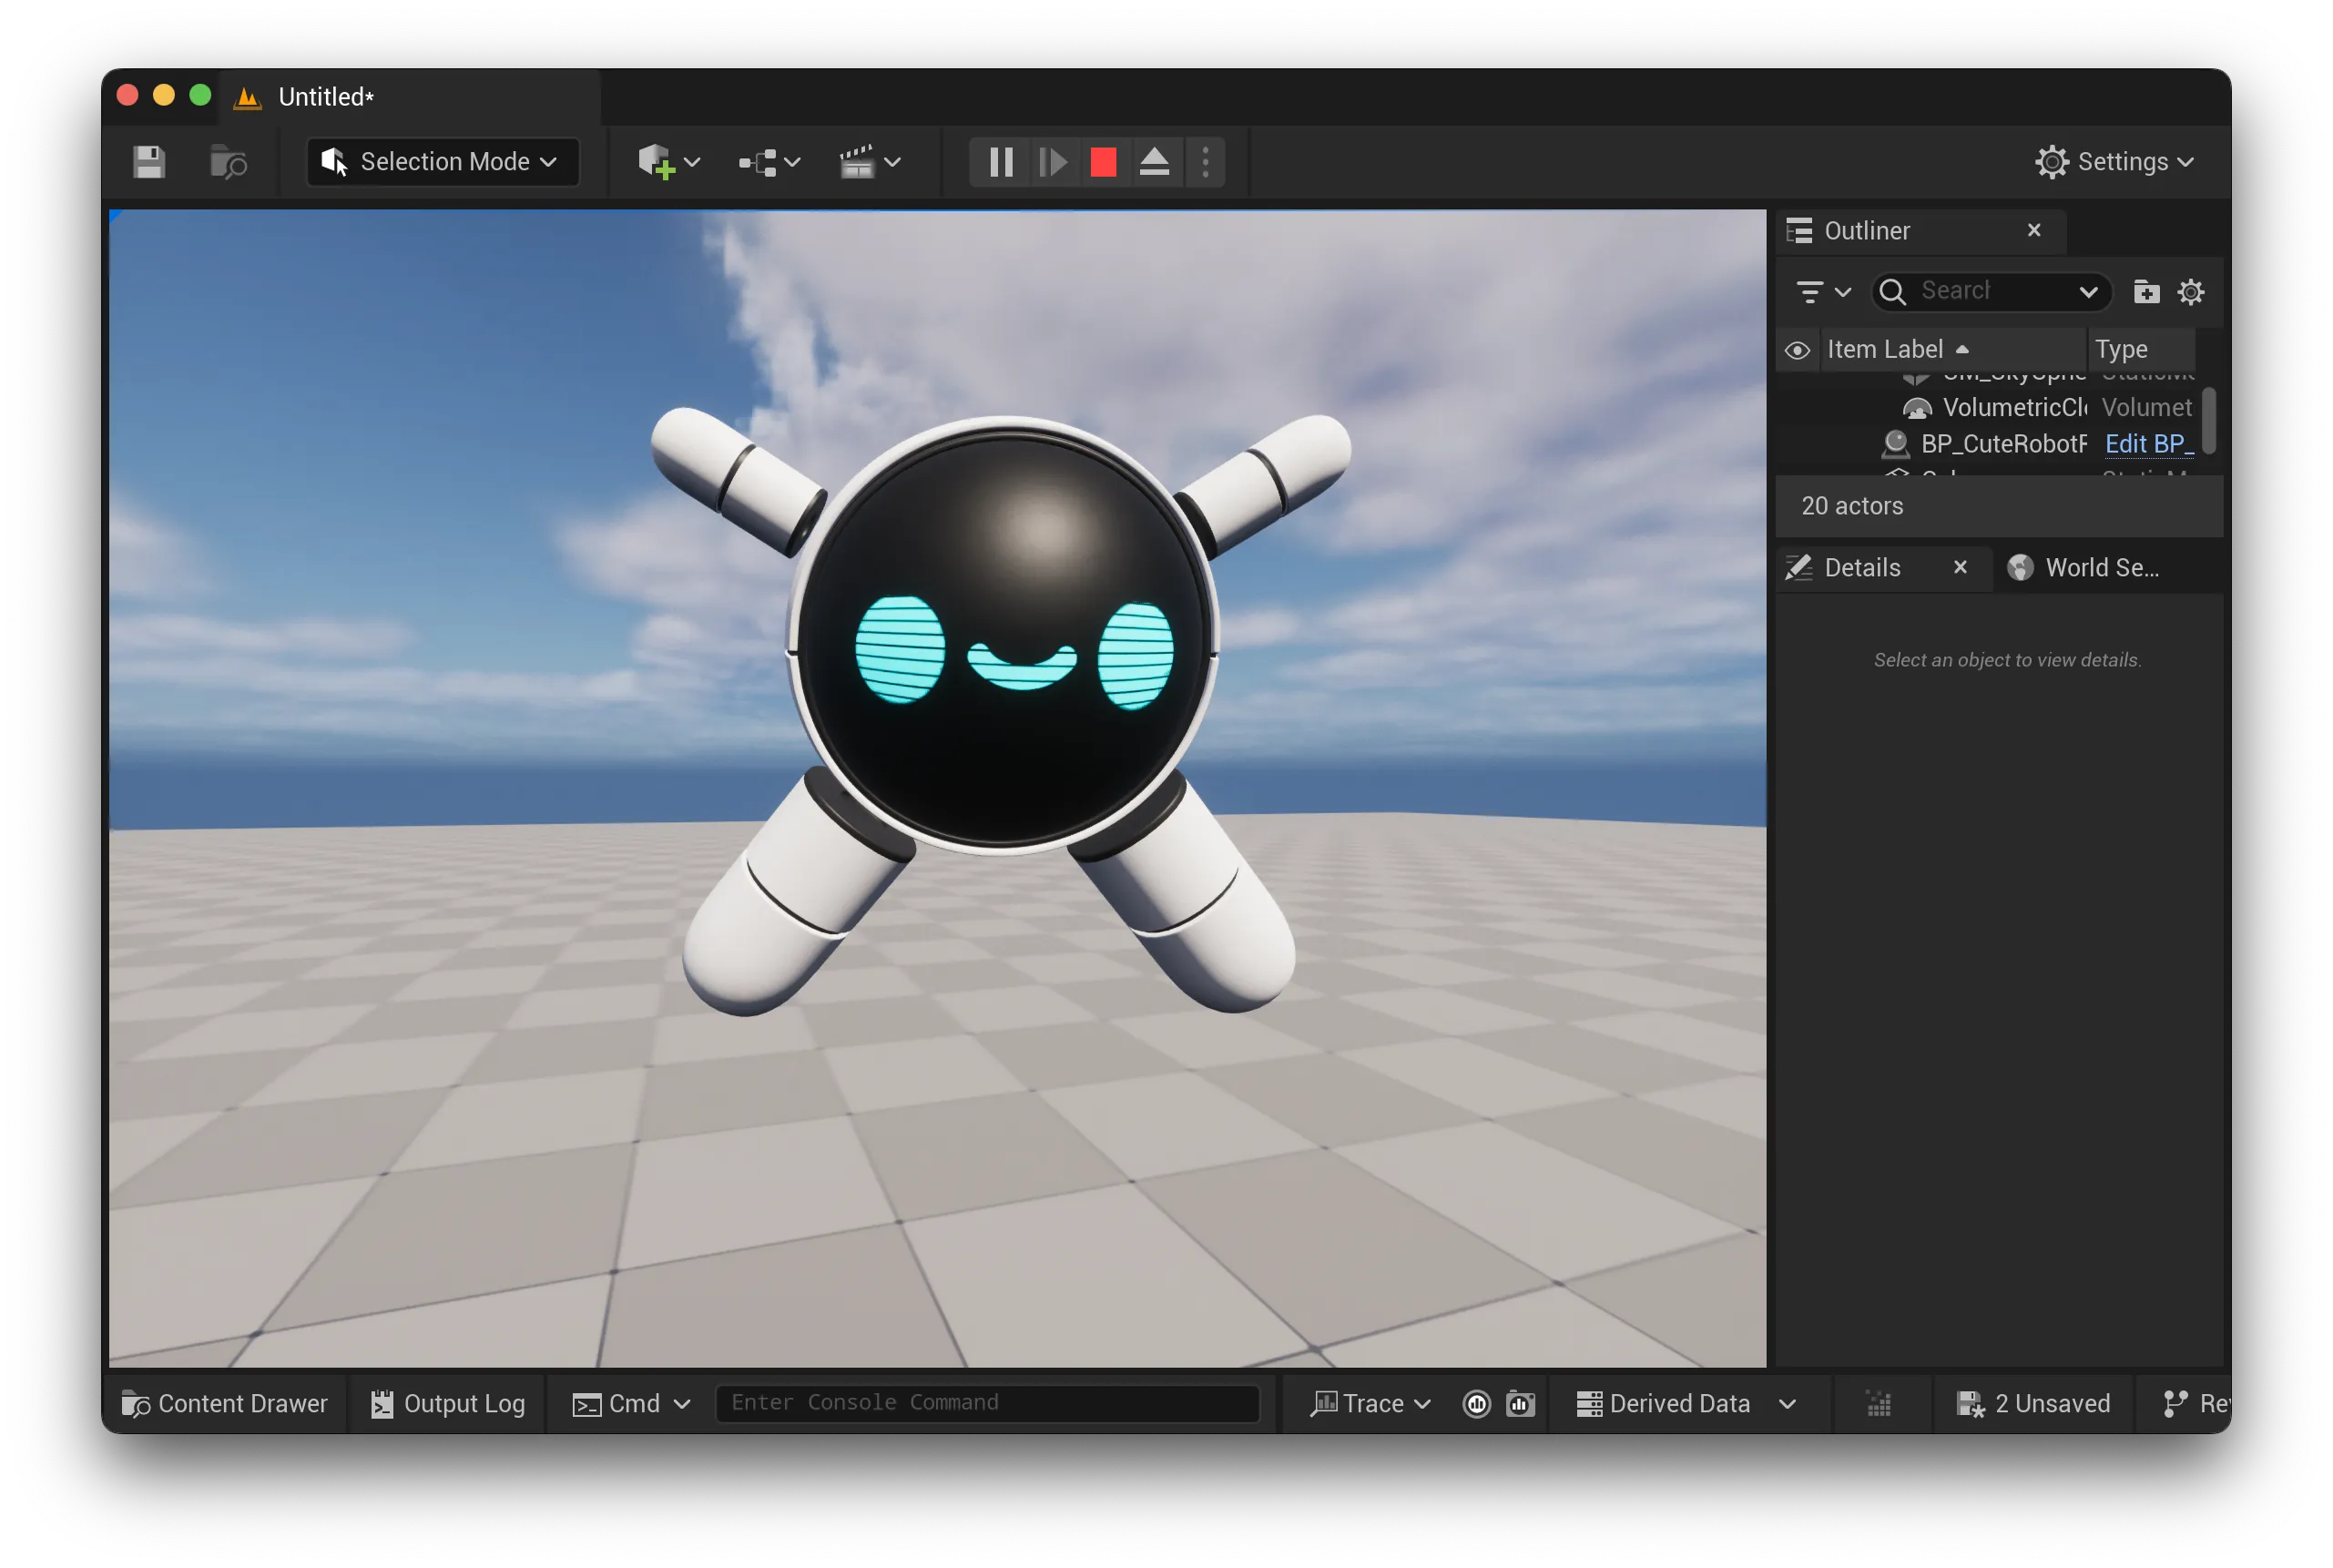
Adding Rive to UMG
You can easily create a Widget Blueprint from a RiveFile:- Right click the RiveFile and select “Create Rive Widget”
Be sure to click Compile to make the graphic visible.
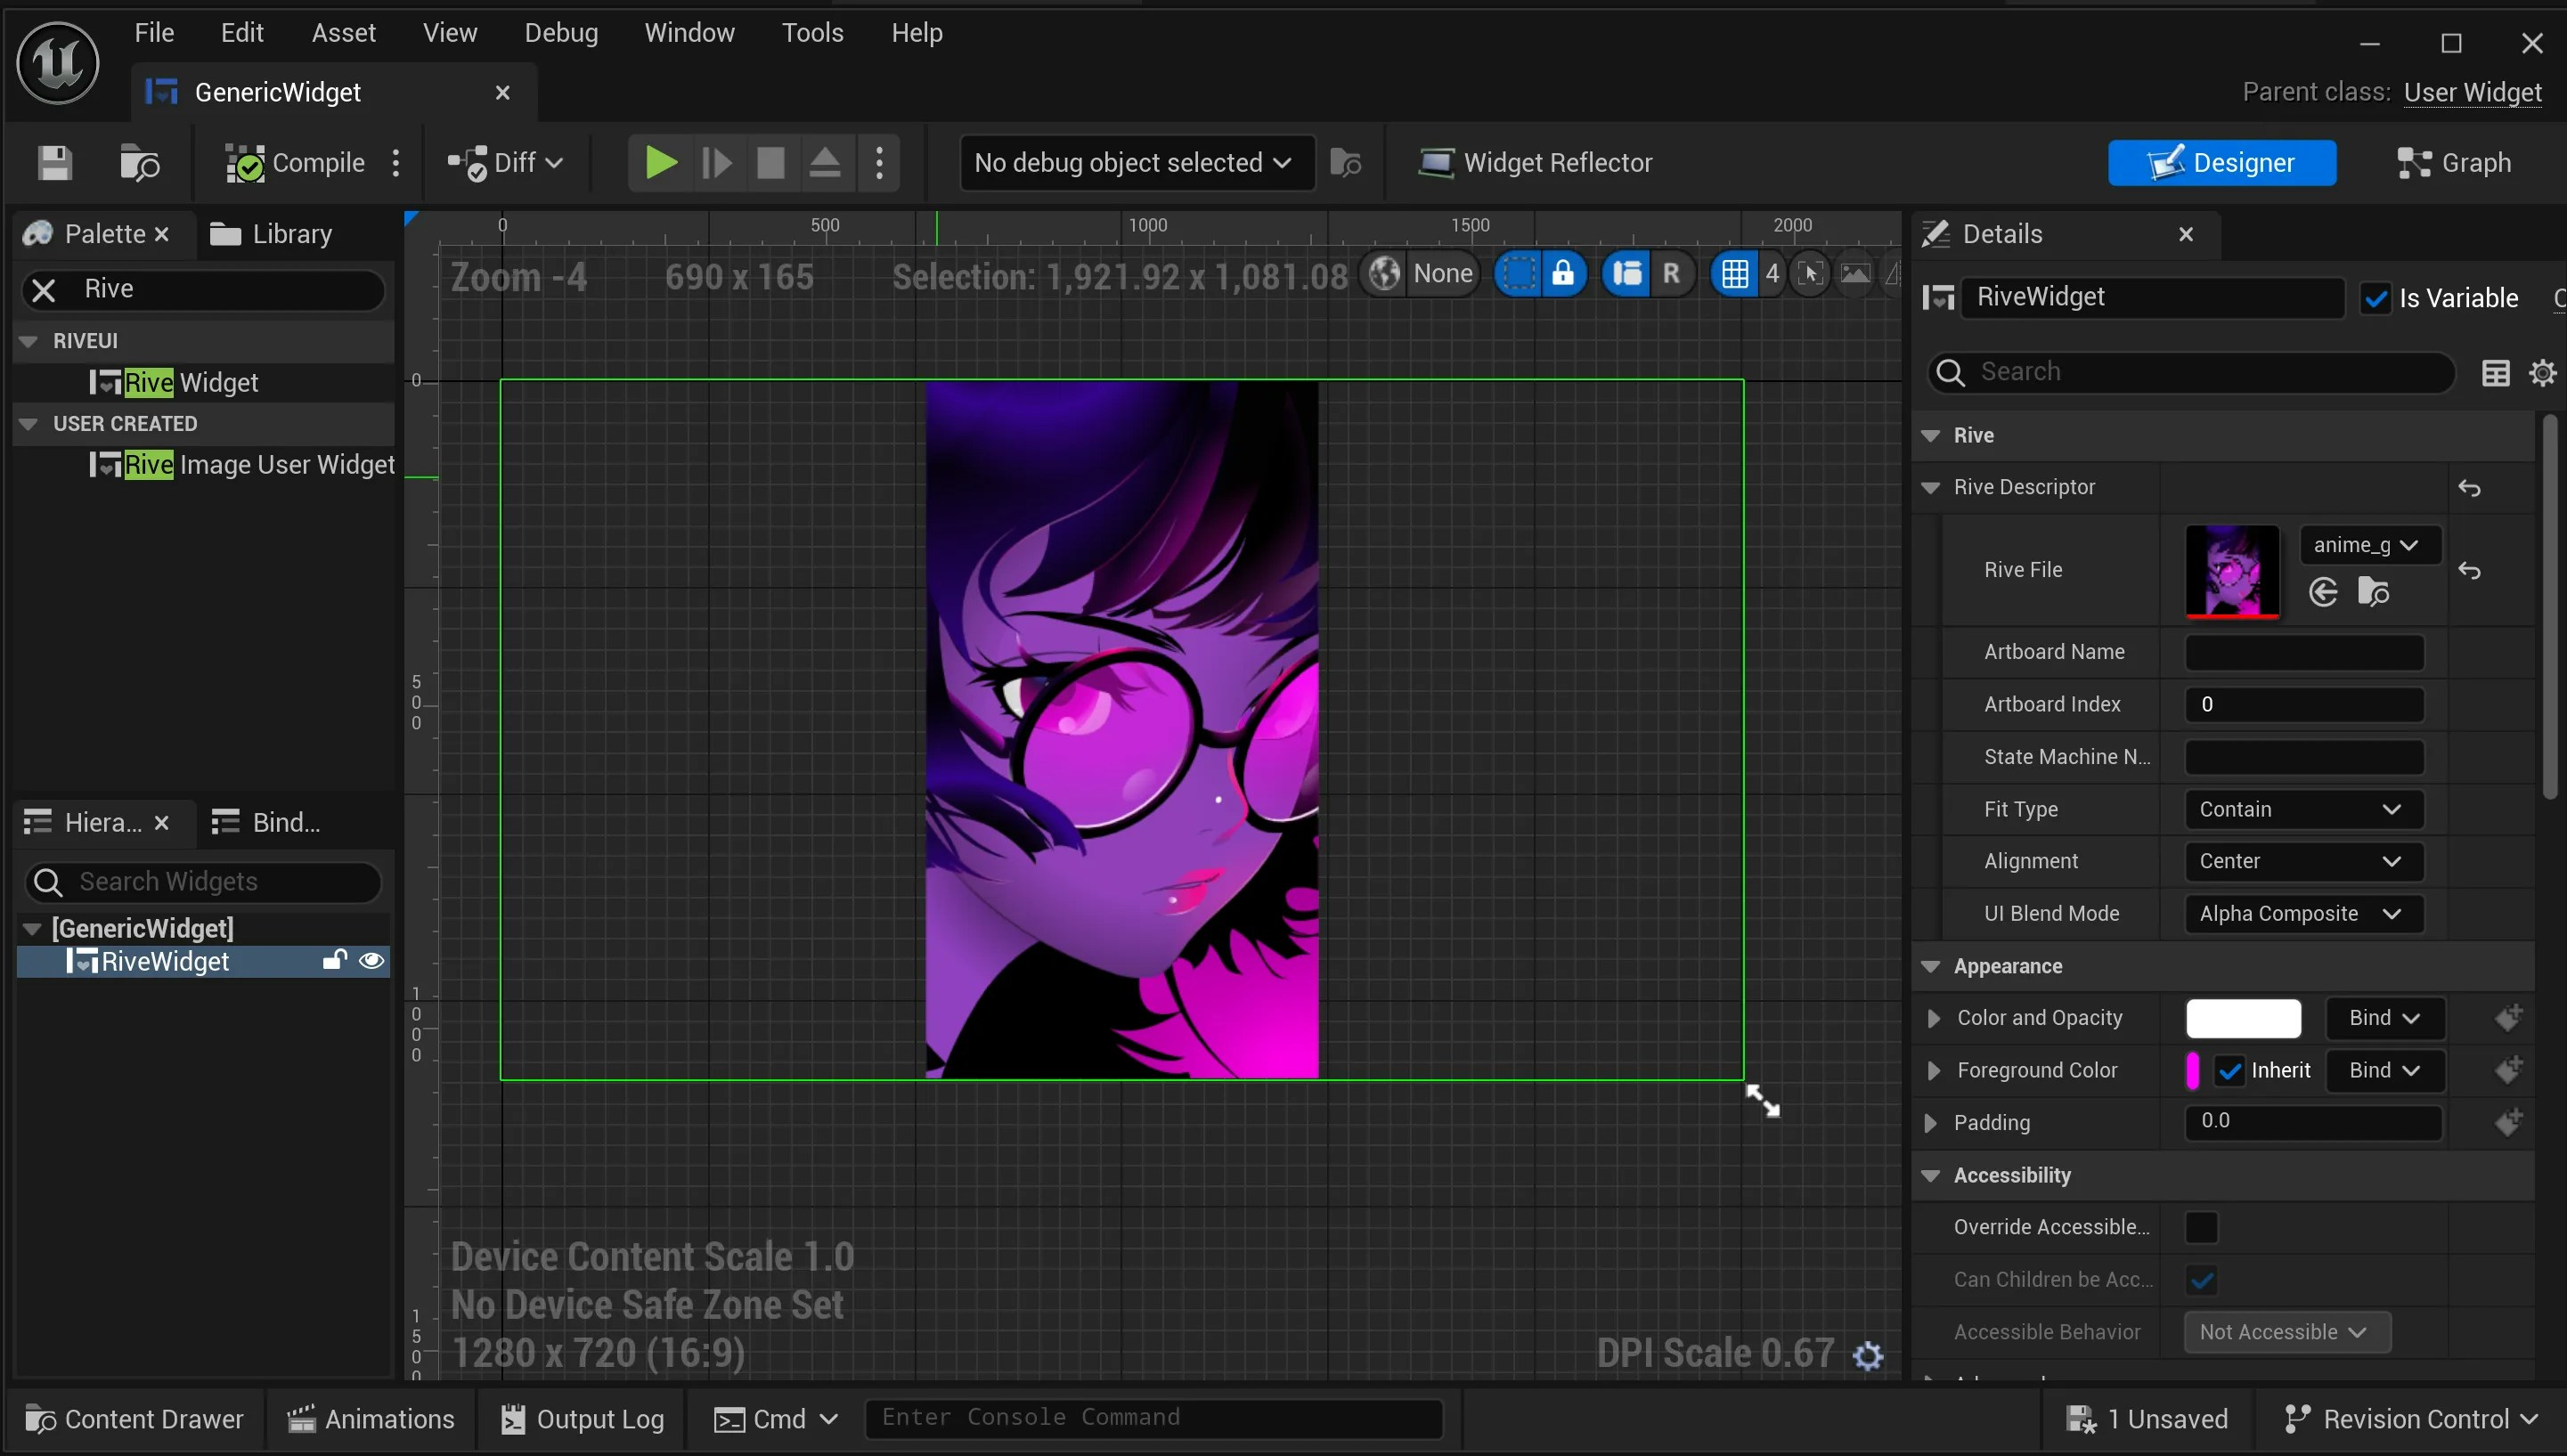
Listeners (pointer events) are disabled in this view. This means the Rive graphic is not interactive within UMG.
Accessing RiveWidget in Blueprint
The RiveWidget can be accessed through Blueprint, if the Is Variable toggle is set (default is checked).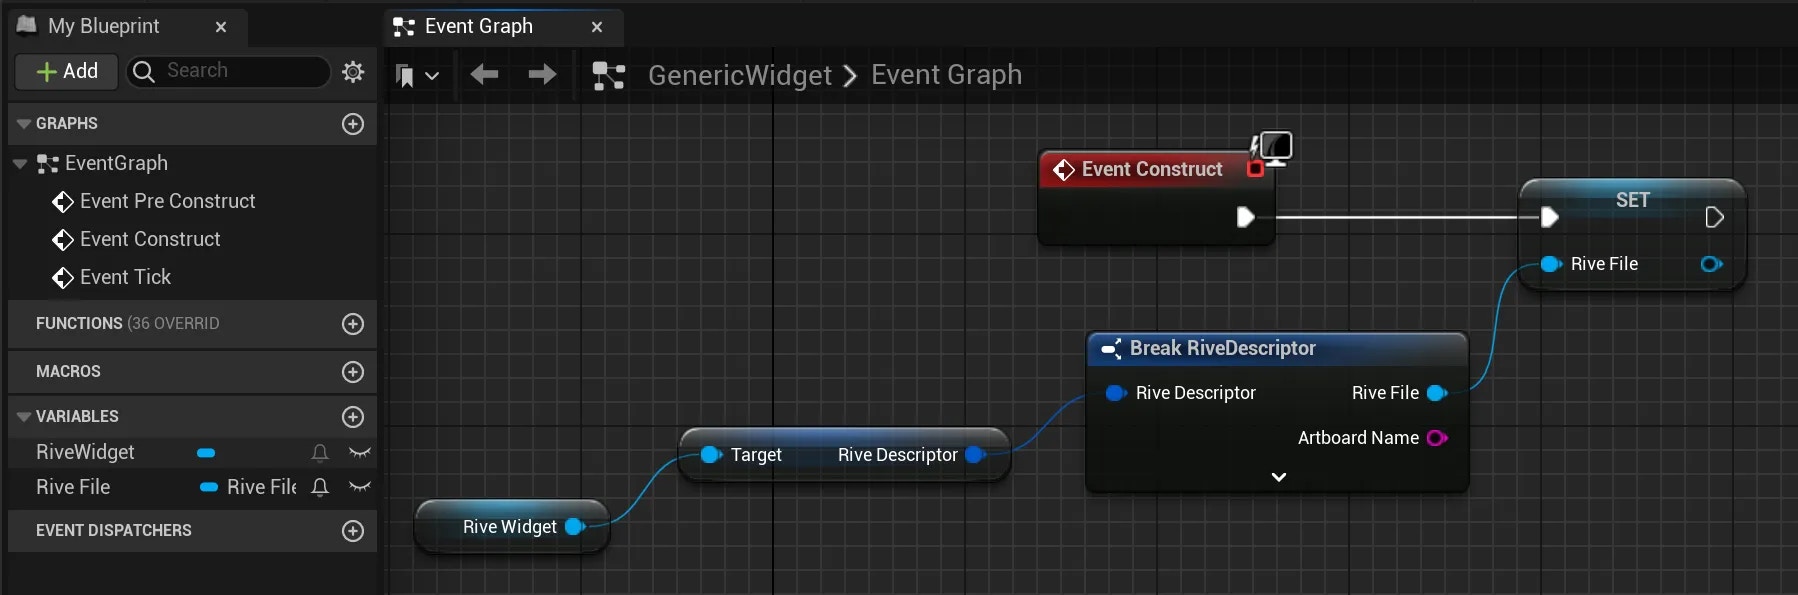
Displaying
Once a Widget Blueprint is configured, you only need to add it to the Viewport. In this example we’re creating a new Actor and adding the following.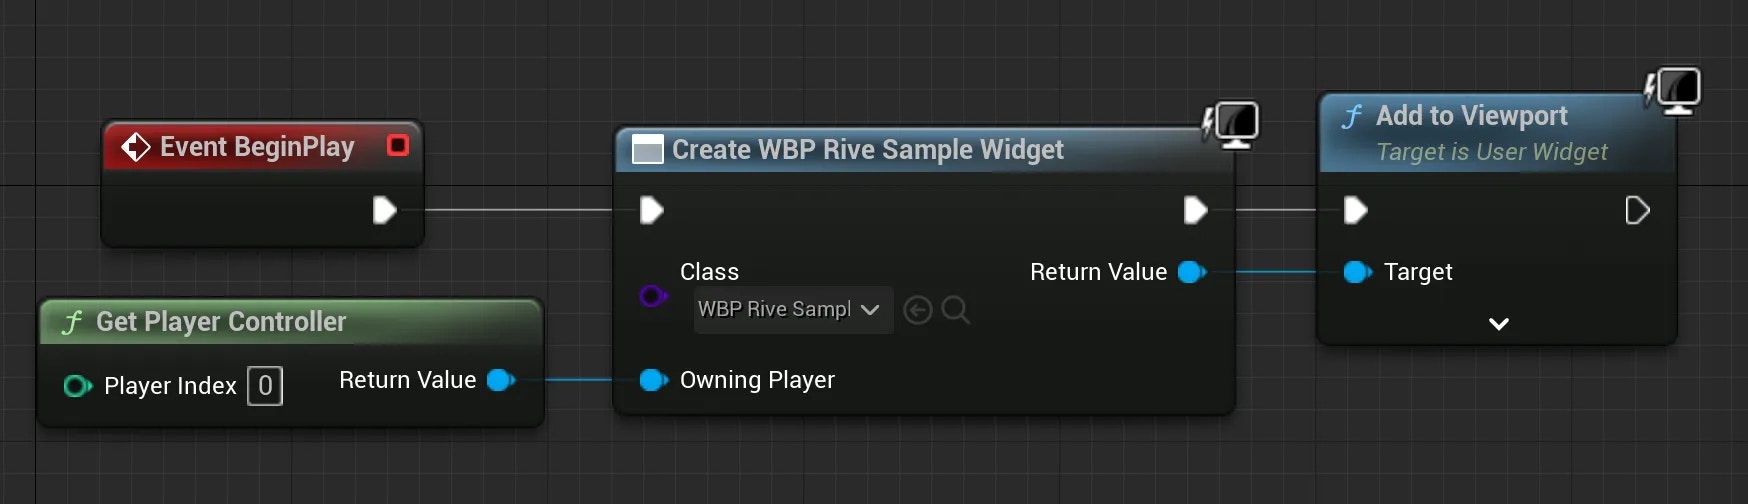
Instancing a RiveTextureObject
If, for example, your.riv file contains multiple different artboards, or if you want to create unique instances of the same artboard and state machine combination, you can easily do so by instancing new RiveTextureObjects through the editor:
- Right-click a RiveTextureObject and select “Duplicate”
.riv file data; however they are unique instances and can be configured with the available properties, such as artboard, state machine, size, etc. Each RiveTextureObject instance contains a unique artboard and state machine instance that can be updated and used independently.
An artboard and state machine can be instanced manually through Blueprint as well. Later sections will demonstrate how to do this.
How To Use Imported Rive Objects in Unreal