Joysticks work by allowing you to pan through different timelines that are assigned to either the X or Y axis of the joystick. Once you’ve assigned the timelines, you can use the joystick to set keys to create animations. Either watch the video, or read more below.Documentation Index
Fetch the complete documentation index at: https://uat.rive.app/docs/llms.txt
Use this file to discover all available pages before exploring further.
Creating a new Joystick
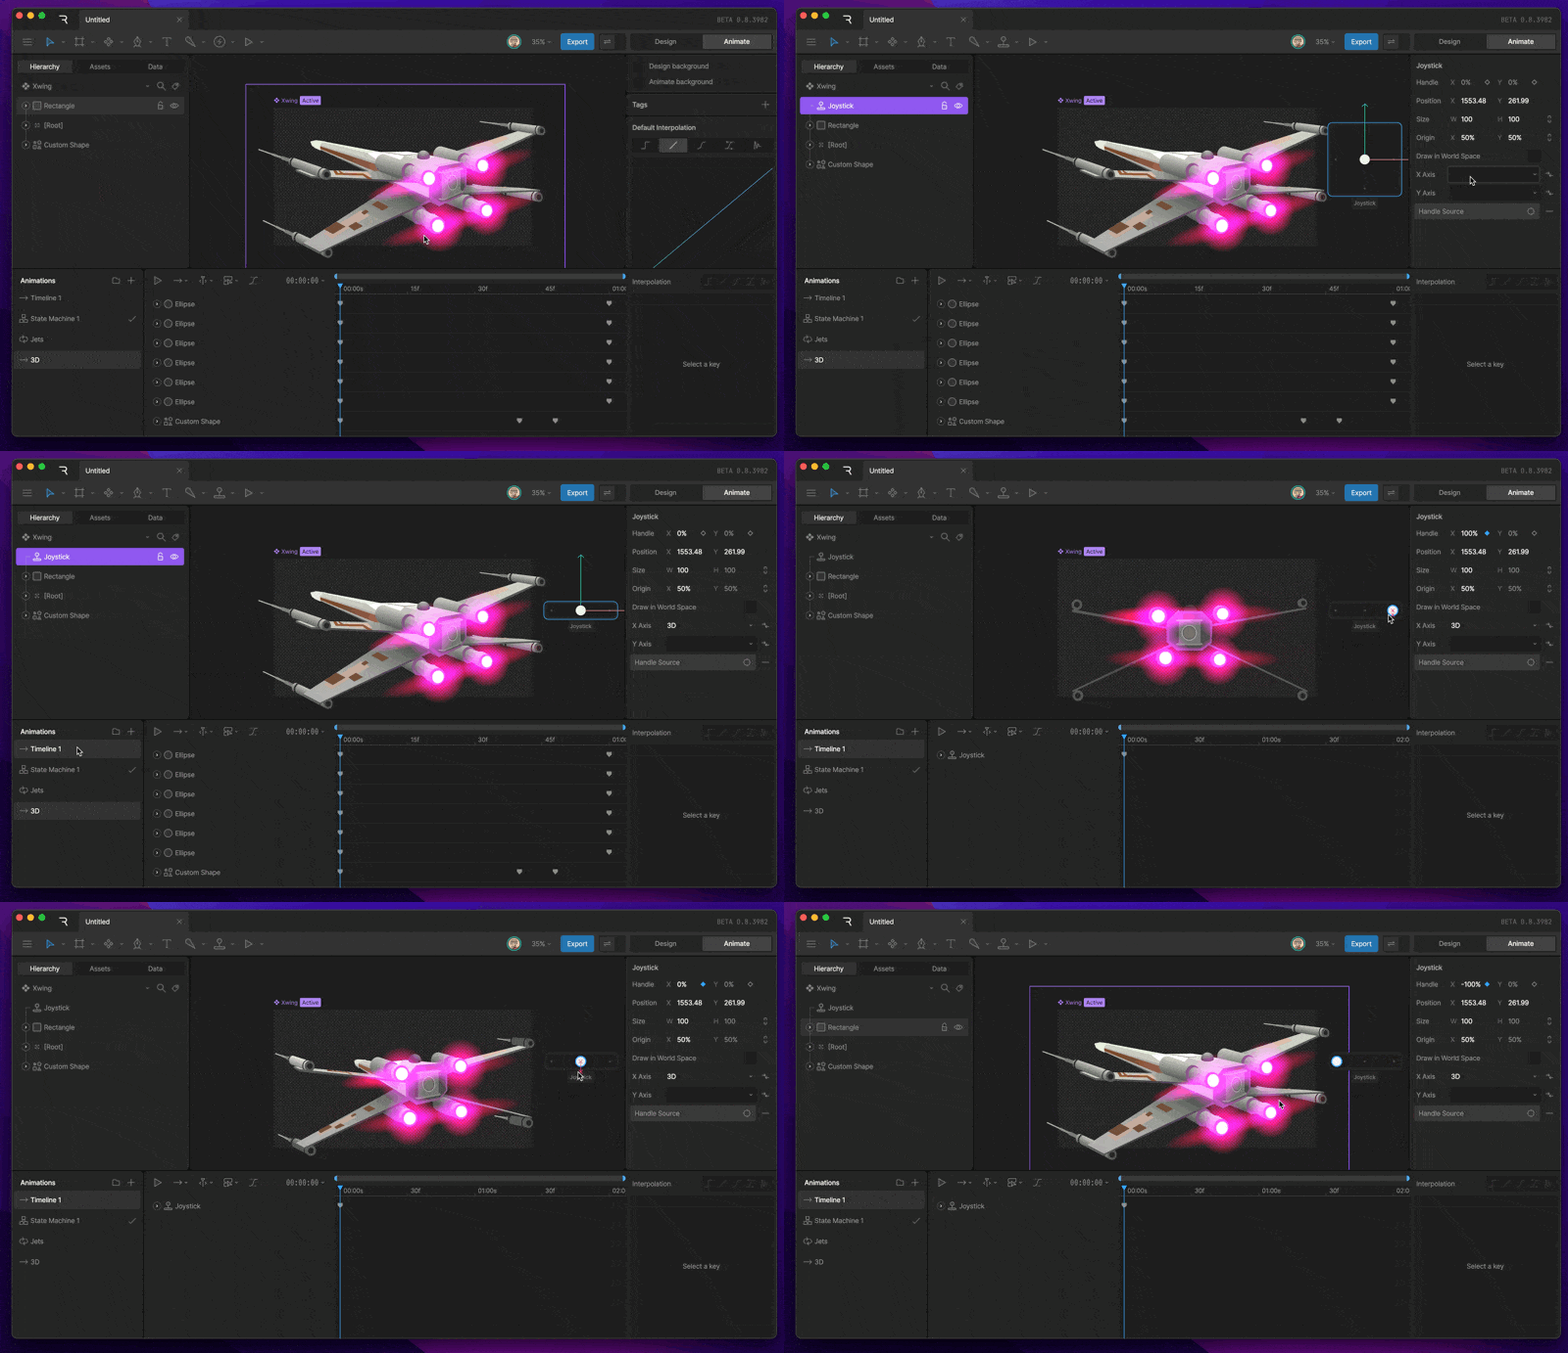
To create a new joystick, either find the Joystick Tool in the Stage Controls Tool menu, or by hitting the J key. Once the tool is activated, click anywhere on the stage to add a new Joystick.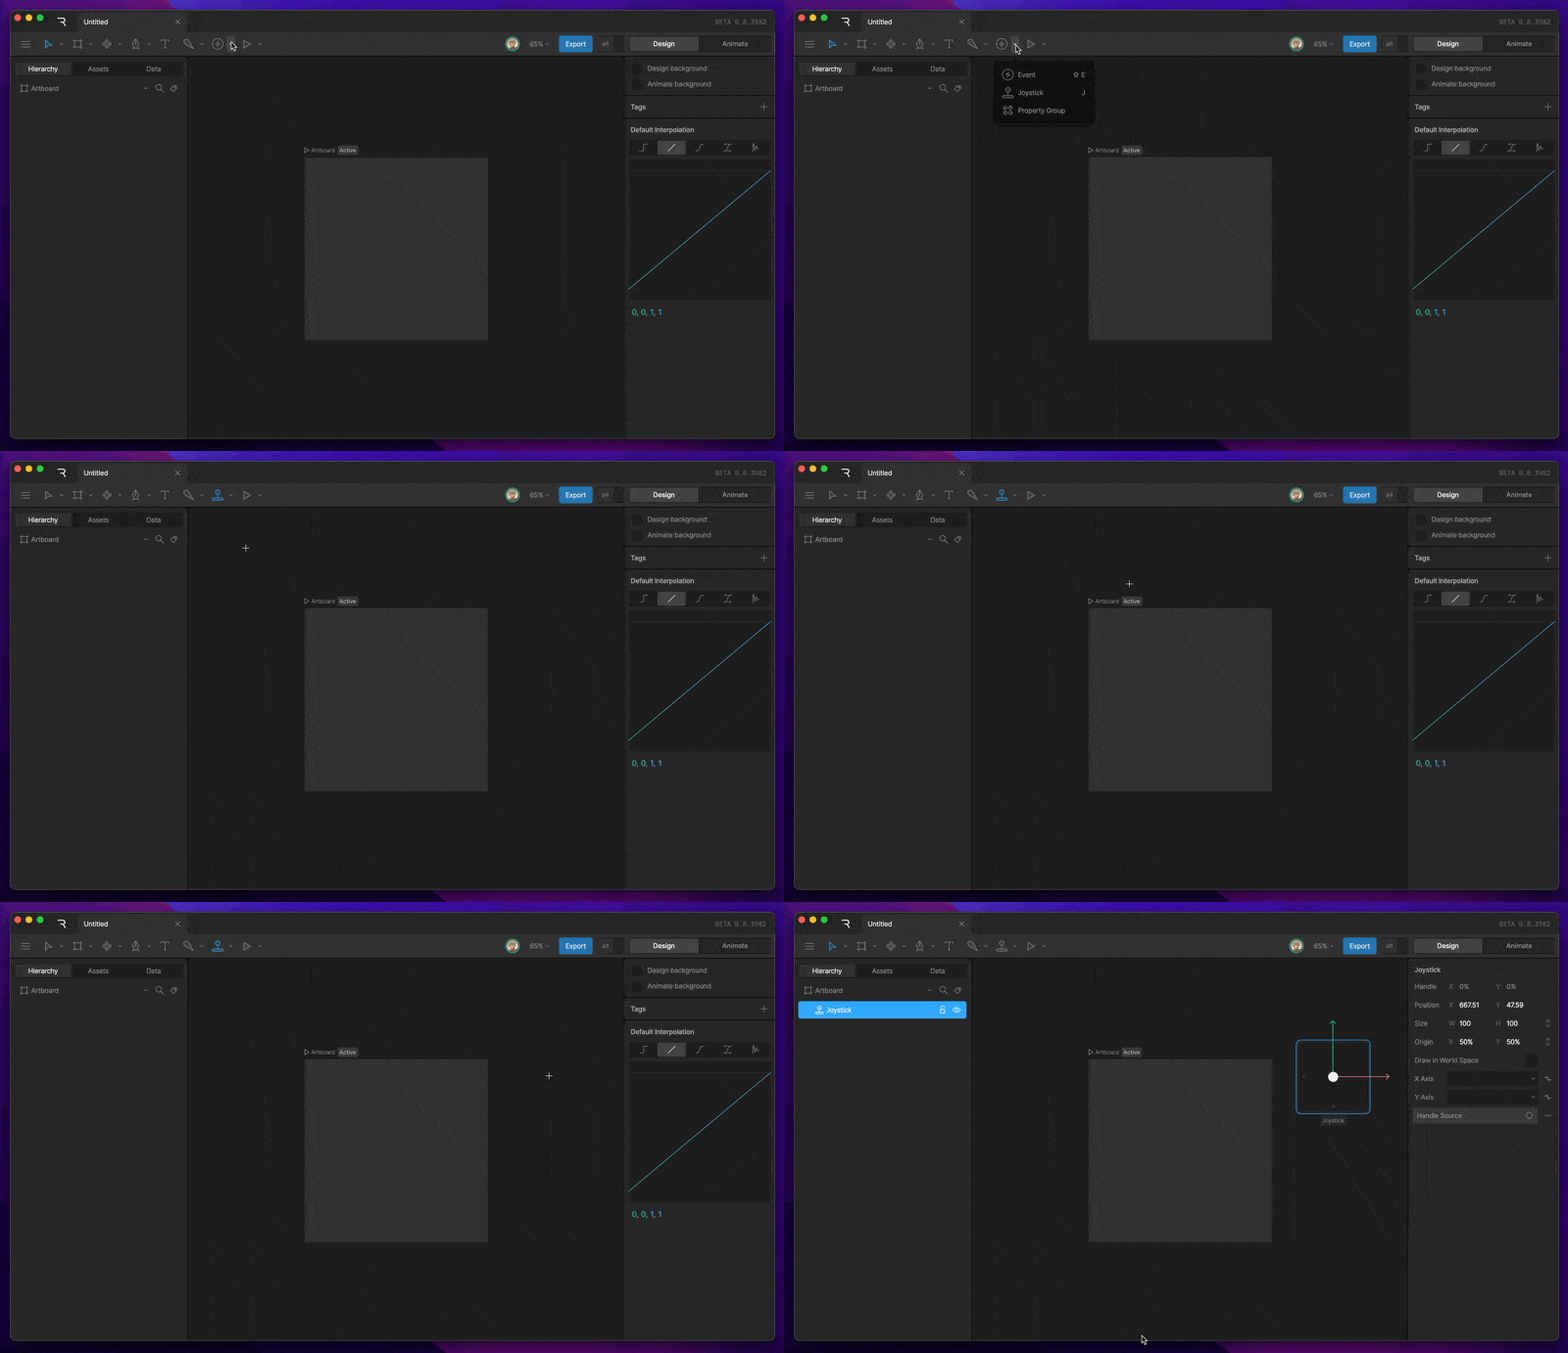
Joystick Properties
With the Joystick selected, you’ll see a number of properties that you can use in the Inspector.Handle
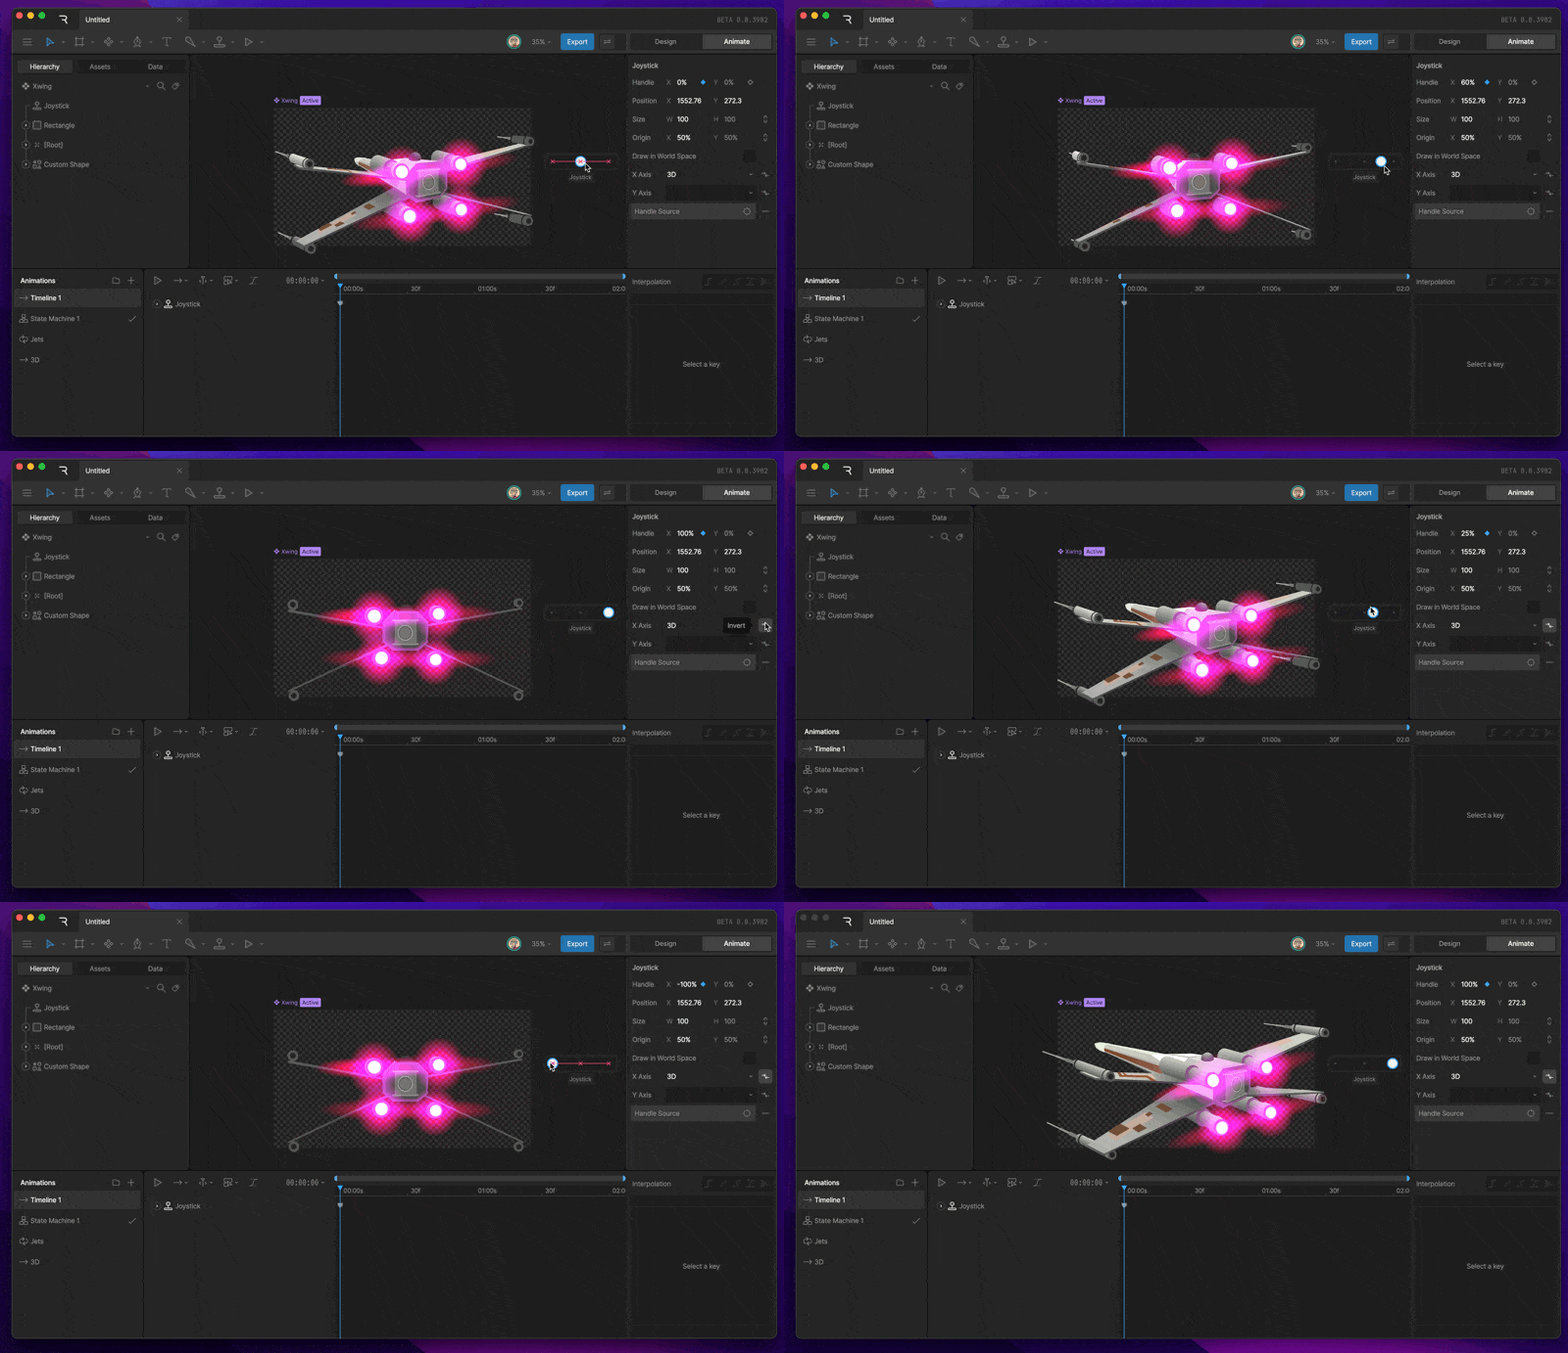
The Handle X and Y property describes the position that the handle is currently in. You’ll notice that these properties update as you move the handle around the Joystick.Position
The position property describes the position of the Joystick on the stage. For the most part, we won’t need to update this property at all while animating.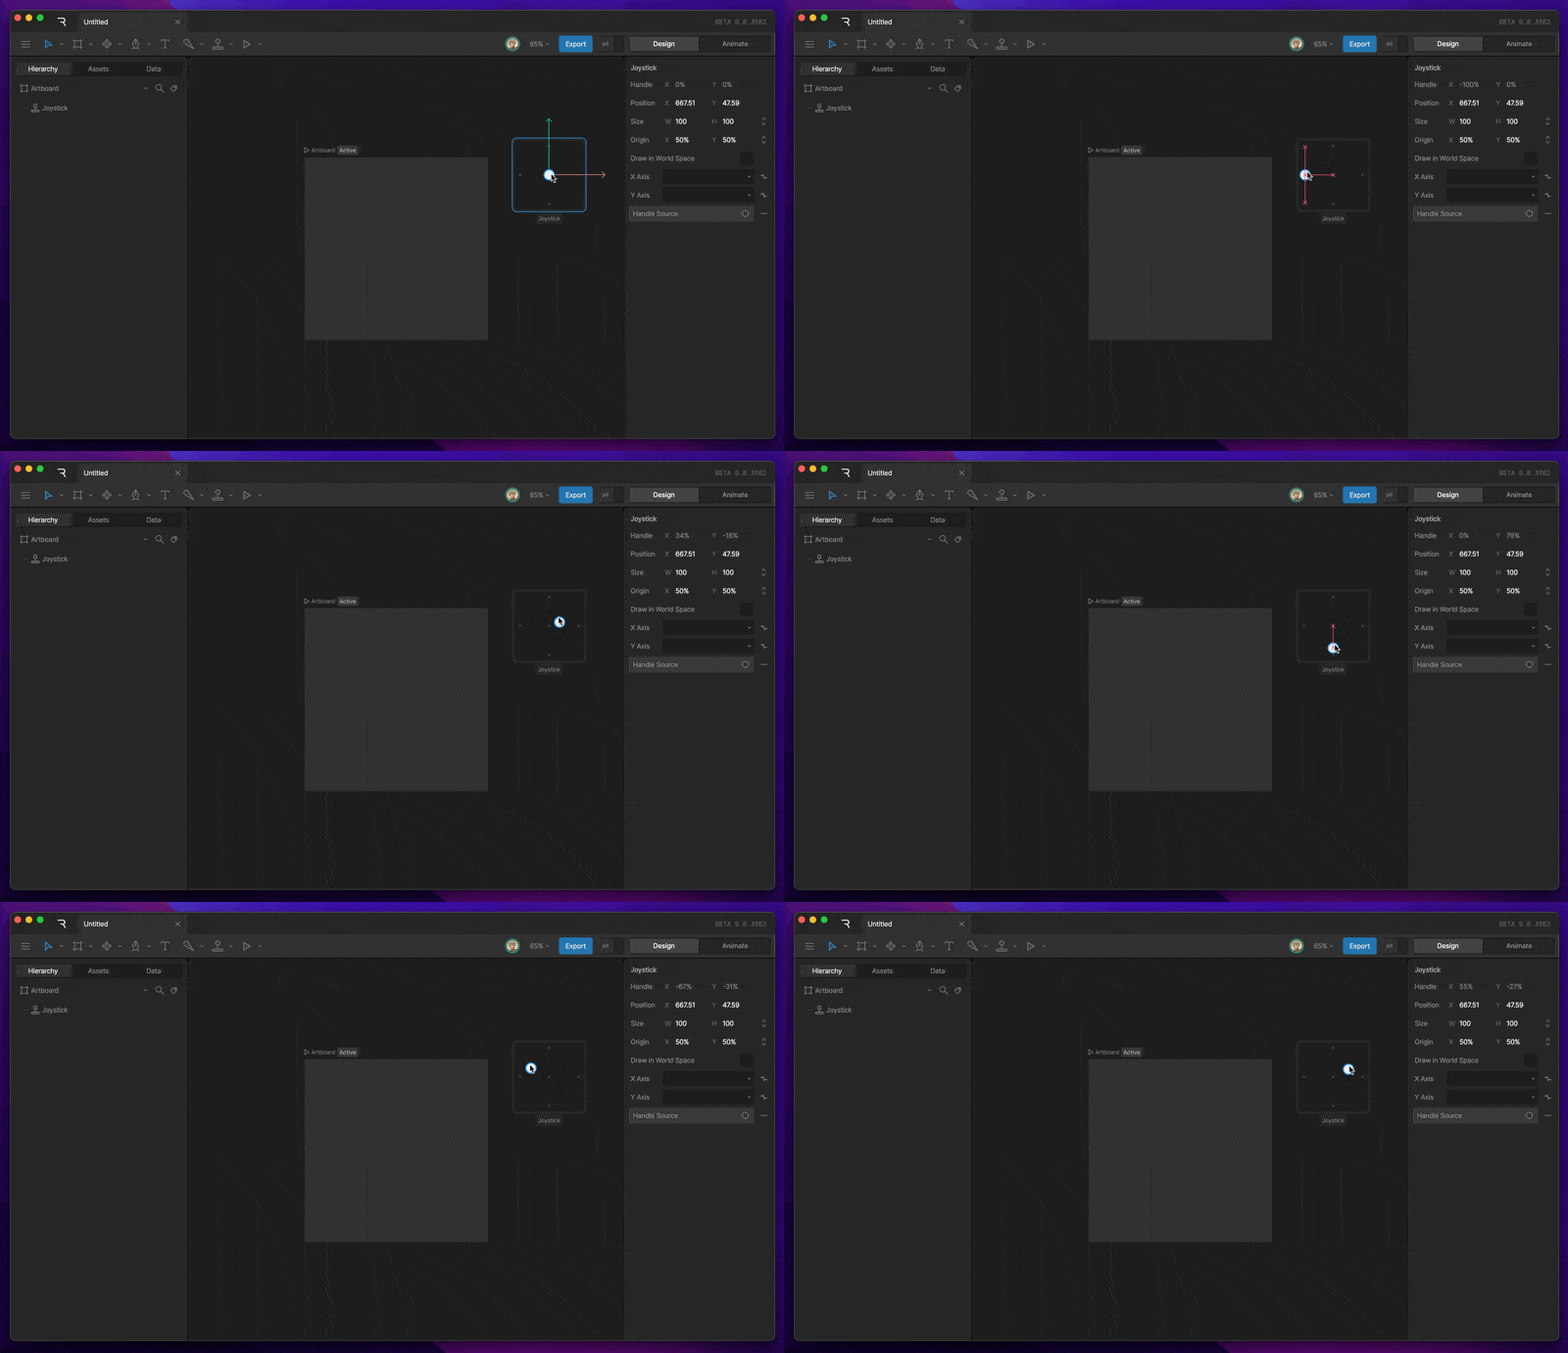
Size
The size property describes the size of the joystick. We can modify this property to fit our needs by making the joystick longer/shorter or wider/skinnier.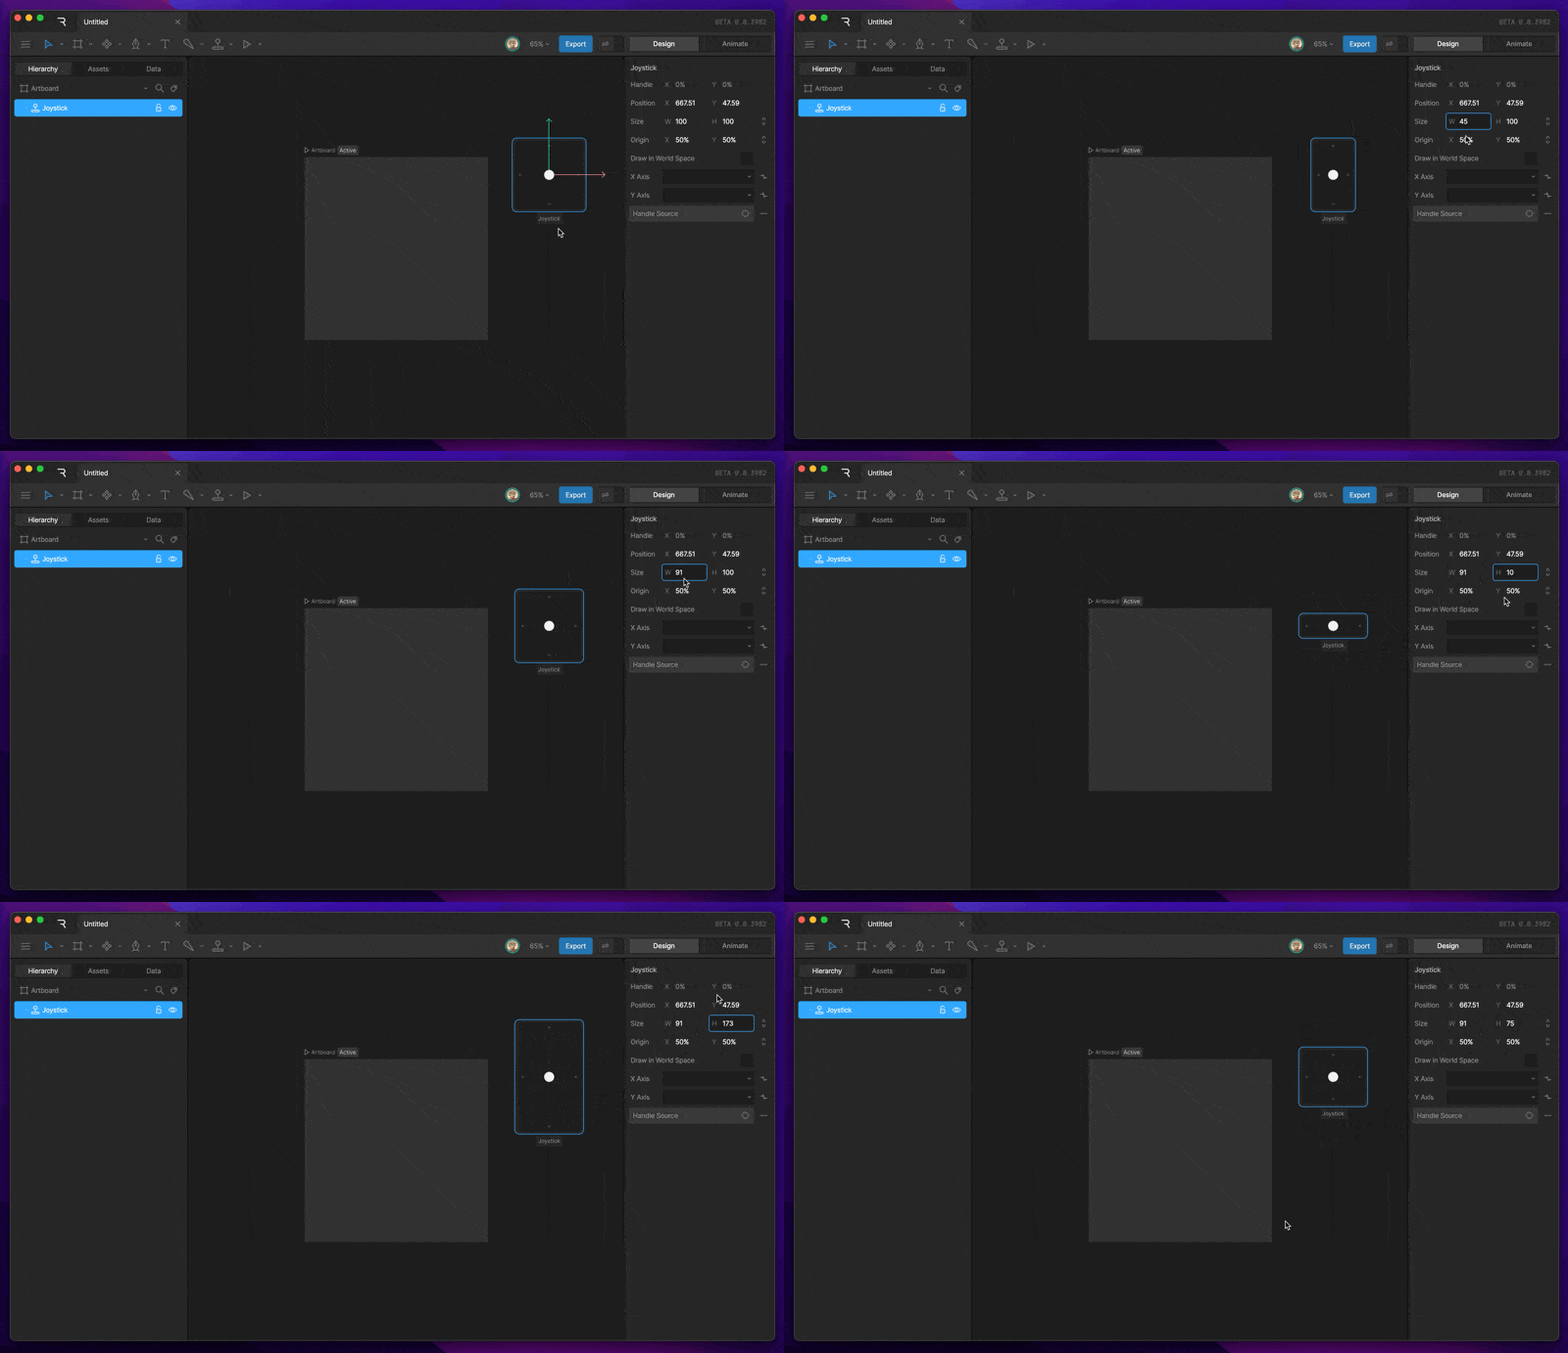
Draw in World Space
This toggle tells the joystick whether the joystick will scale with the zoom level or not. This option is useful when we need the joystick to always stay the same size, relative to the artboard.X & Y dropdown
The X & Y dropdowns allow us to assign timelines to the different axis of the Joystick. For example, this timeline animates the 3D rotation of this ship. You’ll notice many keys, which would make reusing this animation within other animations tricky to achieve.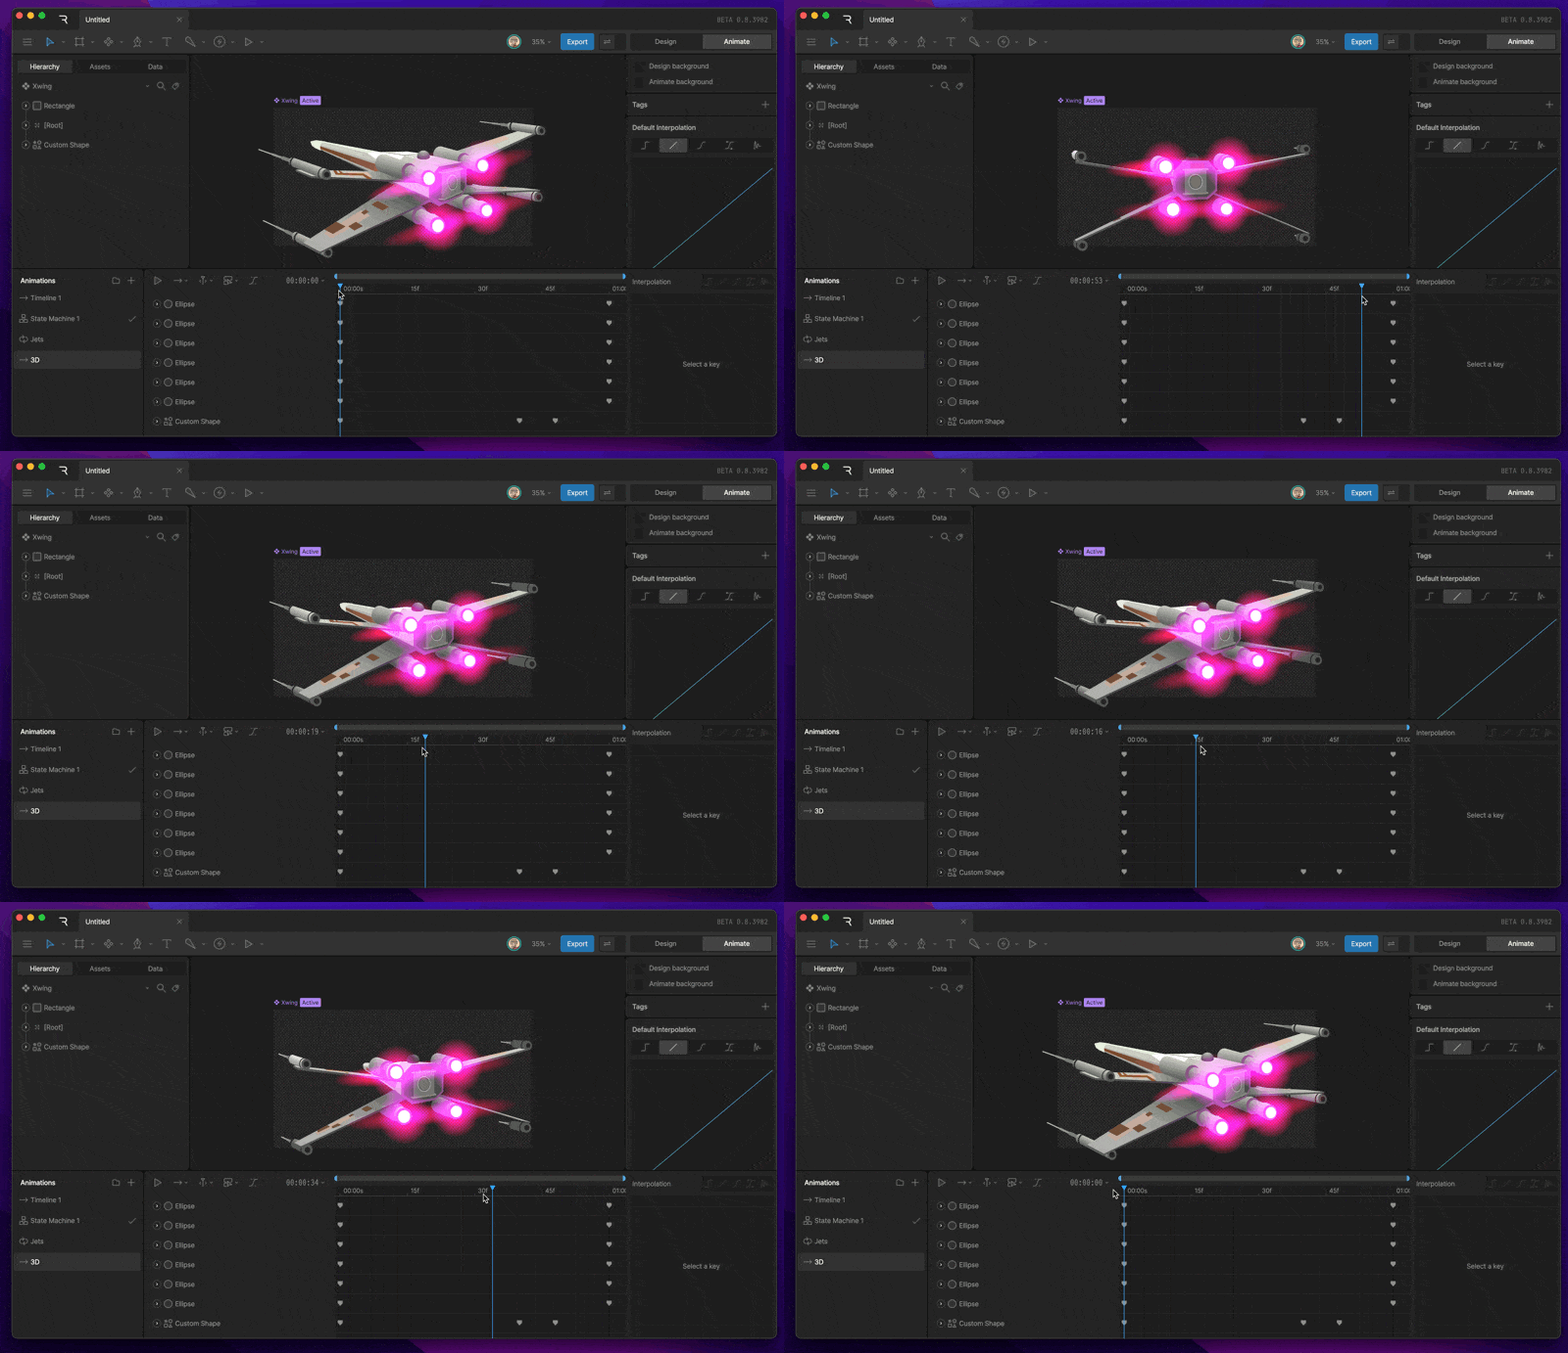
Handle Source
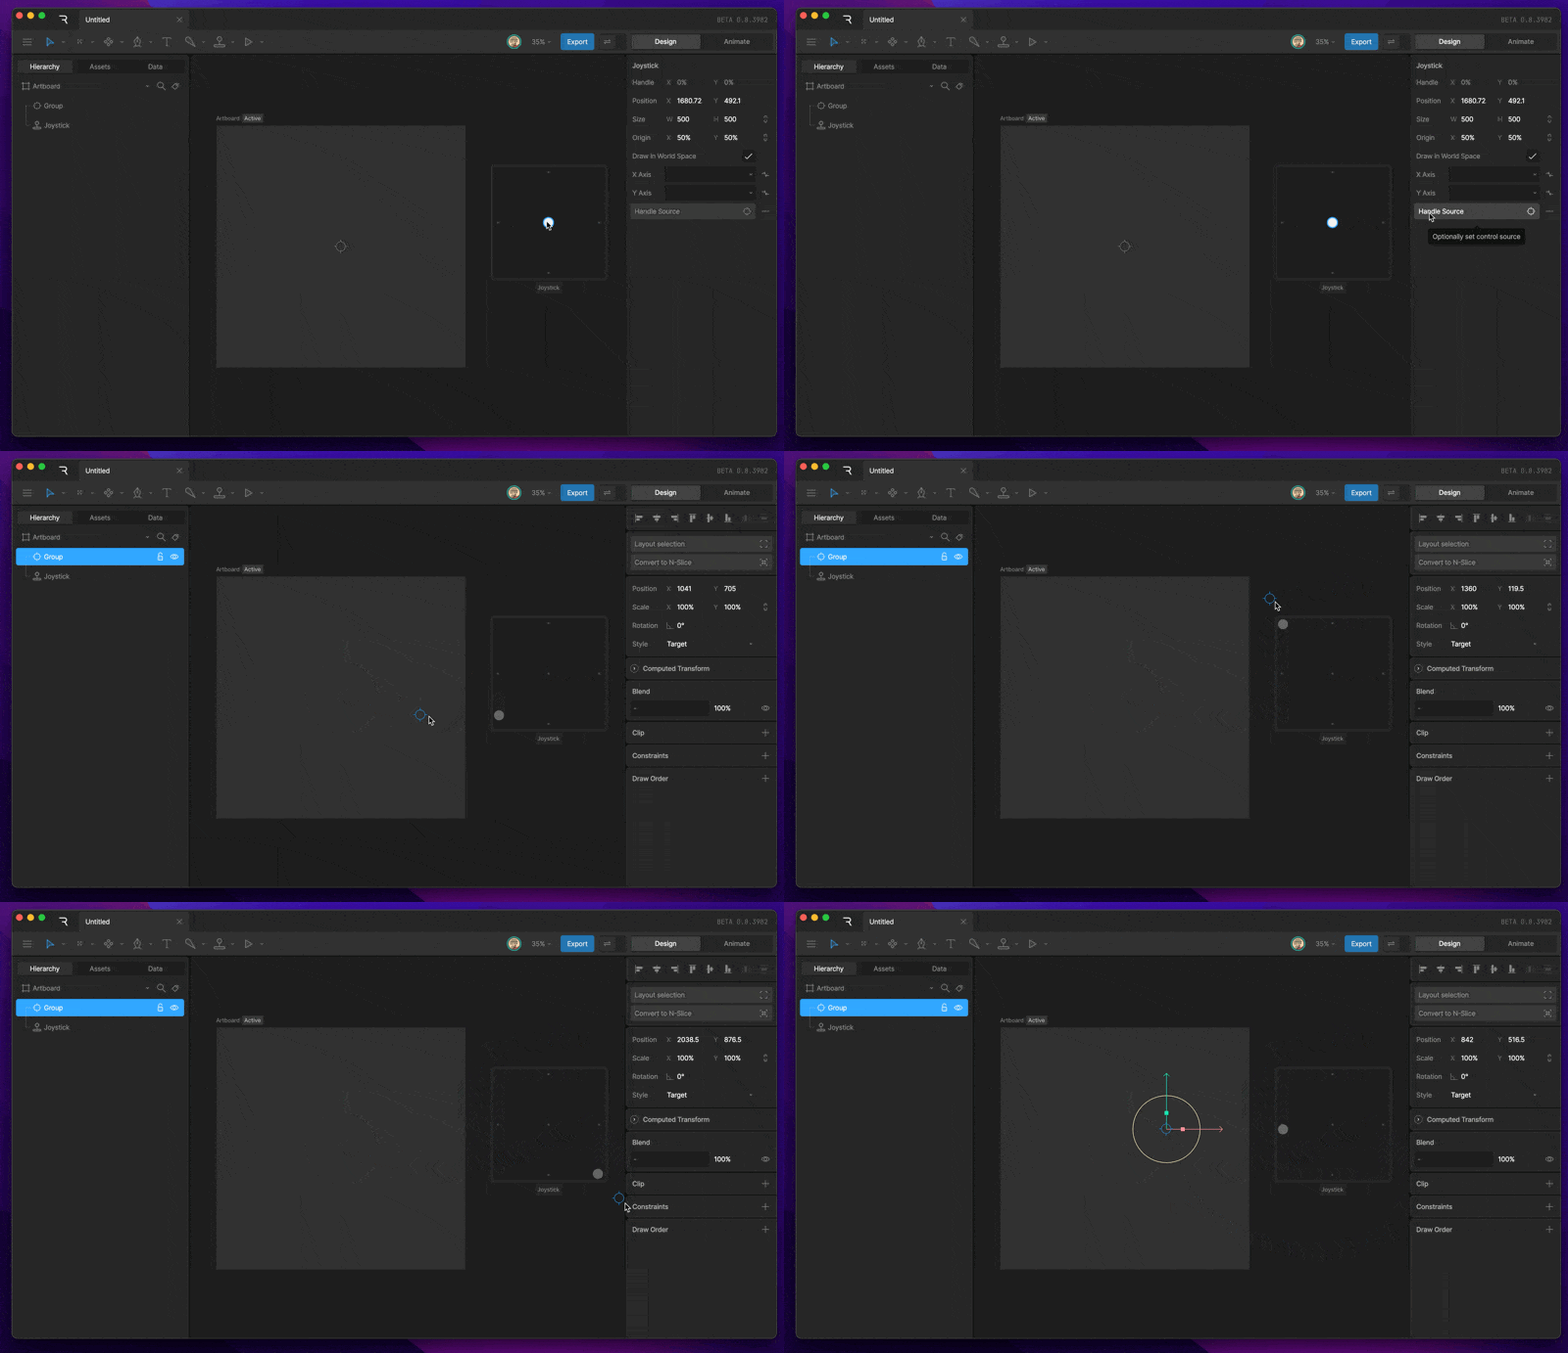
The handle source allows you to constrain the position of the handle to another object’s position properties. Use the button, then select an object you’d like to use as the handle’s position source. This option is helpful when you want the mouse cursor to drive the joystick while the state machine is running.