Scroll wheel/trackpad gestures aren’t currently supported but are on our v1 Roadmap.
Content Scrolling
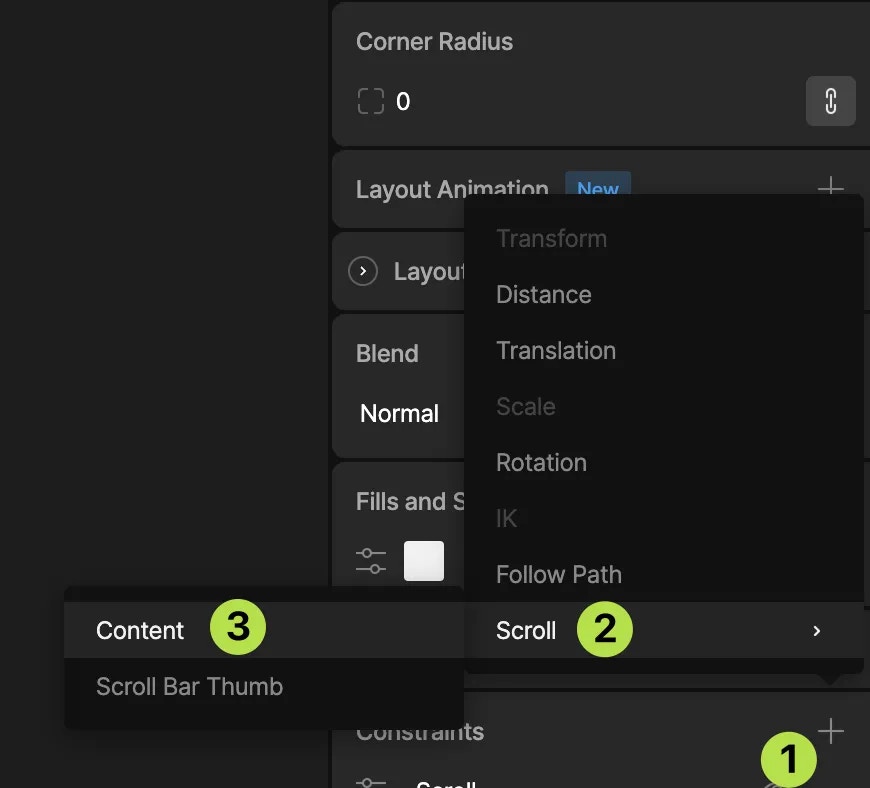
To create a content scroll region, set up a hierarchy that includes:- Scroll view - the Layout that defines the area that is the scroll region
- Scroll content - the Layout that contains the items to be scrolled (this is the Layout you will apply the Scroll Constraint to). The scroll amount will be determined by the size of this Layout. Typically you want to set this Layout to hug (or fixed)
- Scroll items - the Layout items to be scrolled

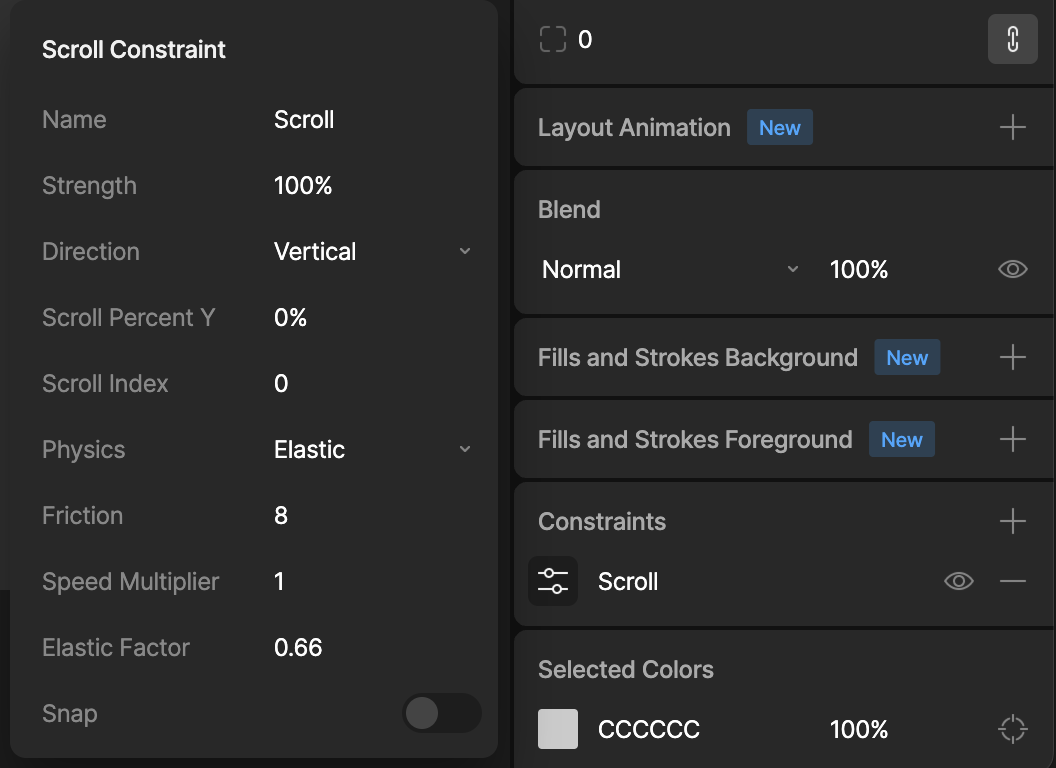
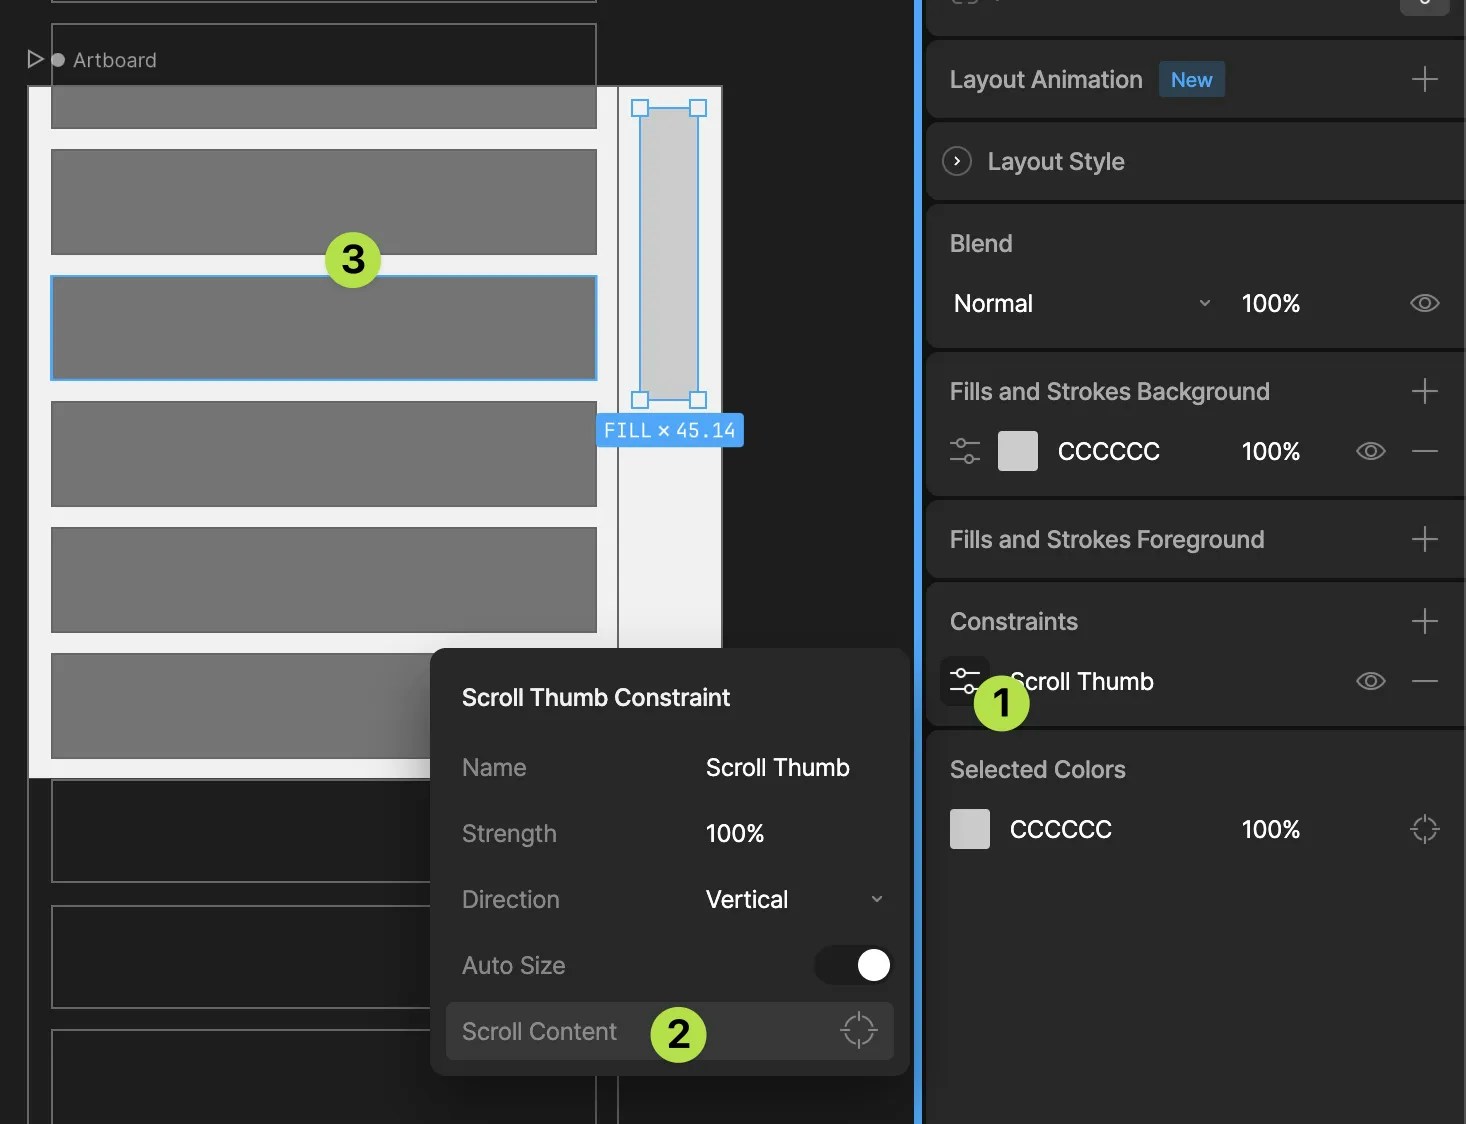
Direction
Vertical - Only scrolls in the vertical direction Horizontal - Only scrolls in the horizontal direction All - Scrolls in both directionsScroll Percent X/Y (Animatable)
This property allows you to set the percentage scroll of the content where 0% is scrolled to the top/left and 100% is scrolled to the bottom/right. This property works when the content is set to scroll in one or all directions and can be keyed on the timelineScroll Index (Animatable)
This property allows you to set the 0 based index of the Scroll item to scroll to. This only works when scroll is set to either Vertical or Horizontal and can be keyed on the timeline.Physics
Elastic - An iOS style scroll with deceleration and rubber banding at the edges Clamped - A basic drag and drop with no physicsSnap
When enabled, the scroll content will always settle with a whole item at the top/left of the scroll area. Once you have applied your desired properties, switch to animate mode and start playback of a State Machine to preview the applied scroll constraint. You should be able to click/drag/release within the Scroll view area to manually control the scroll.List Scrolling
In order to scroll Lists, use the same setup as described above in Content Scrolling, but rather than adding multiple Scroll items to the Scroll content layout, you can add a single List. See Data Binding Lists for more information. There are some additional properties that apply when scrolling Lists. These will only be enabled once a List has been added to the Scroll content.Virtualize
When enabled, the List will only generate Artboard components for the items currently in the Content view area. This improves performance when scrolling lists containing a large number of items. Note that virtualization can only be applied in one direction (either vertical or horizontal, not both).Carousel
When enabled, the List will scroll endlessly in either direction. In order to use Carousel mode, Virtualize must be enabled.Creating a Scroll Bar
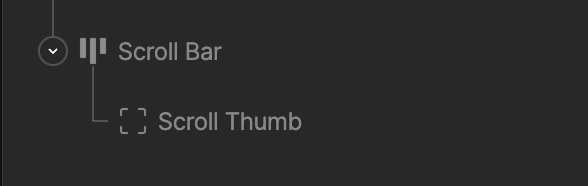
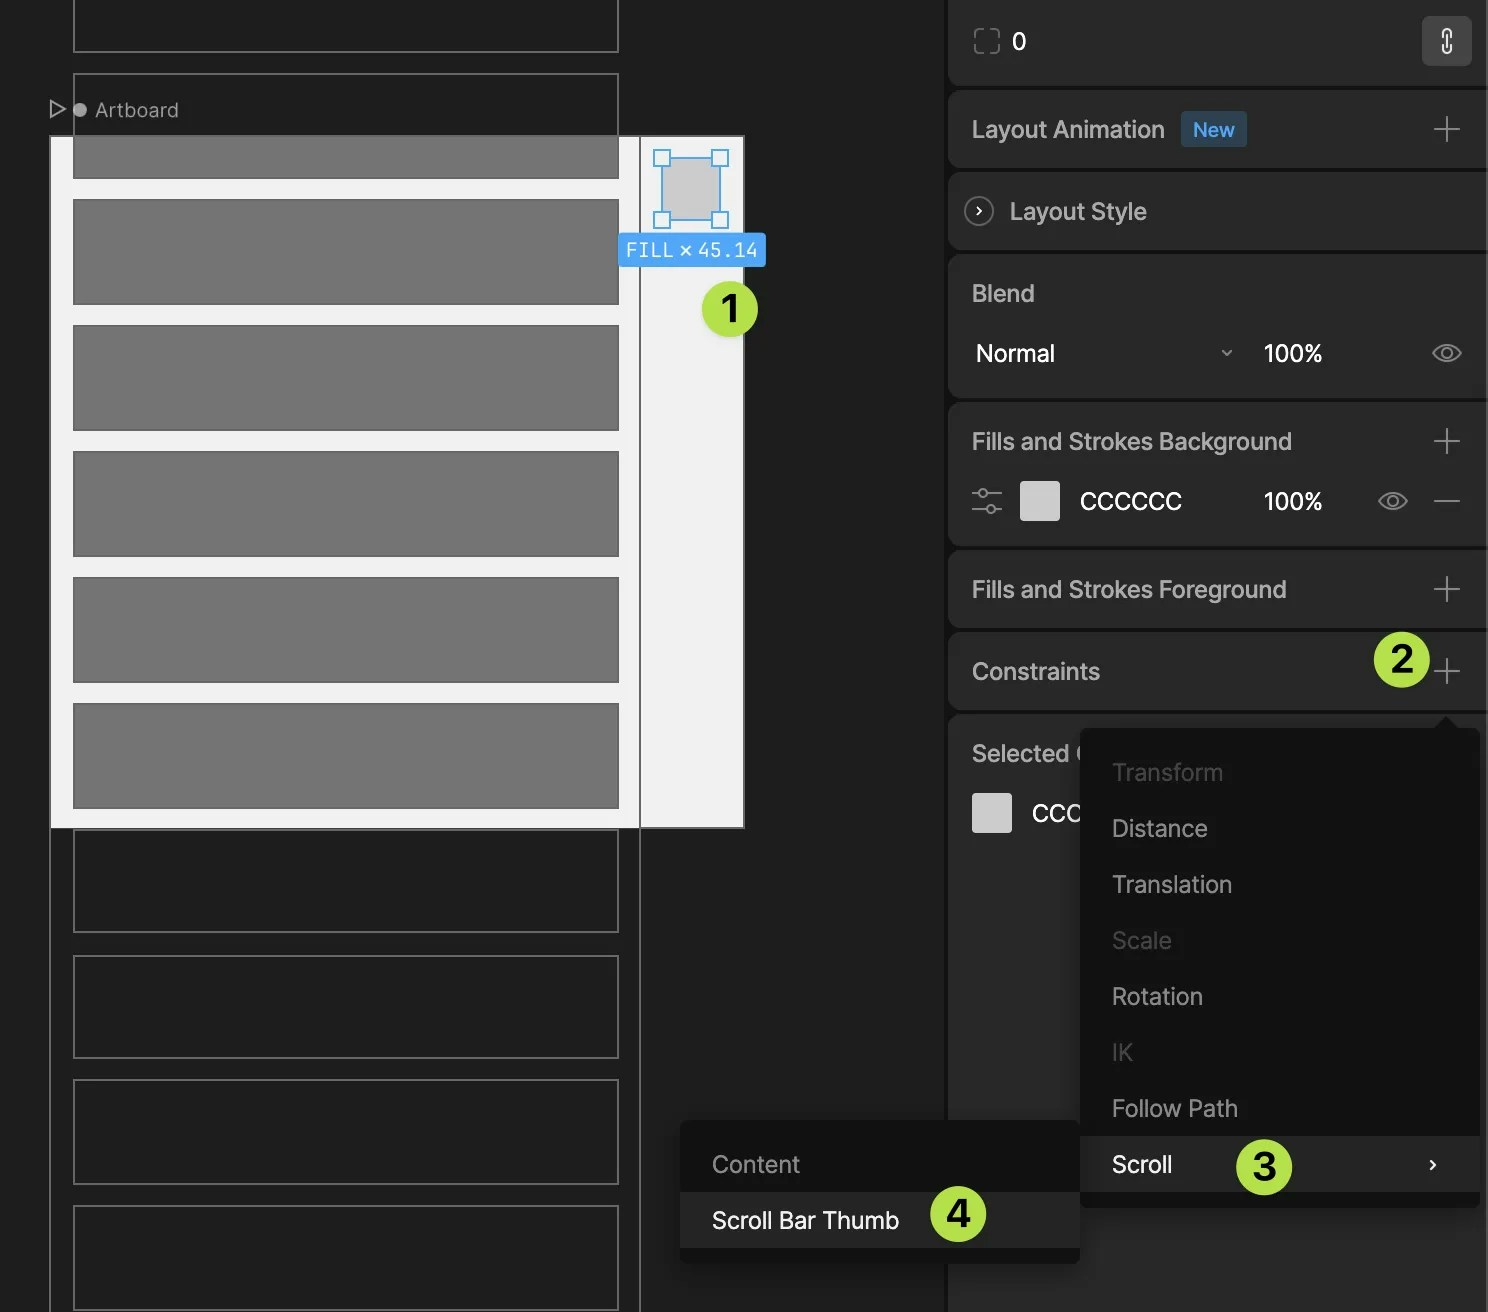
To create a content bar, set up a hierarchy that includes:- Scroll Bar - the Layout that defines the area that is the scroll bar and track
- Scroll Thumb - the Layout that defines the draggable scroll thumb