Meshes
Meshes are an excellent way to add natural and organic deformations to raster graphics. Make skin flex, fabric ripple, hair flow, and more.
Add Mesh
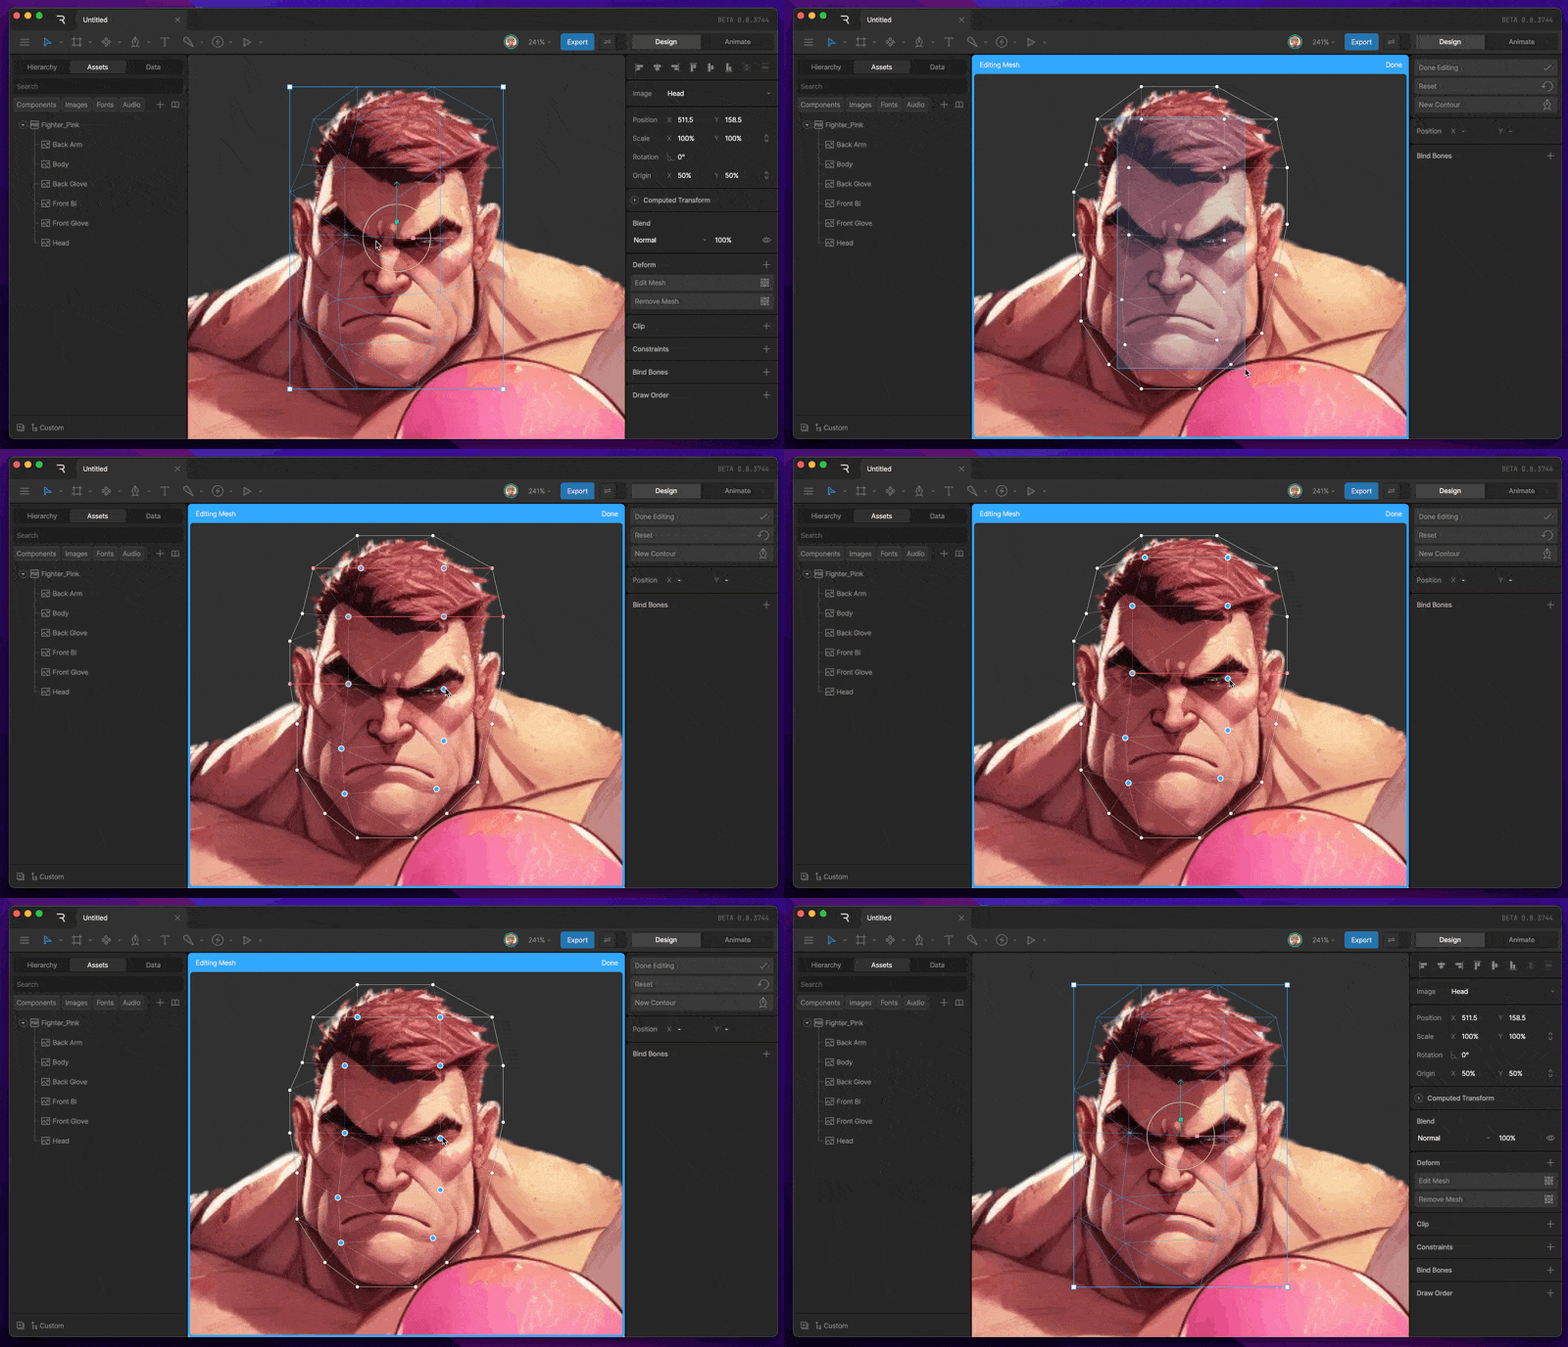
Before you can create any deformations, you'll need to add a mesh.
With the image selected, either hit the Create Mesh button in the Inspector, or hit the Enter key. You'll notice that a simple mesh is automatically generated for you.
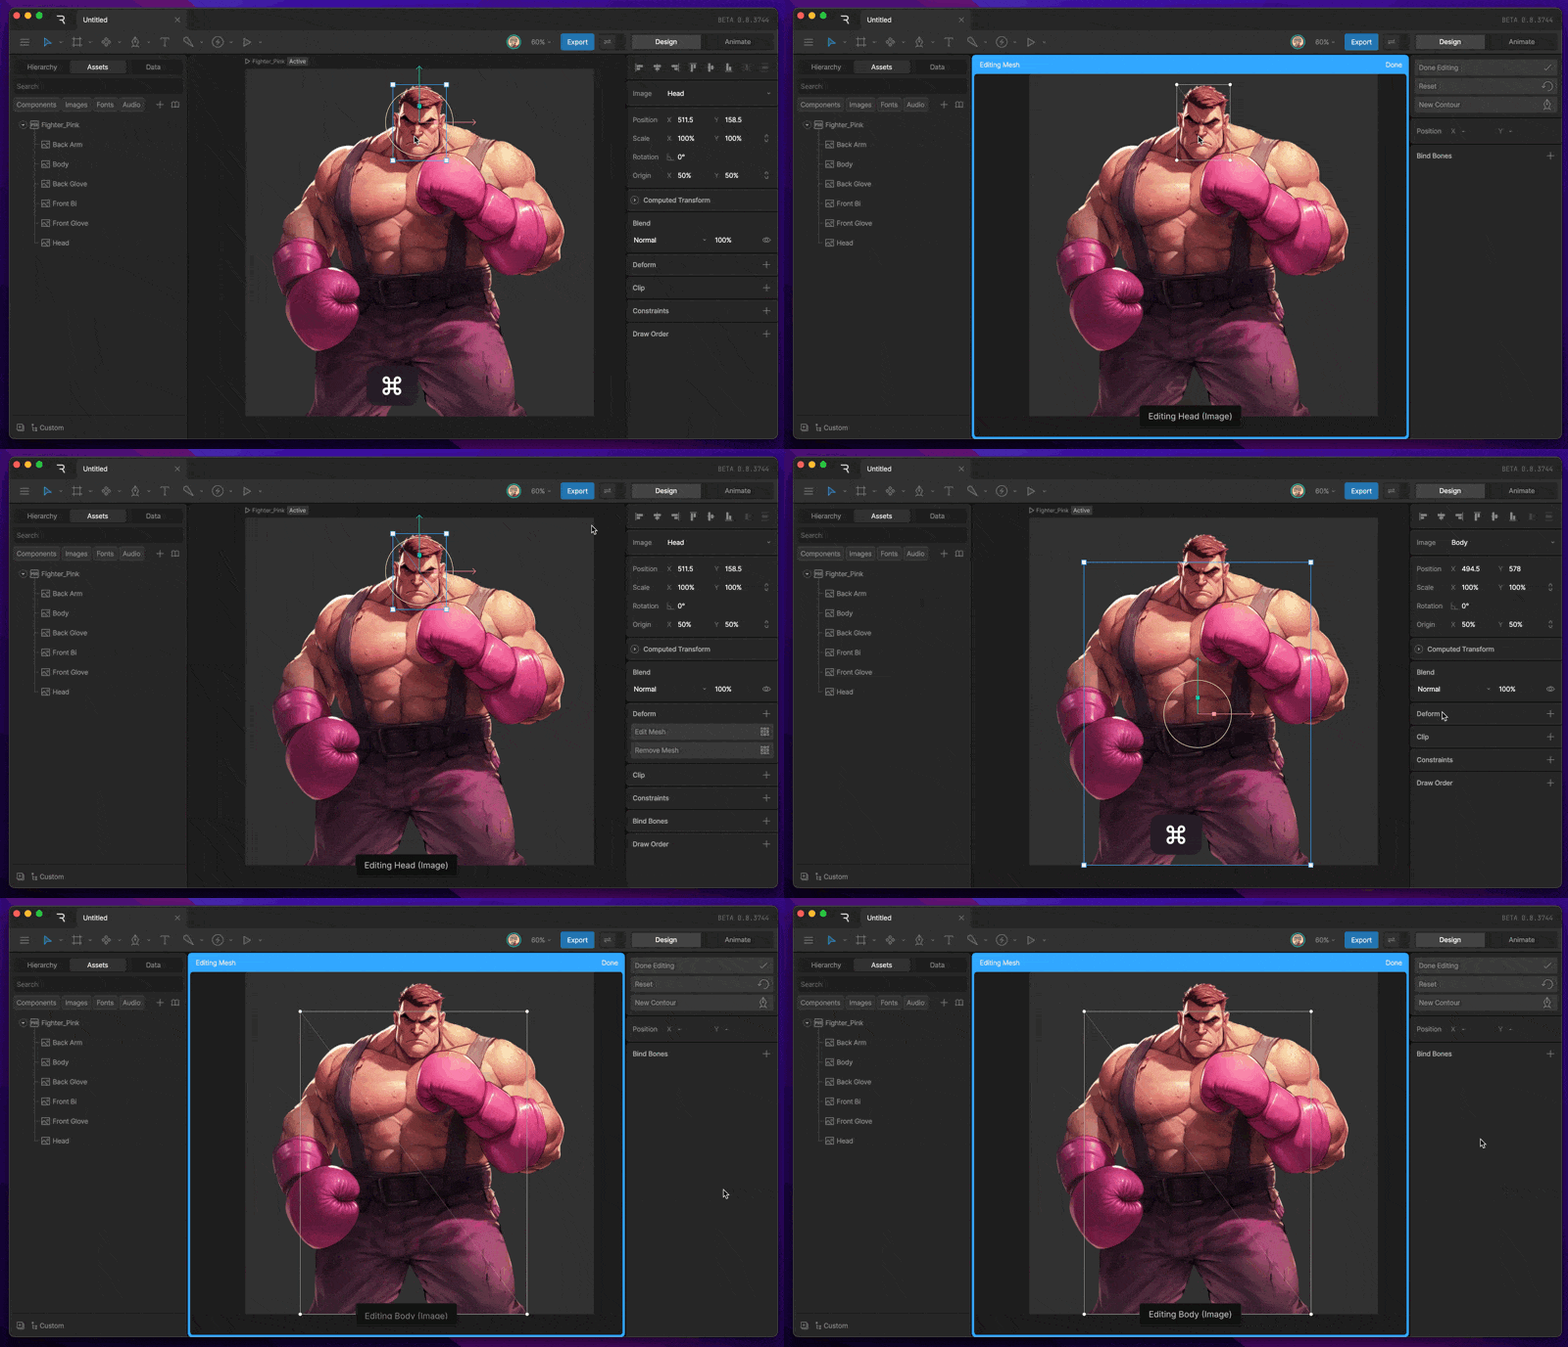
Use New Mesh button to create a mesh
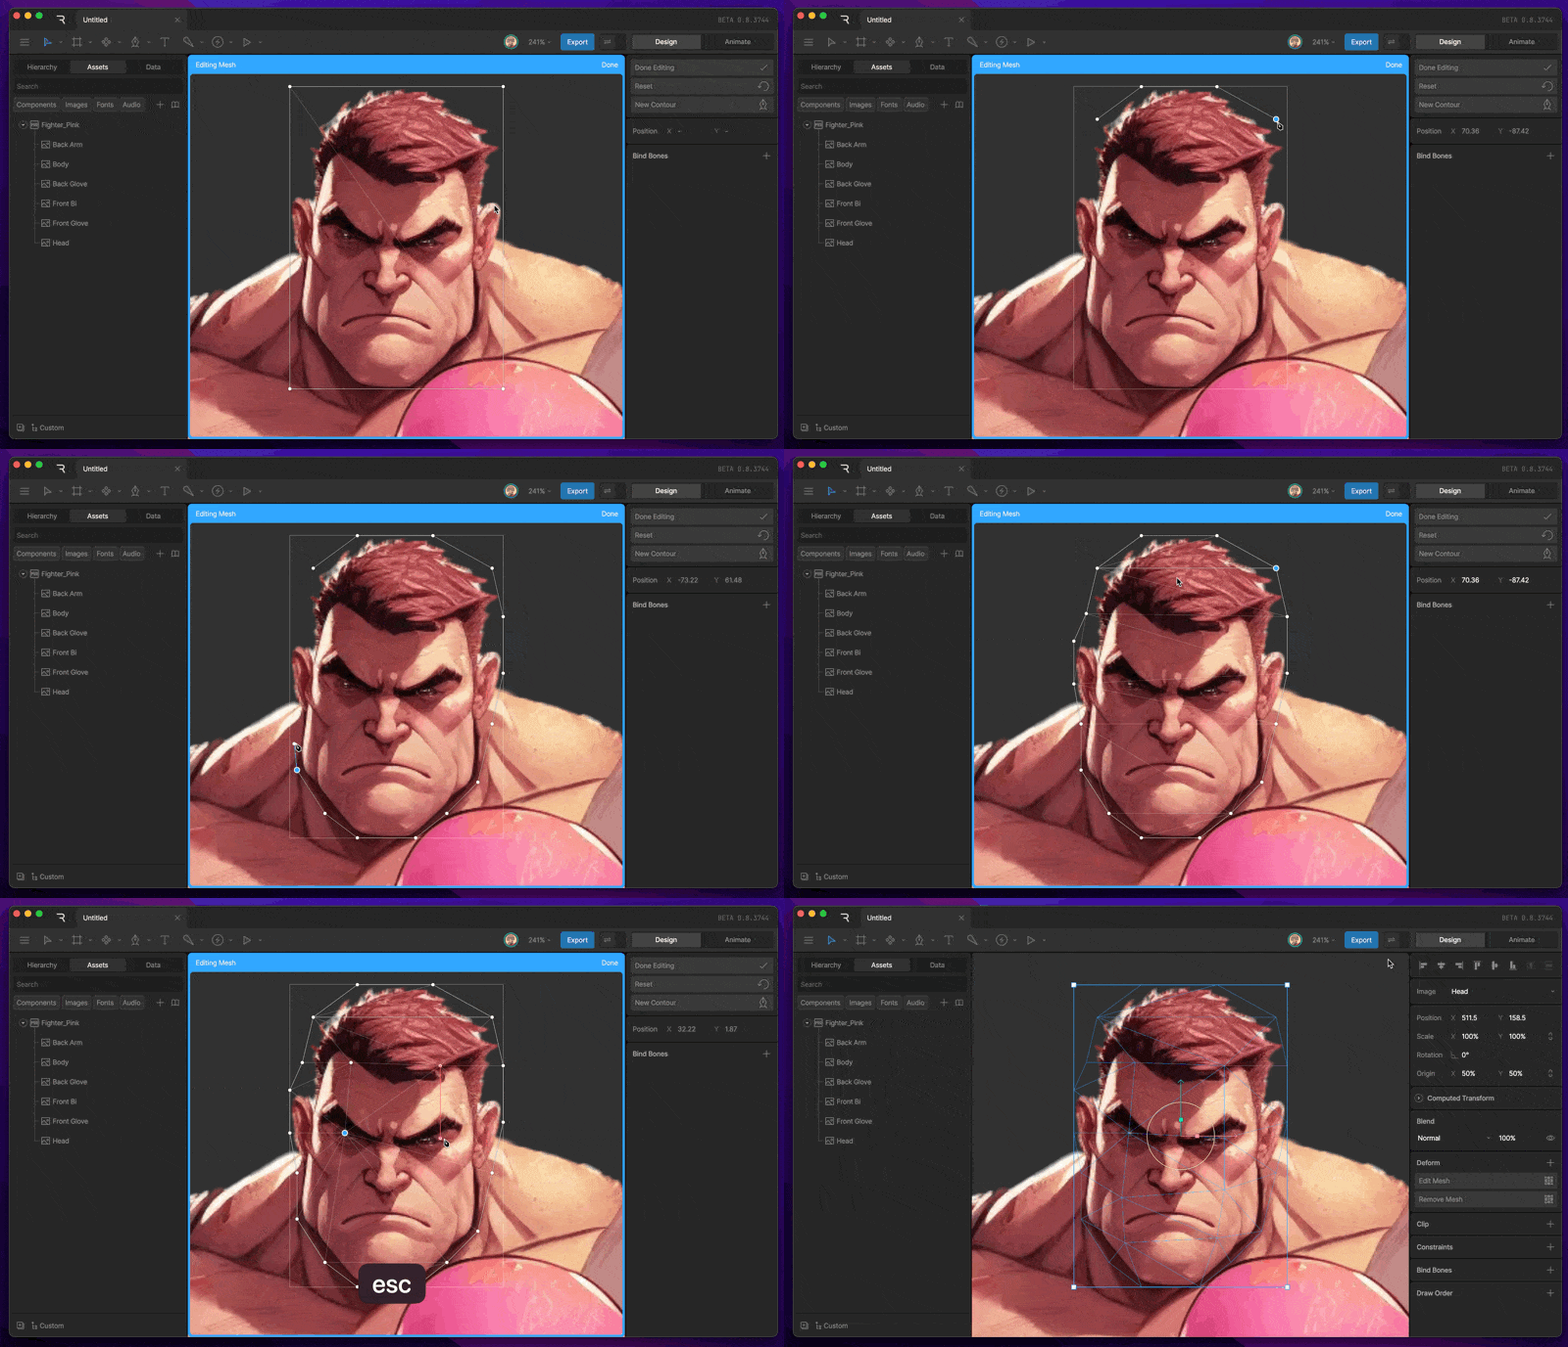
Use the New Contour button in the Inspector to begin creating a custom mesh for your object. Place vertices for your mesh with the Pen tool. Continuously click with the pen tool active to create forced edges (represented by a blue line connecting the two vertices), or hit escape between clicks to unlink the vertices.
Use New Contour button
Edit Mesh
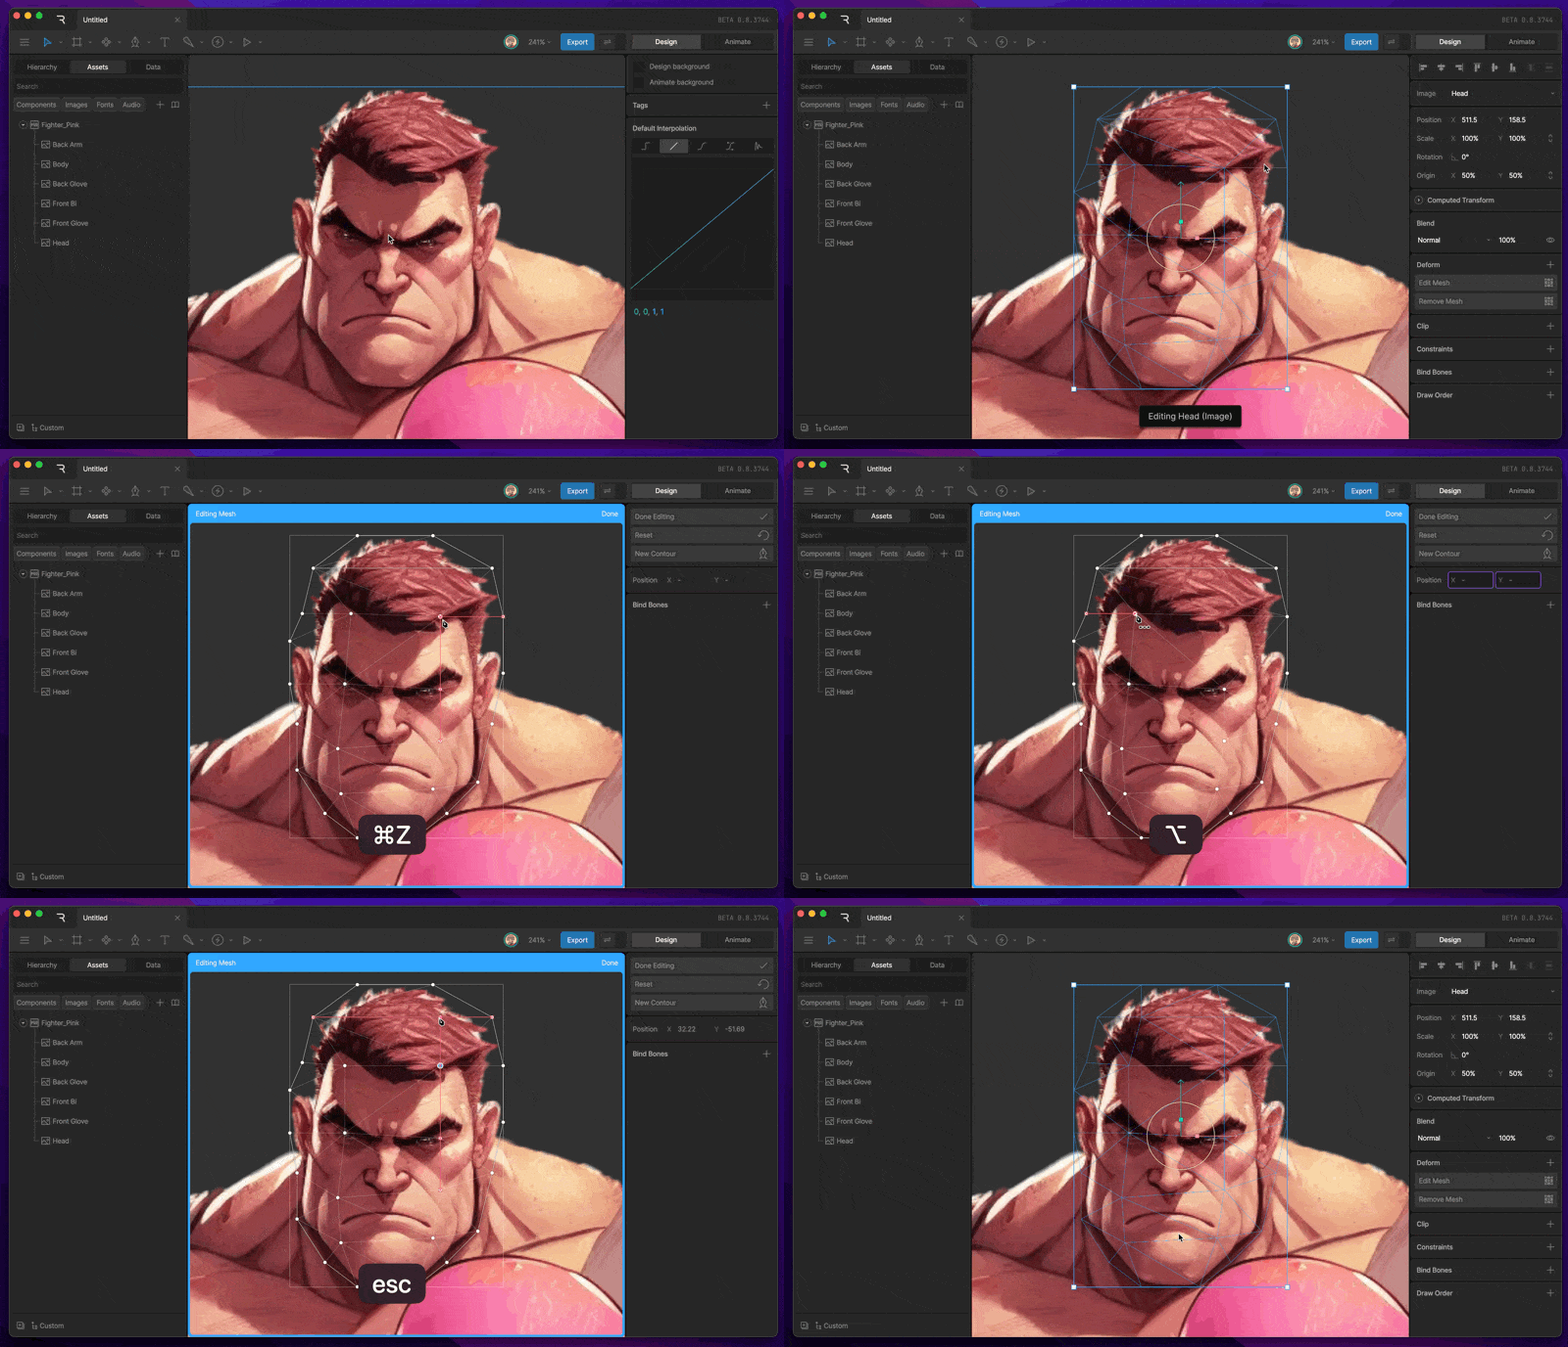
You can edit a mesh at anytime by using the Edit Mesh button in the Inspector or hitting enter with the asset selected. Use the Pen tool to add, subtract, or move vertices.
Vertex Deform
In both Design and Edit modes, you can deform your mesh by entering edit mesh mode, and moving a vertex with the select tool.
Binding Bones
Another way to deform your mesh is by connecting bones to it, a process called binding. This will allow you to deform specific parts of your image with one bone while other parts of the same image are controlled by other bones.
Click on the plus icon next to bind bones in the inspector to connect bones. Click on a single bone, or hold shift and click to add multiple bones. When you've selected the bones you want, hit the done button or Enter on your keyboard.
Edit Weights
Once bones have been connected to your mesh, you need to tell them how they should affect each vertex. This is done in Edit Mesh mode by selecting vertices and adjusting their weights in the Inspector.
Alternatively, you can adjust your weights by utilizing the Weight tool. With Edit Mesh mode active, hit the W key to active the Weight tool. Notice that when the tool is active, the weight of each vertex is displayed.
To change the weights of a vertex, select the vertex on the stage, select a bone in the inspector, then left click and drag.
Exit the Edit Mesh mode and try rotating your bones to test how your weights are working. You may need to jump back into the Edit Weights mode to make a few tweaks before getting a smooth end result.
When you're happy with how your mesh is behaving, switch to Animate mode and keyframe your bones to test out some animations.