Rive Editor basics
Create, rig, and build interactive Rive graphics in the editor.
Unity runtime overview
Supported Unity versions, graphics backends, and feature support.
Example Projects
To quickly experiment with Rive in Unity, run one of our example projects.Installation
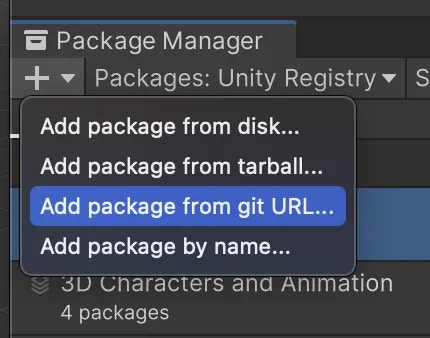
The Rive Unity package is available on the Unity Asset Store and on GitHub. The Unity Asset Store has a simpler installation process and only includes the stable package releases. Installing from GitHub gives you access to stable releases as well as canary tags, which are updated more frequently and may include newer/early access features before they land in a stable release.- Unity Asset Store
- GitHub
Install the package from the Unity Asset Store:
1
Open Window -> Package Manager
2
Select My Assets
3
Find Rive and select Download / Import
Adding a Rive file to Unity
See our documentation on Exporting graphics for runtime. Once you have a.riv file, drag it into the Unity Project window. Unity will import it and automatically create a Rive Asset you can reference from components and scripts.
On the Marketplace, you can find Rive files that can be remixed.
Displaying a Rive File
Drag-and-Drop To display a Rive file in UI, drag it into the Scene Hierarchy. This creates a screen-space setup inside a uGUI Canvas.The
com.unity.ugui package must be installed to use these components. This is usually included by default in new Unity projects.MeshRenderer. This creates a Rive Panel and adds a Rive Texture Renderer component to the mesh GameObject.
Quick Creation Menu
Right-click in the scene hierarchy to create the following:
Rive > Rive Panel- Creates a standalone panelRive > Rive Panel (Canvas)- Creates a UI-ready panelRive > Widgets > Rive Widget- Adds a standard Rive widget
Next steps
Fundamentals
How files, artboards, and state machines are represented in Unity.
Components
Rive Panel, Rive Widget, and recommended component-based workflows.
Data Binding
Bind your C# scripts to your Rive graphics for UI and gameplay-driven updates.
Best Practices
Performance and usage considerations for Rive in Unity.