Overview

State Machines are a visual way to connect animations together and define the logic that drives the transitions. They allow you to build interactive motion graphics that are ready to be implemented in your product, app, game, or website. State machines create a new level of collaboration between designers and developers, allowing both teams to iterate deep in the development process without the need for a complicated handoff.
Using the State Machine requires designers and animators to think more like a developer but in a straightforward, visual way. Every artboard has at least one State Machine by default, but you can create as many as you’d like. To create a new state machine, hit the plus button in the Animations List and select the State Machine option.

Anatomy of a State Machine

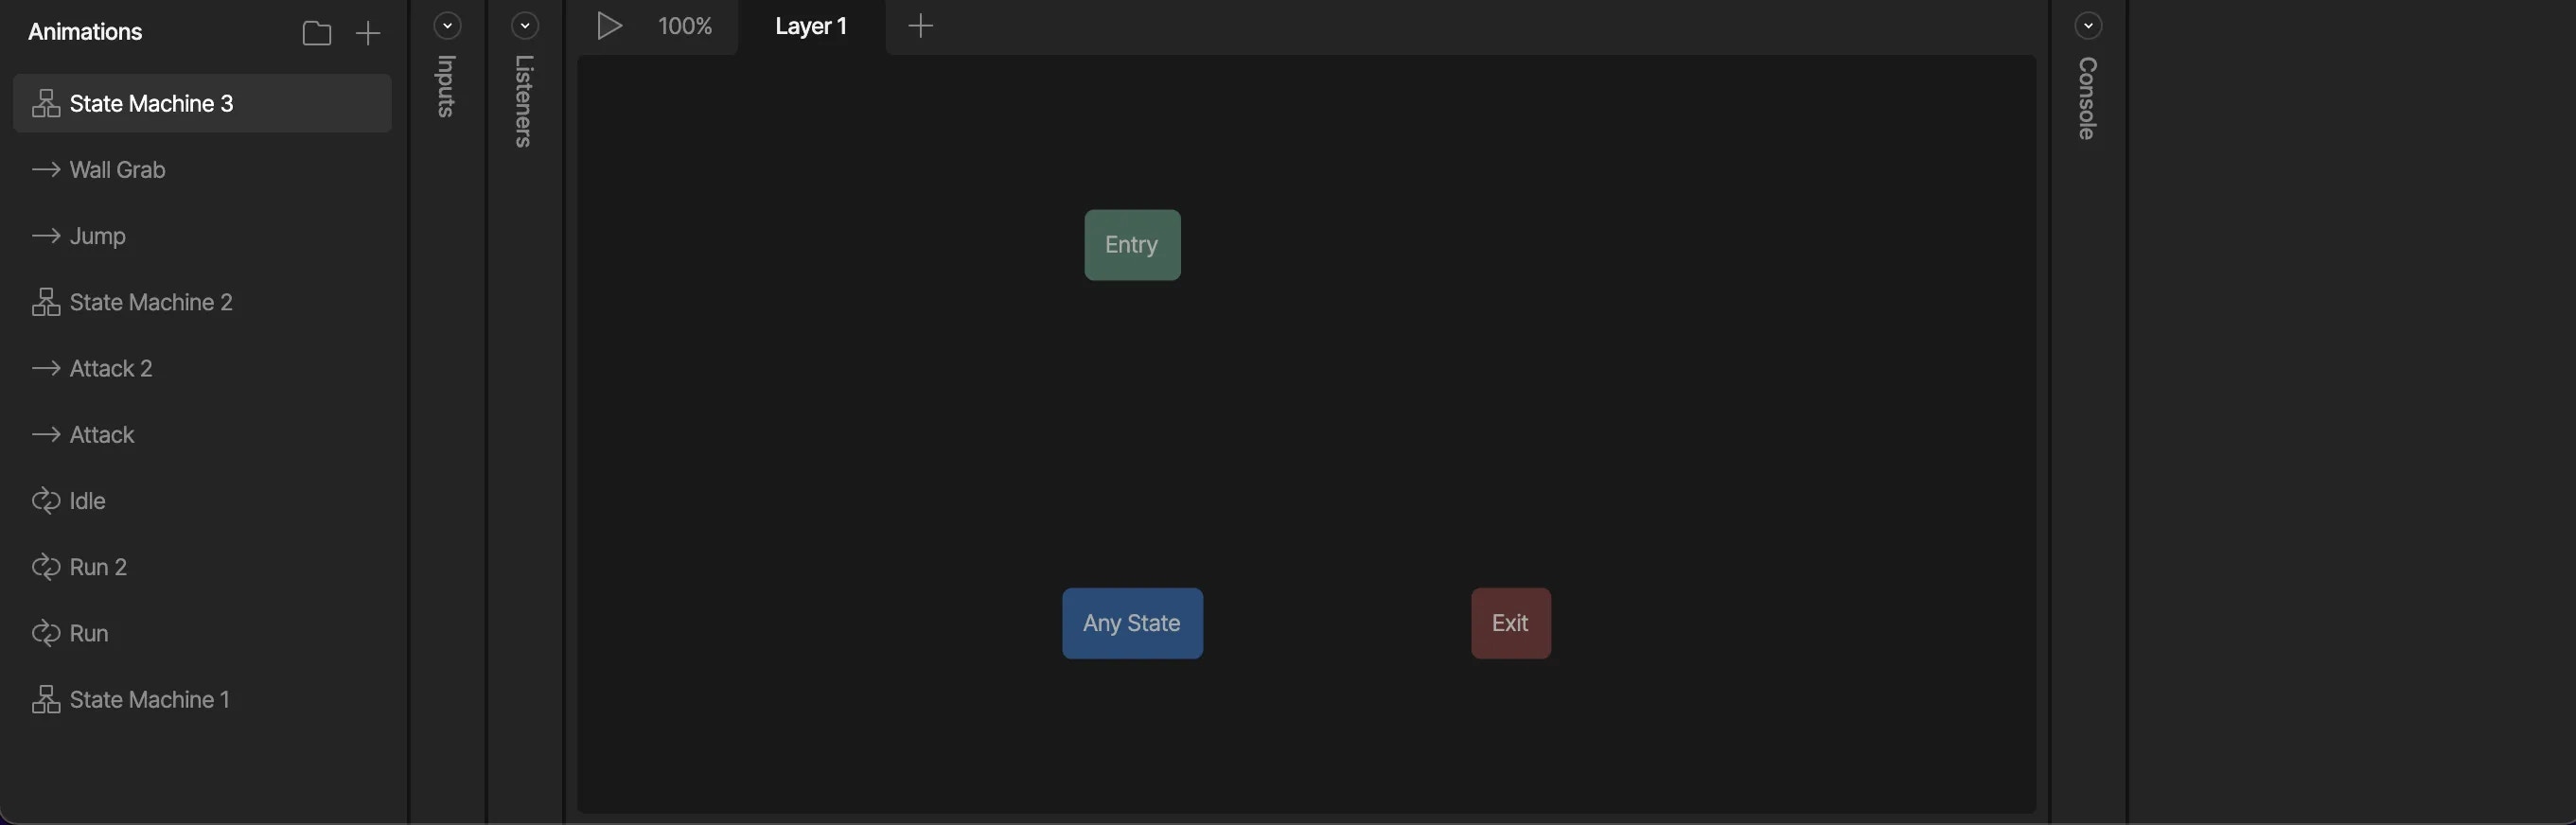
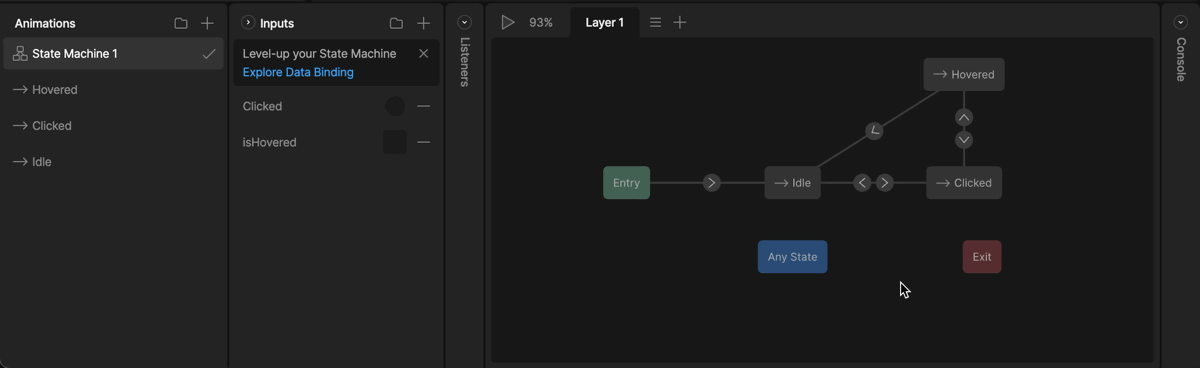
A basic state machine will consist of a Graph, States, Transitions, Inputs and Layers. We’ll explore each of these pieces and more throughout this section. The Graph is the space in which you’ll be adding States and connecting Transitions. It appears in place of the Timeline when a state machine is selected in the animations list. State Machine Graph States are simply timeline animations that can play in your state machine. Typically, these will represent some state that your animated content is in. For example, a button will typically have an Idle state (the button is stationary), a Hovered state (what the button looks like when it is hovered), and a Clicked state (what the button looks like when it’s been clicked).
Preview of States
Once we have defined the States of our content, we can tie them together with transitions to create a logical path that our State Machine can take through these different timelines. We’re creating a map that our State Machine can use to get from one animation to the next.
Creating Transitions
DEPRECATION NOTICE: This section is about the legacy Inputs system.
For new projects: Use Data Binding instead.
For existing projects: Plan to migrate from Inputs to Data Binding as soon as possible.
This content is provided for legacy support only.
Inputs are a legacy tool to control transitions in our state machine. While Inputs can still be used to control transitions, Data Binding is considered best practice since View Models are both more powerful and easier to control at runtime. The best use for Inputs is quick, prototype interactions that you don’t plan to migrate to runtime. Inputs are the contract between designers and developers. As designers, we use them as rules for our transitions to occur. For example, we could have a boolean called isHovered. That boolean controls the transition between our idle and hovered state. When the boolean is true, the state machine is in the hovered state, and when it is false, the state machine is in the Idle state. Developers tie into these inputs at runtime and define actions that control the state machines inputs I.E. defining hit areas that can change the isHovered boolean. Adding Inputs and Conditions Lastly, all state machines will have at least one Layer. Because only a single animation can play on a given layer, we have the ability to add multiple layers if we want to mix different animations, or add additional interactions. For example, this state machine has multiple layers, each one with the logic to control one of the buttons in this menu.
Image