Creating a new Listener
- In the Animations tab, select your State Machine.
- In the Listeners tab, click the plus icon.
If you have an object selected when creating a listener, it will automatically be designated as the target.

Elements of a Listener
A listener consists of three parts: a Target, a User Action, and a Listener Action.Target
The Target determines where to listen for the user action. Hit Areas In most cases the Target defines the interactive area that responds to user actions—similar to a hitbox in game development. When a user interacts with this area (e.g., by clicking or hovering), the associated listener is triggered. It’s usually best to use shapes as targets—for example, an ellipse or rectangle with 0% opacity. If you use a Group as a target, the shapes within the group will serve as the interactive area. To select a target, click the Target icon and choose an object from the artboard or the Hierarchy panel.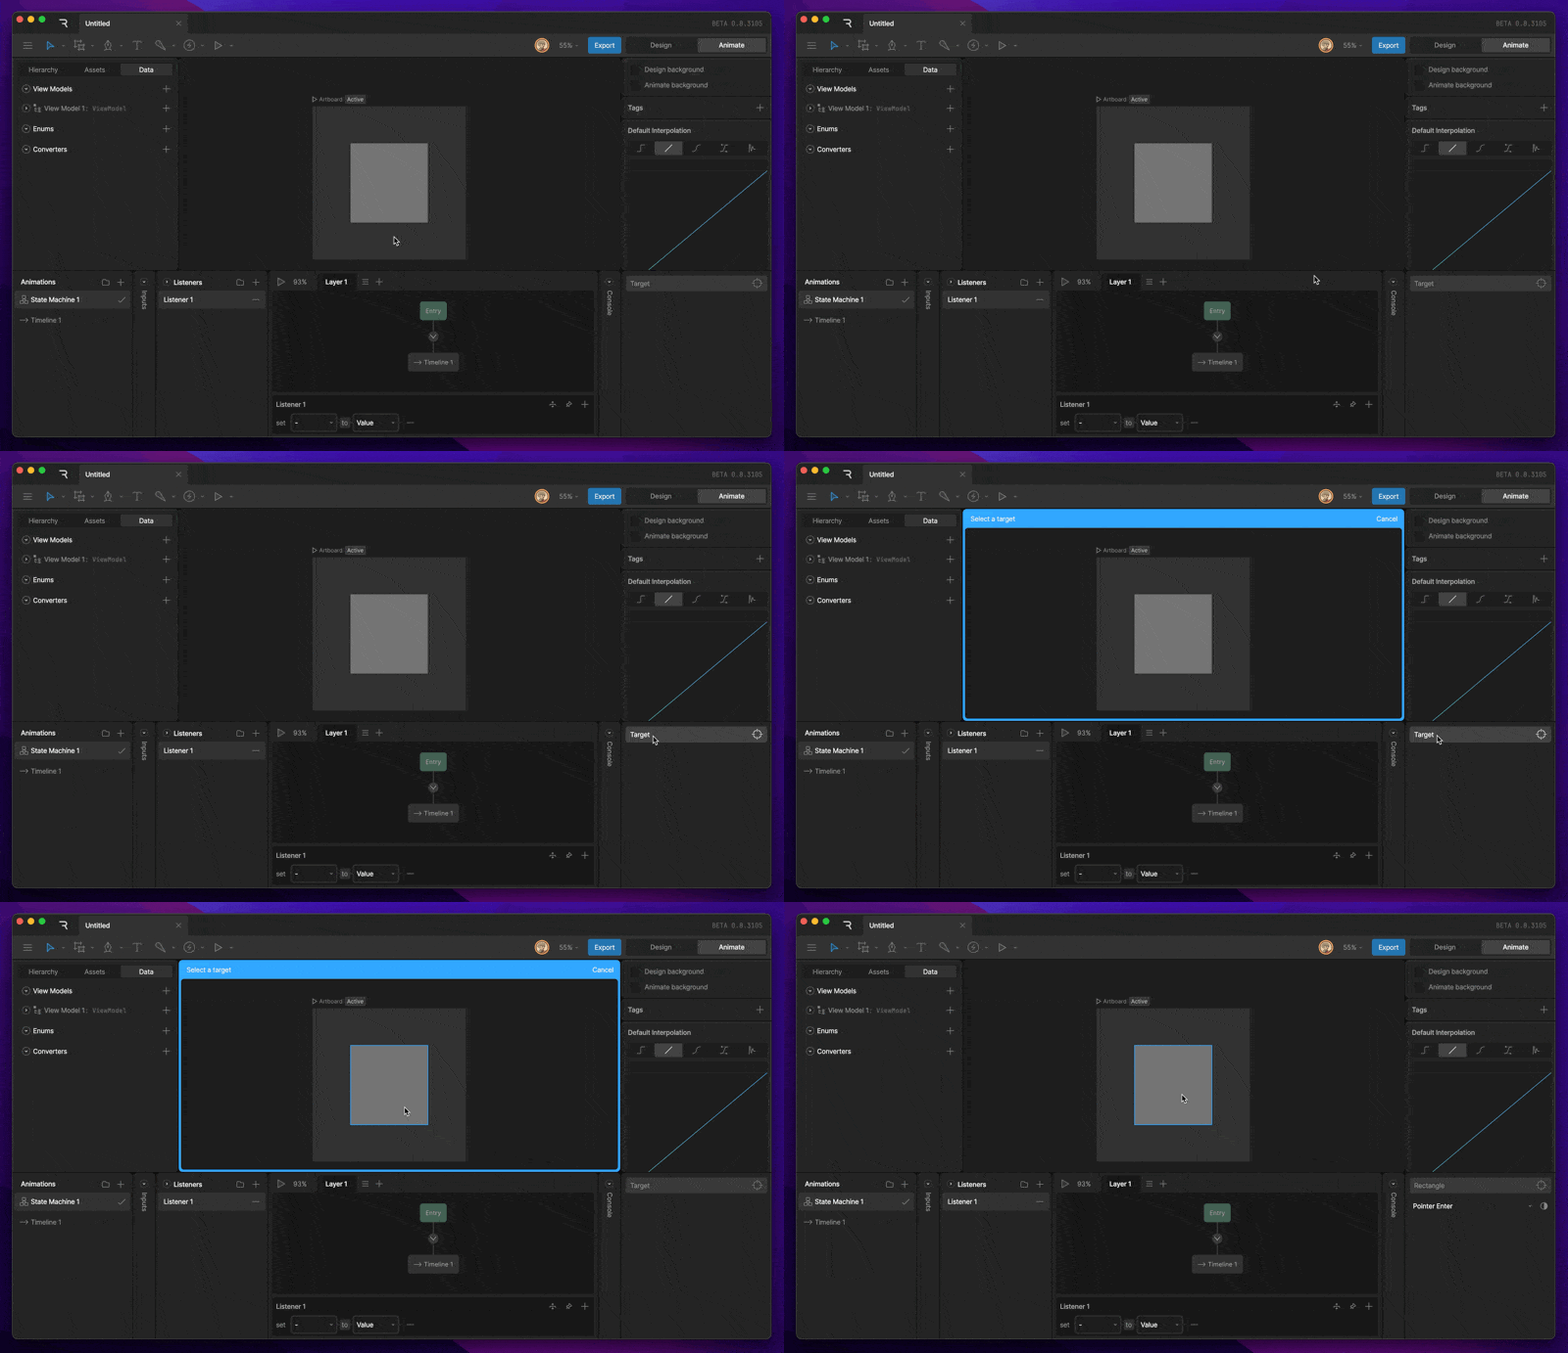
We strongly recommend using data binding to communicate between artboards, rather than relying on nested Events.
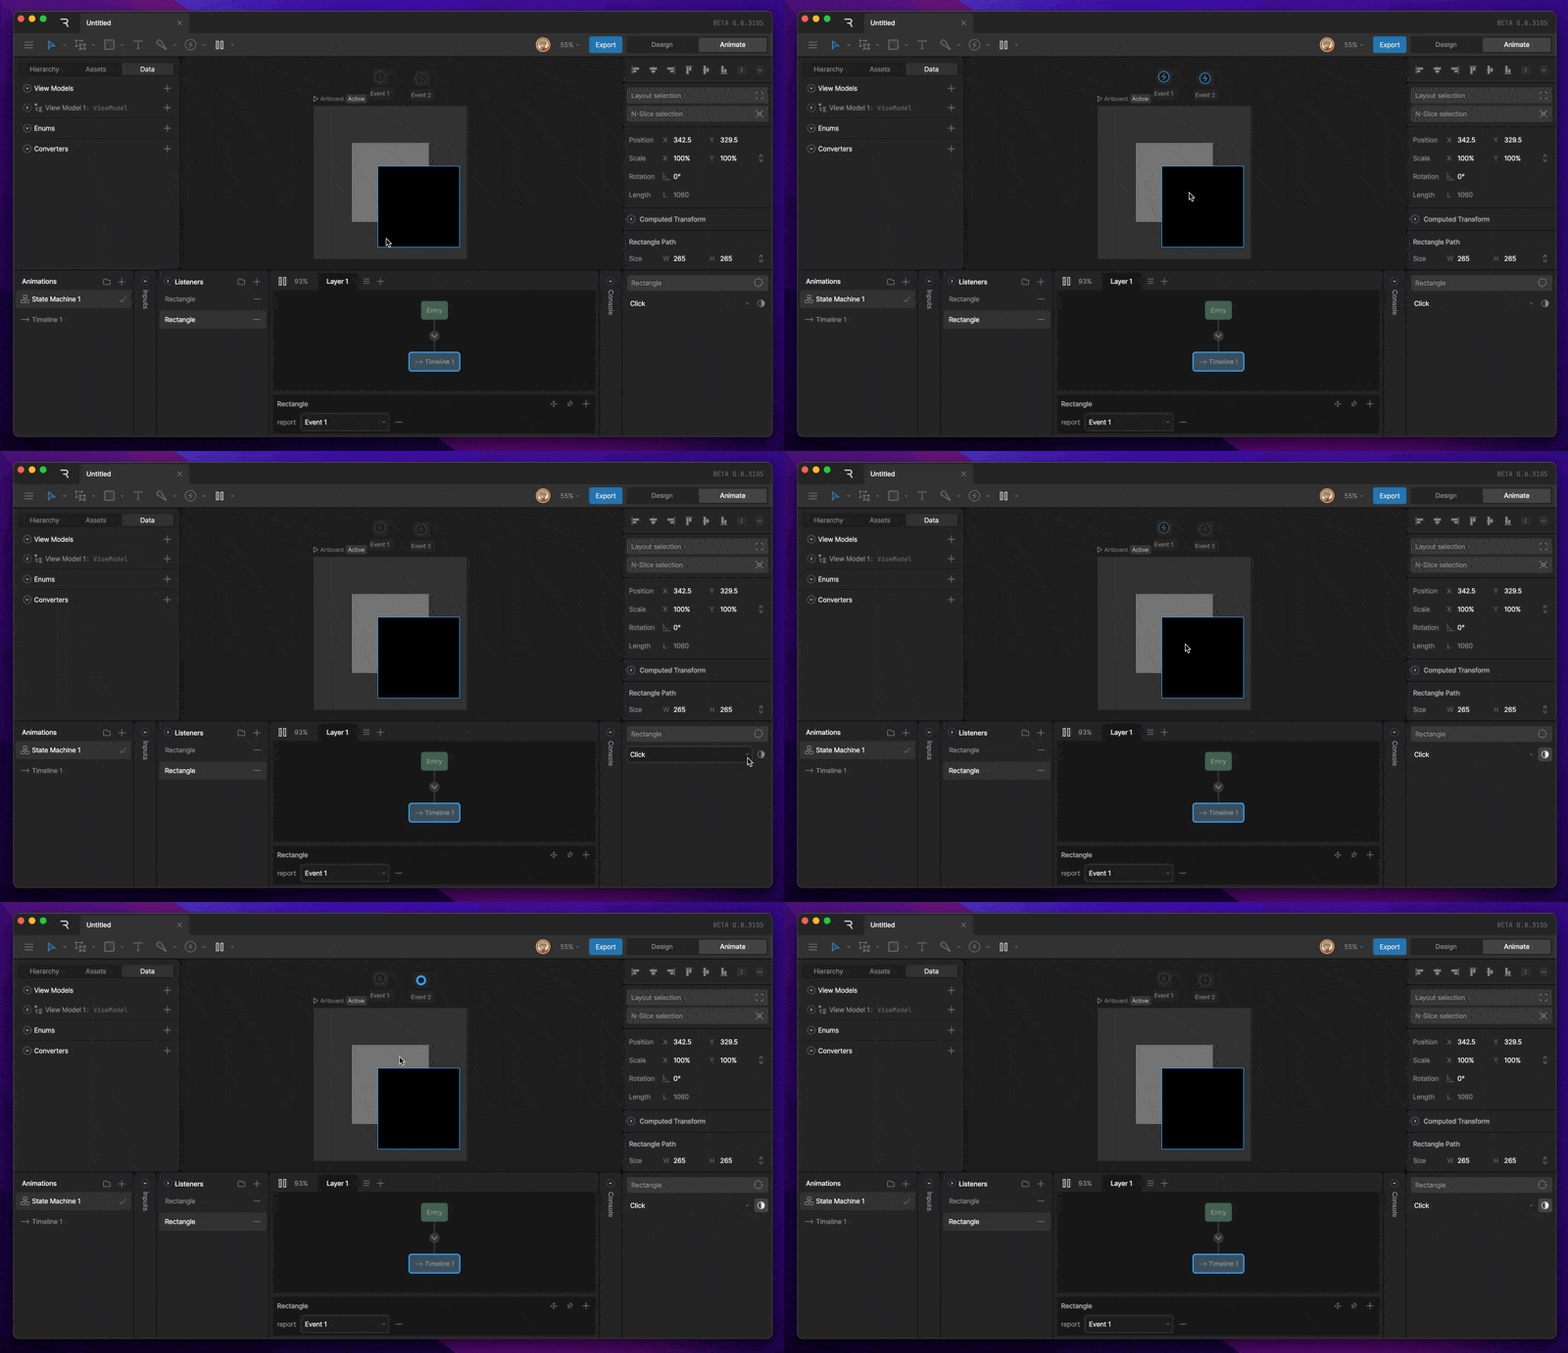
User Action
User Actions are the interactions the listener is listening for. The drop-down menu below the Target button allows you to change which User Action the Listener checks for.
Listener Action
A Listener Action defines what happens when the user interaction occurs. To add a Listener Action, click the plus icon in the panel below the State Machine Graph. You can add multiple actions to a single listener.
View Model Change
Updates values within your View Model Instance. This is the preferred way to communicate from your Rive file to your runtime code. By default, listeners are set to View Model Change, unless an artboard or component instance is the target of the Listener.View Model Drop Down
The View Model Dropdown lets you select which View Model Property you want the Listener to change.
Value vs Property
Once you’ve selected which property you’d like the Listener to modify, you can set it to a specific Value or to equal a different view model property. Value If you select Value, you can use the input field to change the specific value you’d like the property set to. The value type changes depending on the property.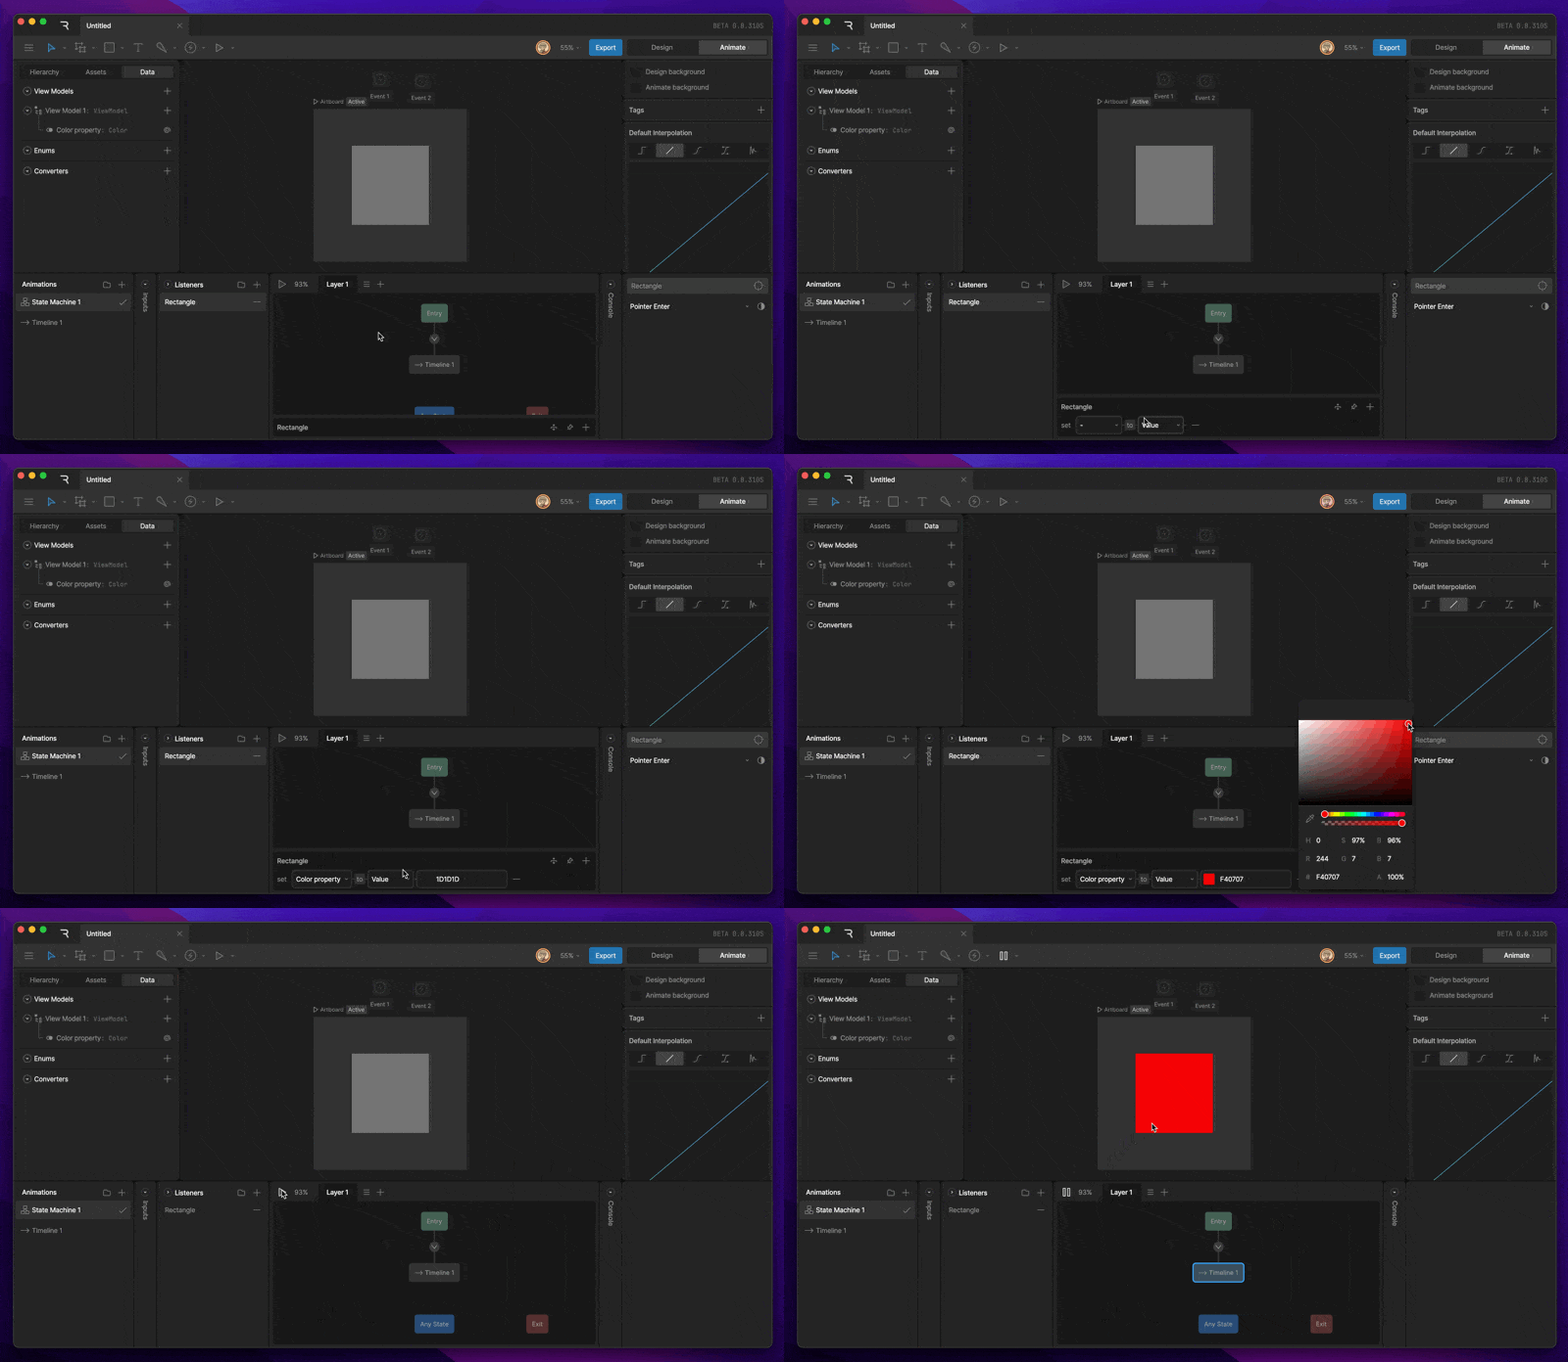
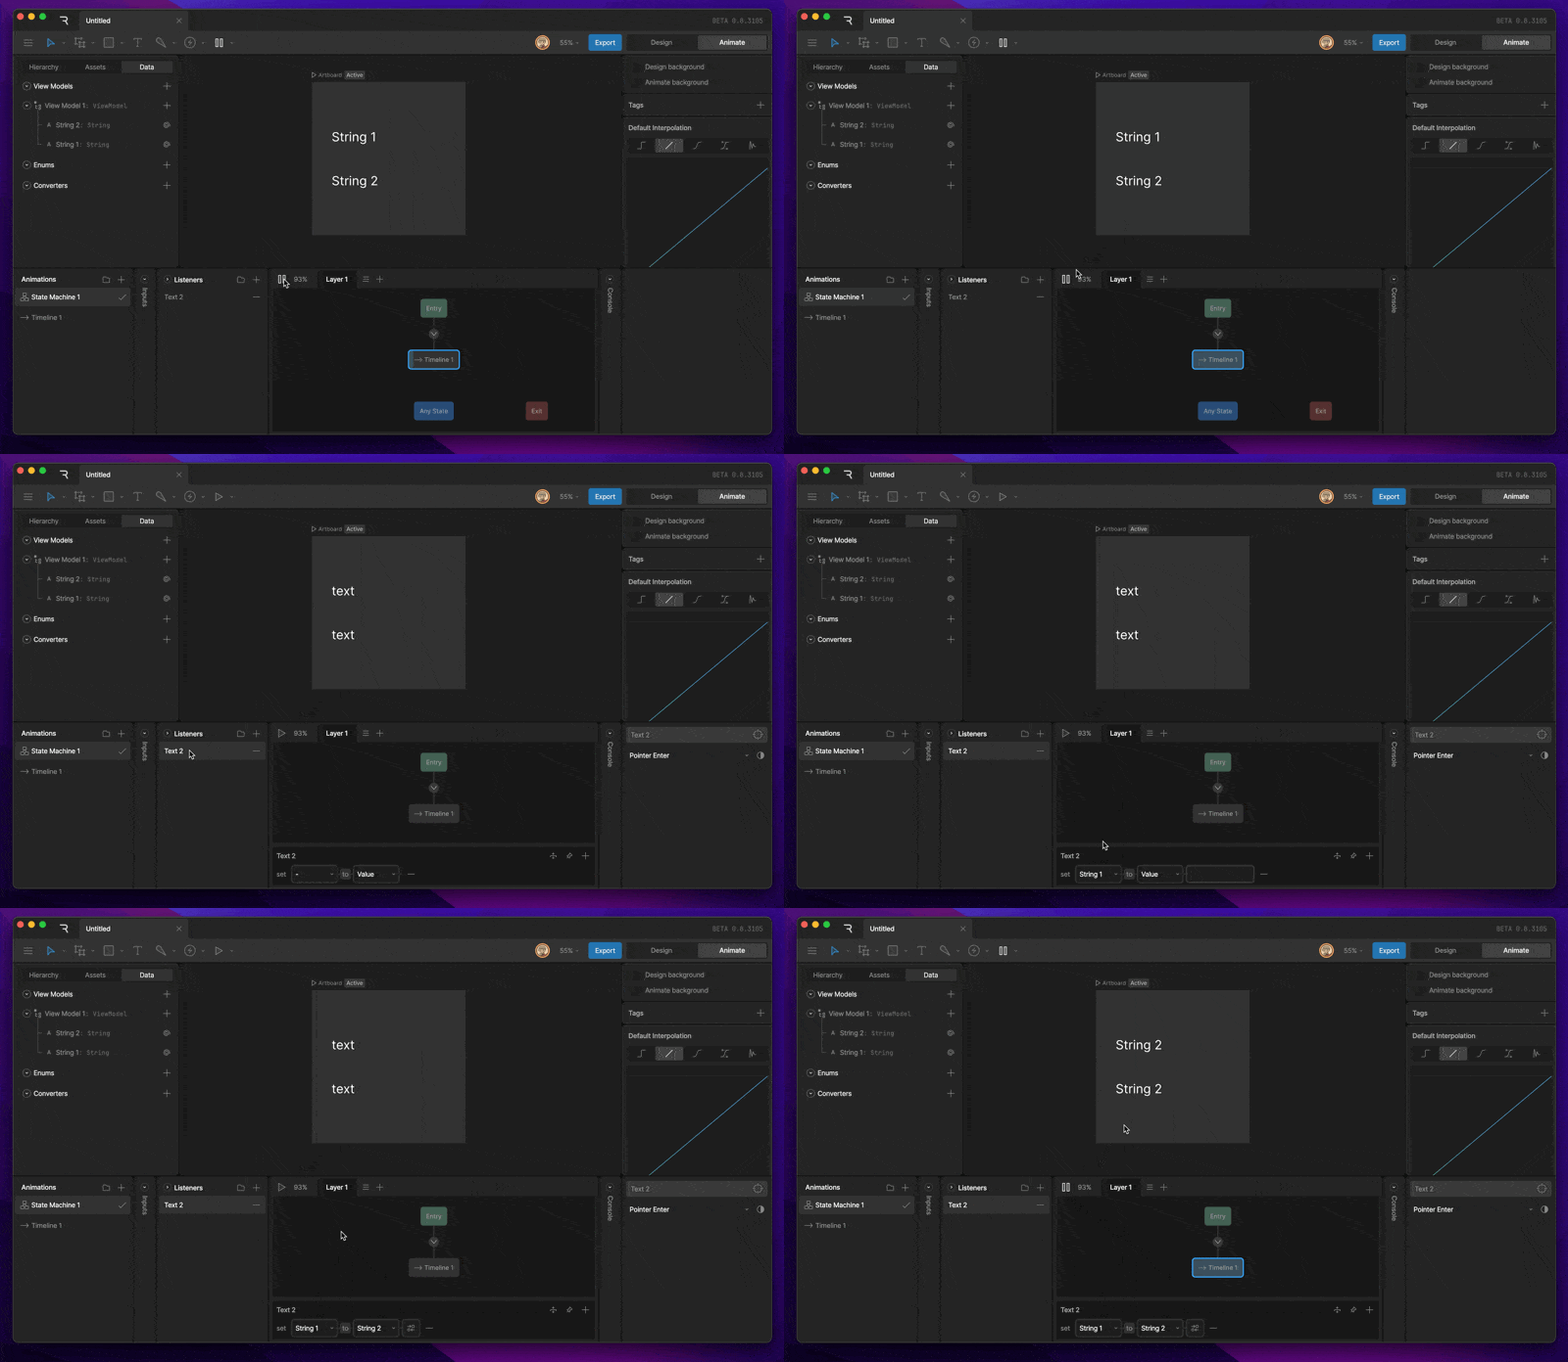
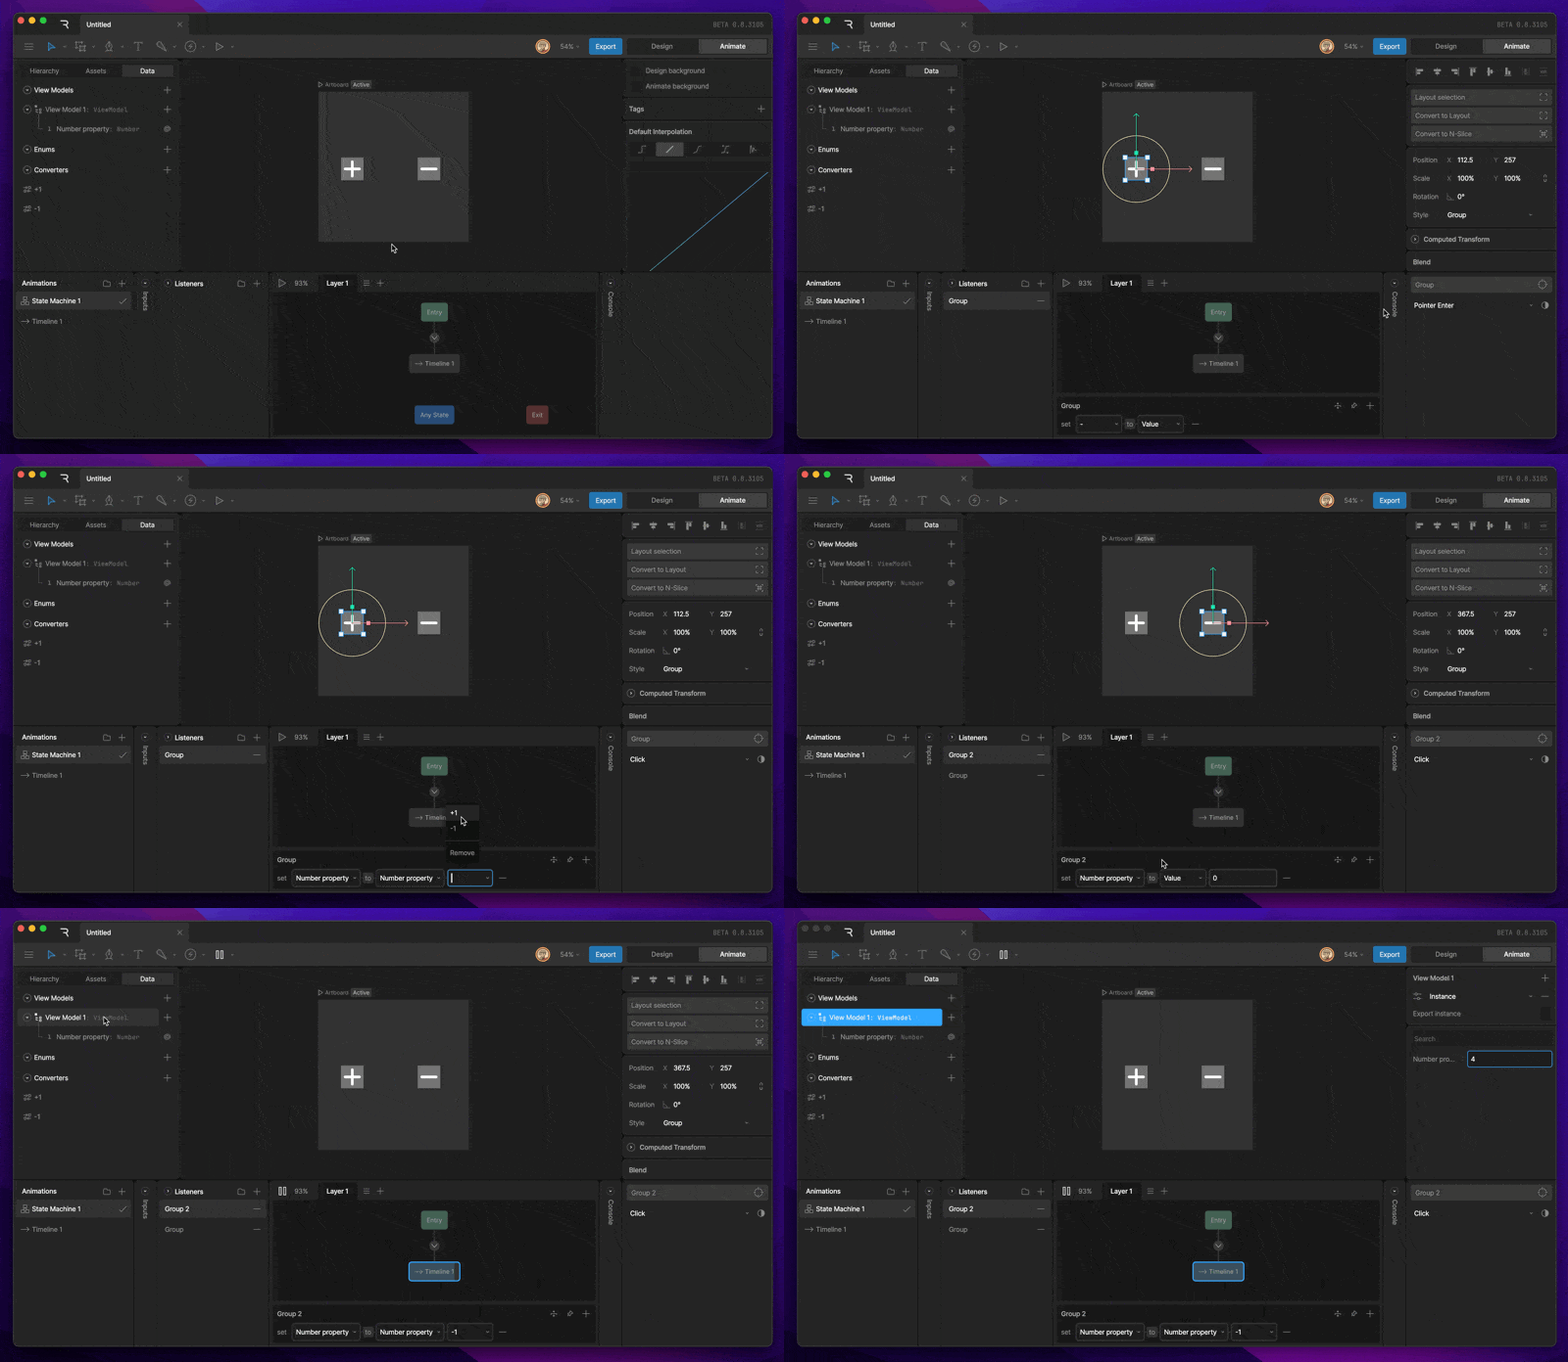
For example, we can set Number to Number, but attach an add one converter. Every time this listener fires, we can increase our Number property by one.
Report Event
Fires an event each time the user action is triggered. This is the default option when an artboard or component instance is the target of a listener.Align Target
The Align Target action positions a target object to follow the pointer when the specified user action occurs within the listener area. Use the Target Picker to select the object you want to align. Enable Preserve Offset to maintain the original distance between the object and the pointer when the action was triggered. When unchecked, the object will align directly to the pointer’s center.Input Change
Allows the listener to change a defined input—such as toggling a boolean, firing a trigger, or setting a number input to a specific value.This is useful for creating interactive behaviors like hover states or click effects directly on the Artboard.