Creating a View Model
A View Model defines the structure of your data. Before creating View Model Instances or setting up data bindings, you’ll first need to create a View Model and add properties to it.New Rive files come with a default view model called “ViewModel1” that is already attached to the main artboard.
1
Add a View Model
In the Data panel Click the
+ icon and select View Model.2
Add Properties
In the Data panel, click the Add View Model Property button next to the view model name and select your property type.
Creating and Editing Instances
Once your View Model has been created, you can create one or more View Model Instances that store actual values for those properties.Creating a View Model Instance
A View Model can have multiple instances. Each instance contains its own set of property values while sharing the same structure defined by the View Model.When creating a new View Model, Rive automatically creates a View Model Instance named “Instance” so you can immediately begin testing bindings and previewing data.
1
View existing instances
Select a View Model in the Data panel, then click the Controls icon next to the instance name in the Inspector.
To see all of your view model instances and values at once, click the Open Table Data button.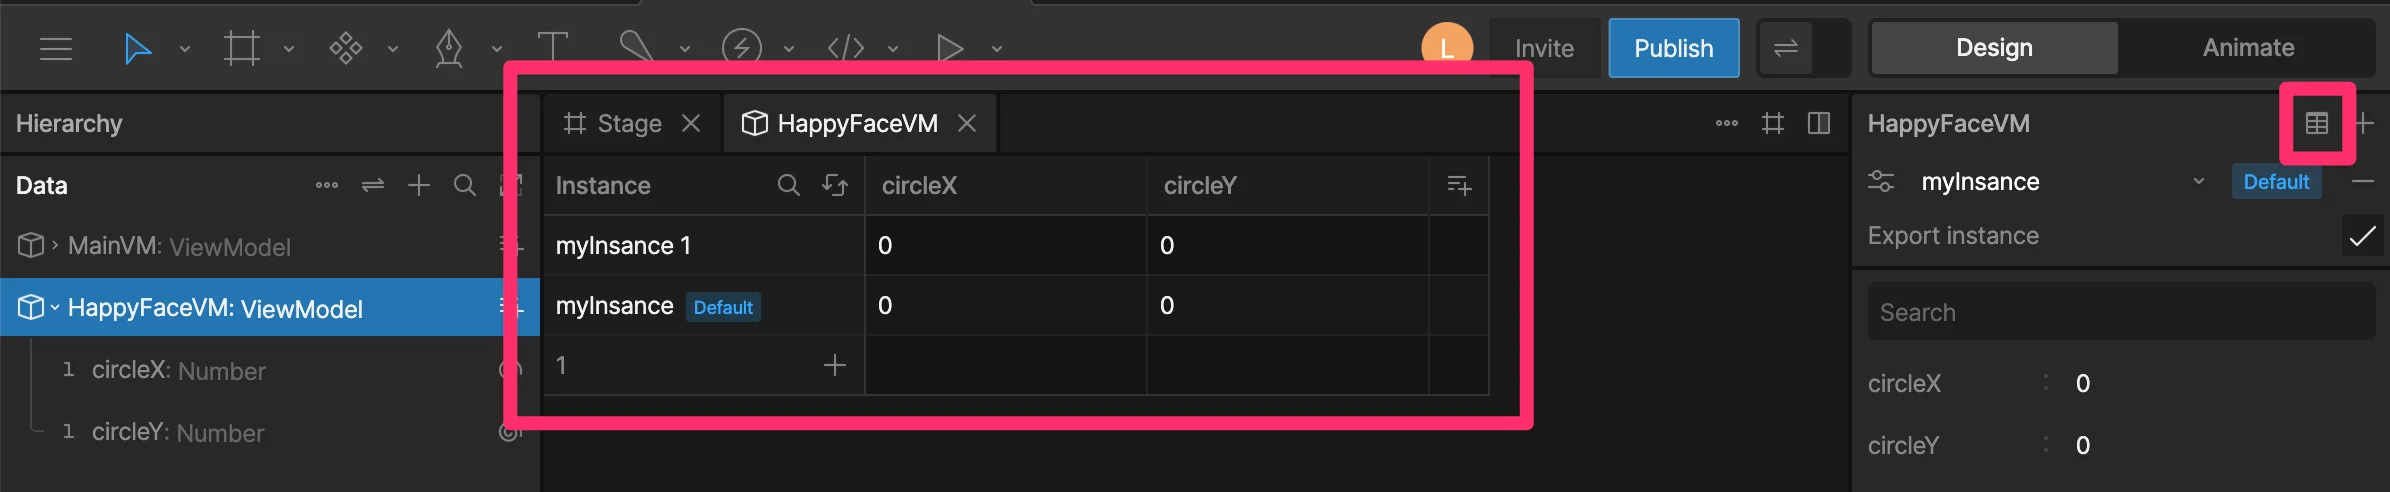
2
Add an instance
Click the
+ icon to add a new instance.3
Name the instance
Double click the instance’s name to rename it.
4
Update the instance data
With the instance selected, change any of its properties.Note that this changes only the values on the selected view model instance.
Removing Instances
Click the- icon next to the instance name to delete it.

Deleting a View Model Instance does not remove the View Model or its properties. It only removes that instance and its stored values.
Exporting Instances
By default, exported View Model Instances are included in the .riv file. Disable Export Instance when the data is only needed during development, not in your application at runtime.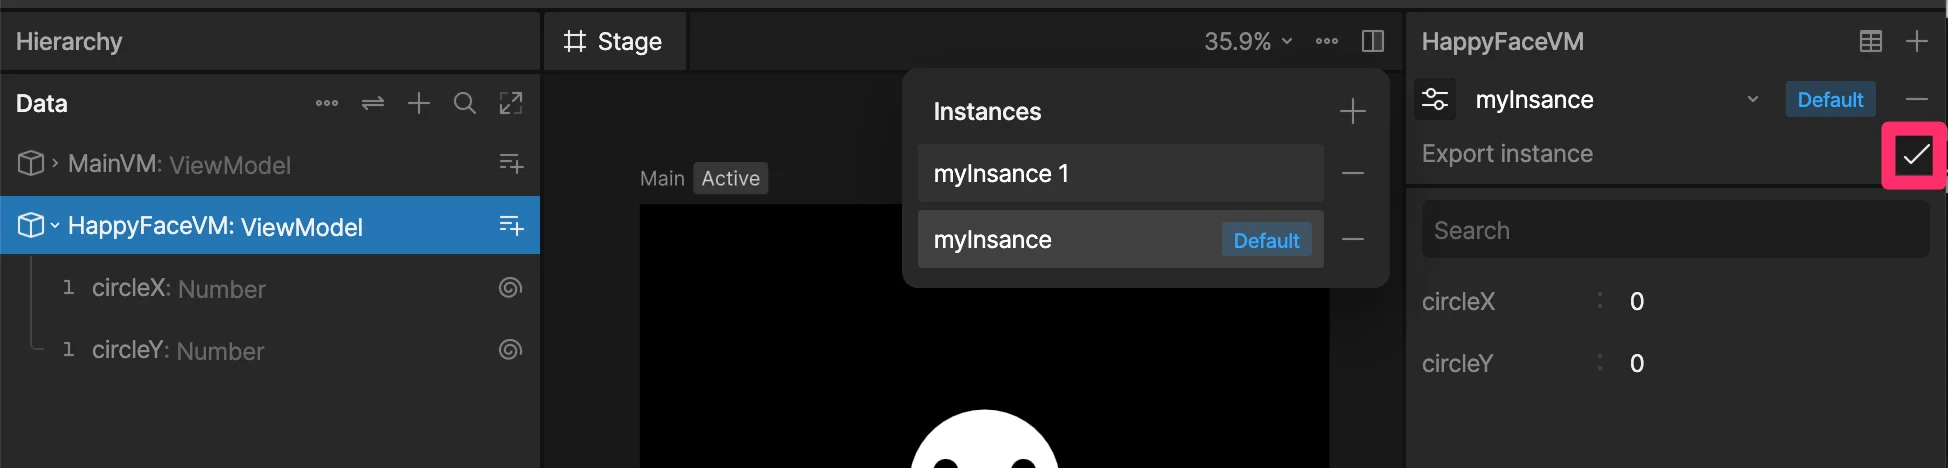
Connecting View Model Instances to Artboards
Before binding data, you’ll need to decide where the data should live. Rive supports three common patterns:Top-Level Artboard View Model Instances
Attach a View Model Instance directly to the top-level artboard when the data should be available to the entire artboard and its children.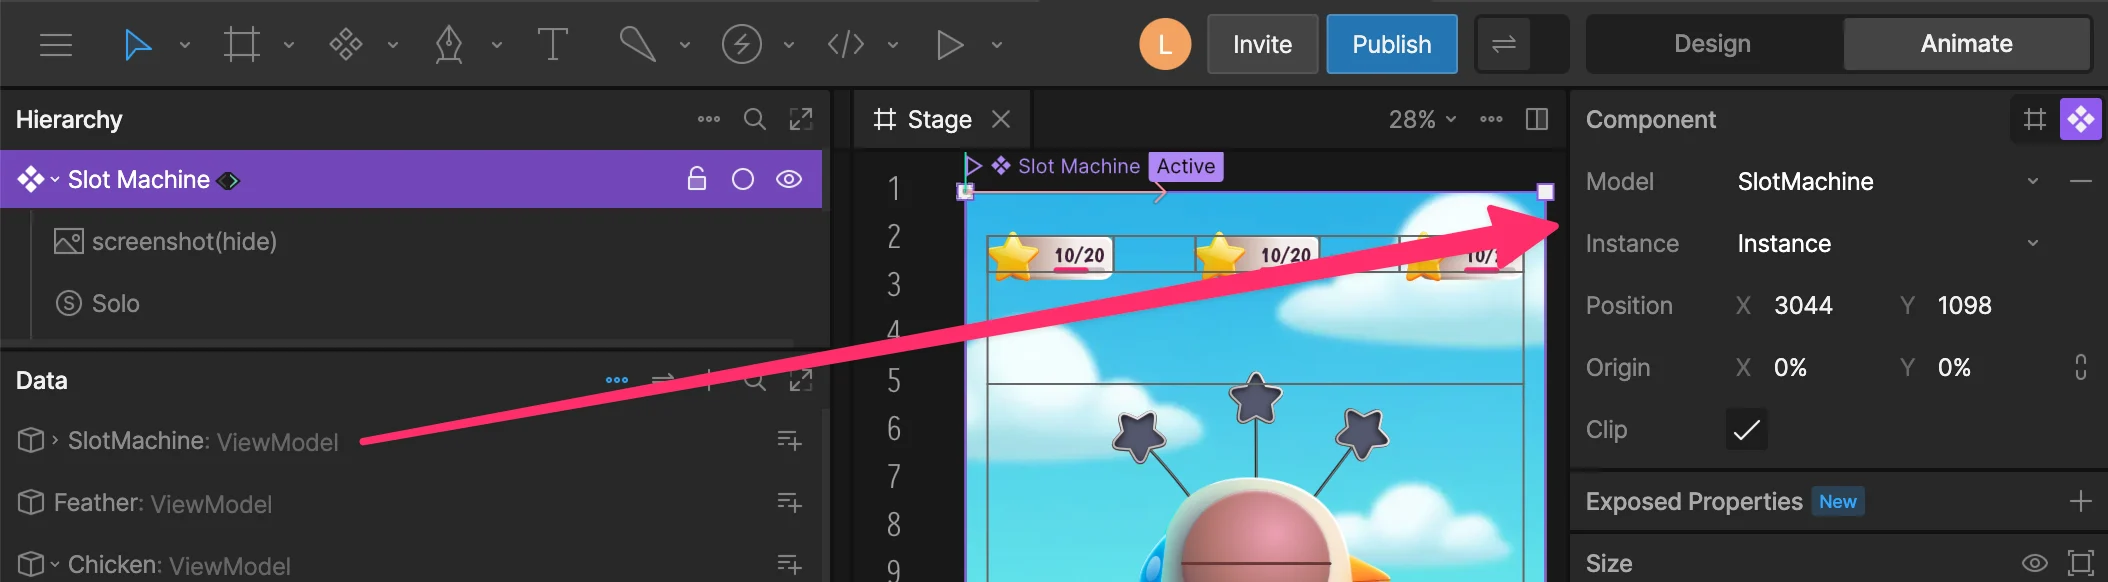
Nested Component Instances
Components can also have their own View Model Instances. In this pattern, the parent View Model stores references to child instances, either directly or through a list.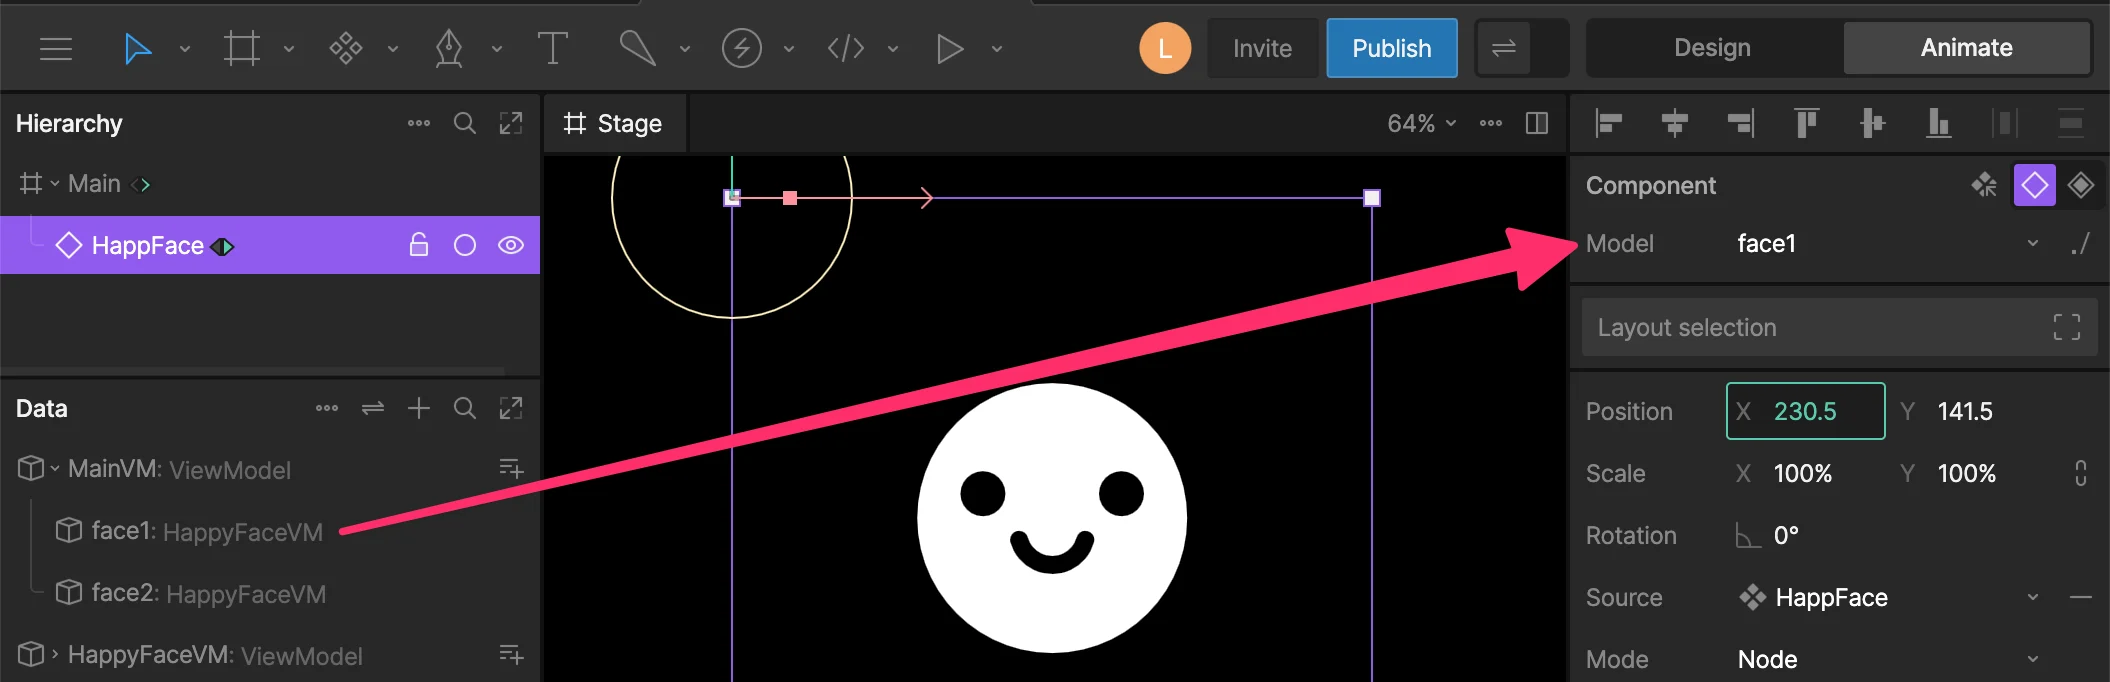
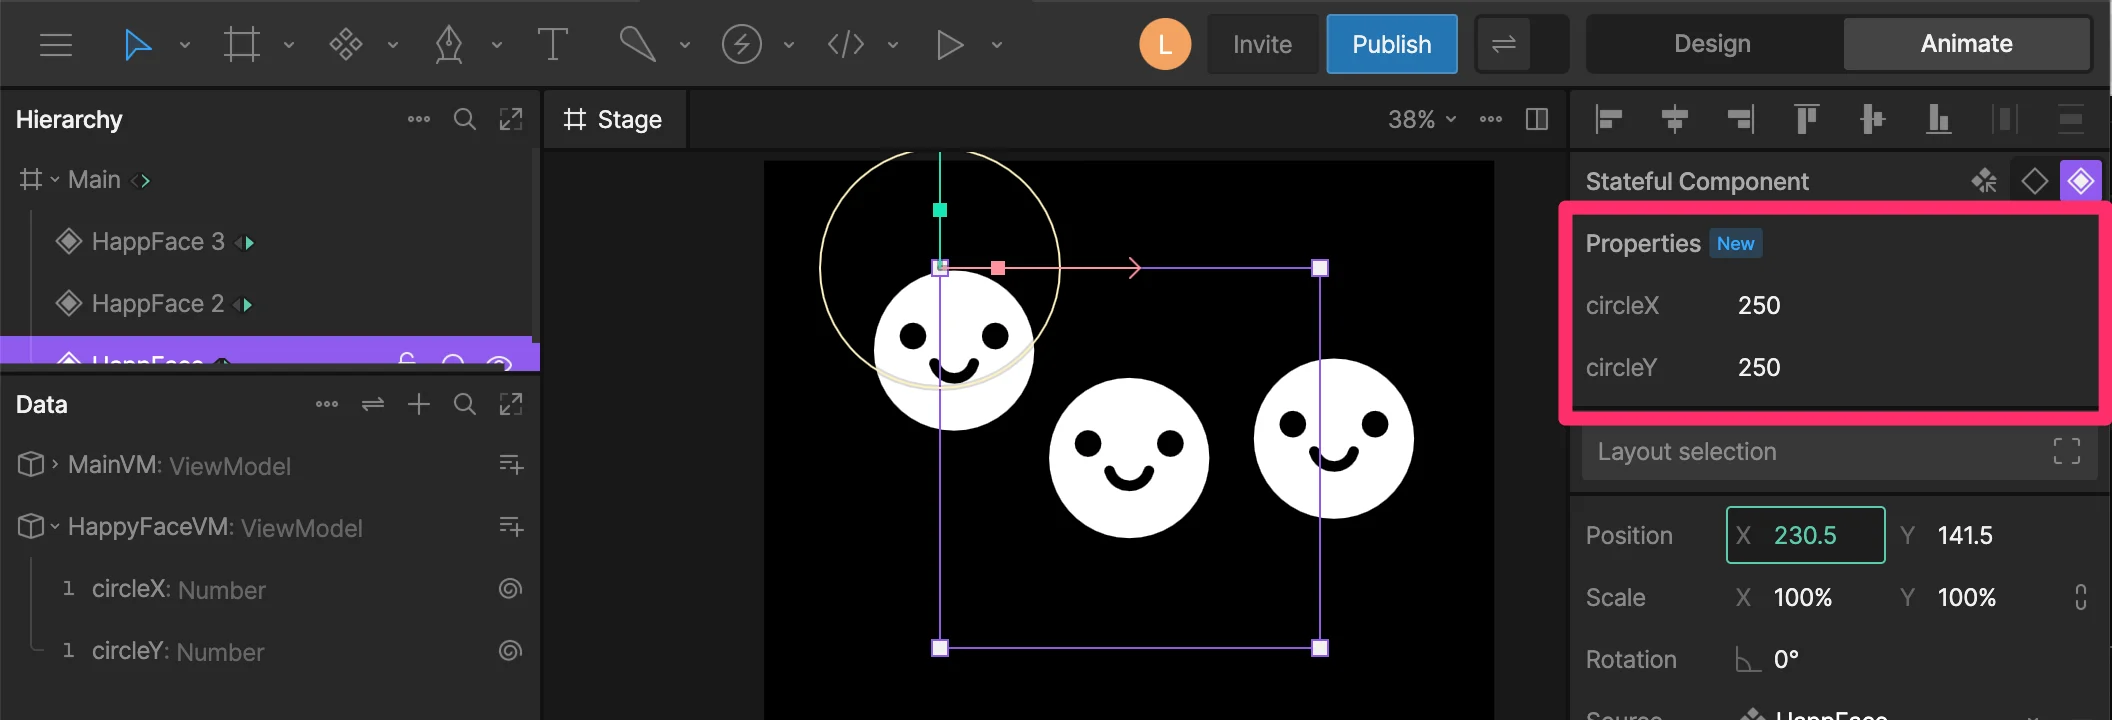
Stateful Components
A stateful component is an instance of a component that maintains its own data. Unlike traditional component View Model Instances, these instances do not need to be created or referenced by the parent View Model. Instead their properties are exposed in the sidebar.