Exporting video and images is available on paid plans. Learn more about our plans and pricing.
- Render presets are saved settings for a render, such as what to render, the format, and the size. They belong to an artboard.
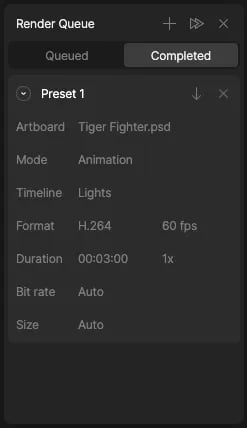
- The Render Queue is where you start renders and download the finished files.
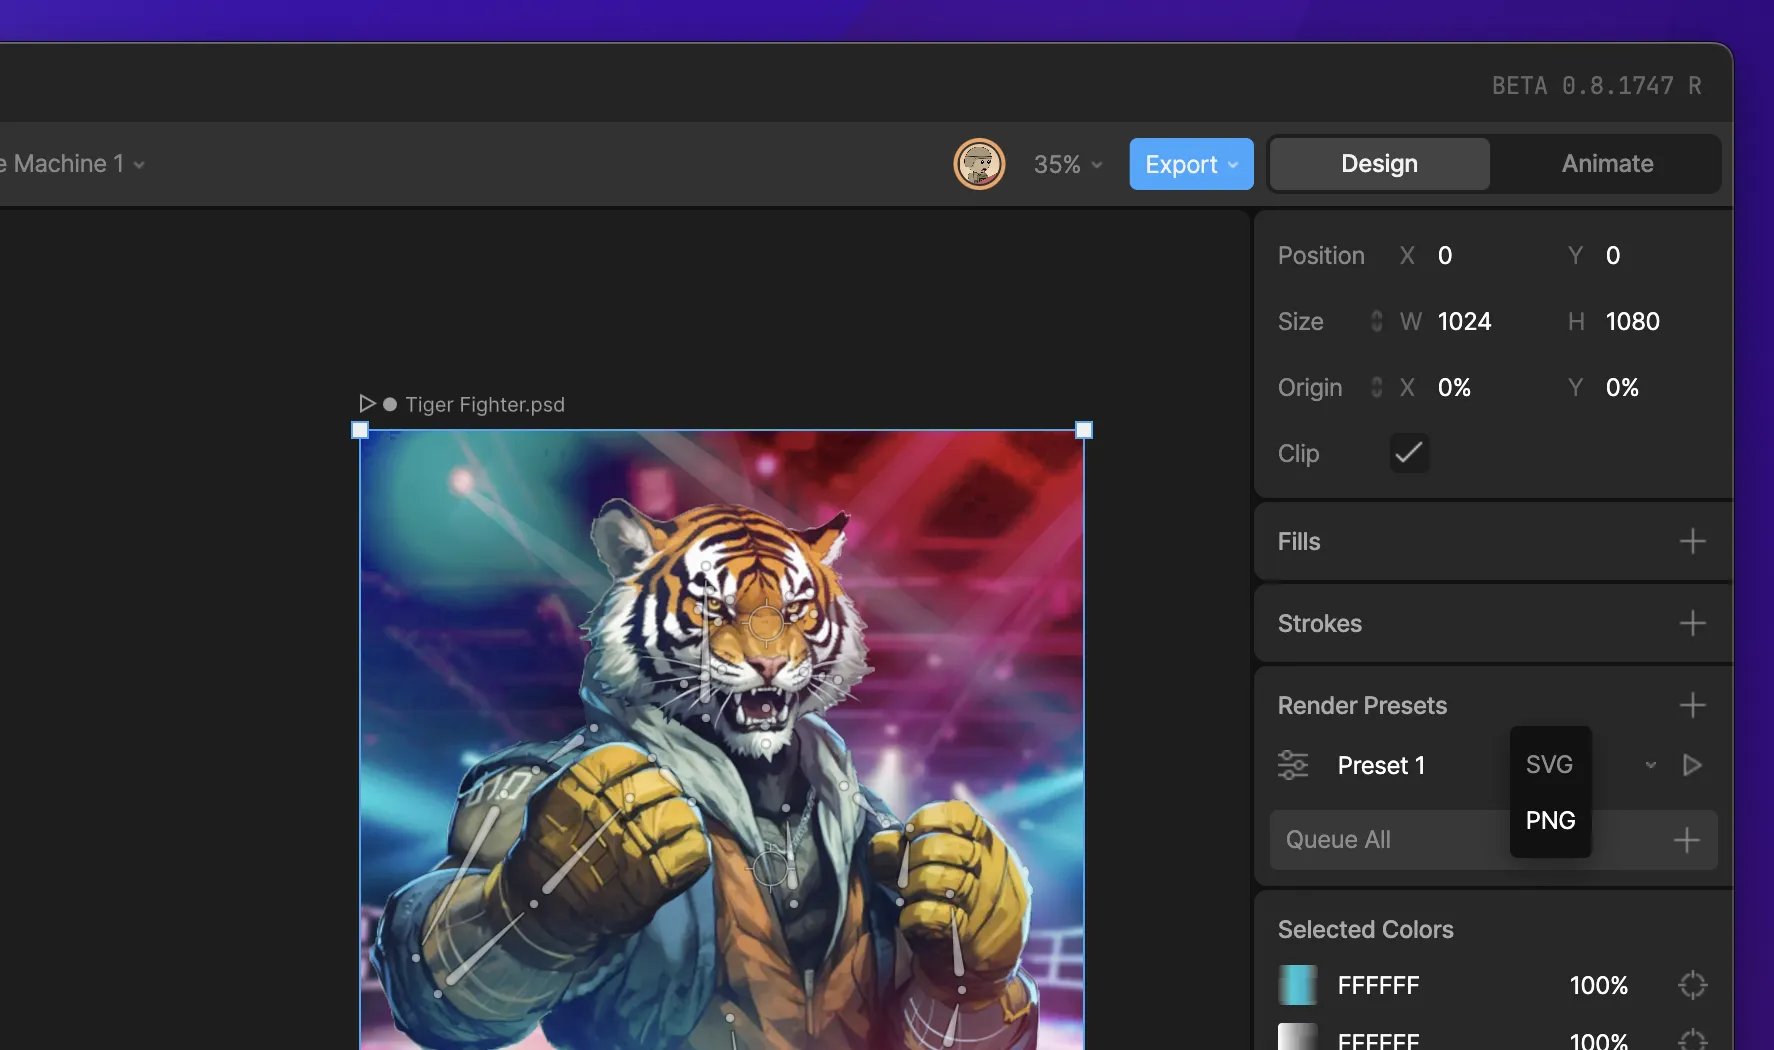
Supported formats
The available formats depend on the preset’s mode.
PNG and SVG sequences download as a
.zip file with one image per frame.
Creating a render preset
1
Select the artboard you want to render.
2
In the Render Presets section of the Inspector, click +.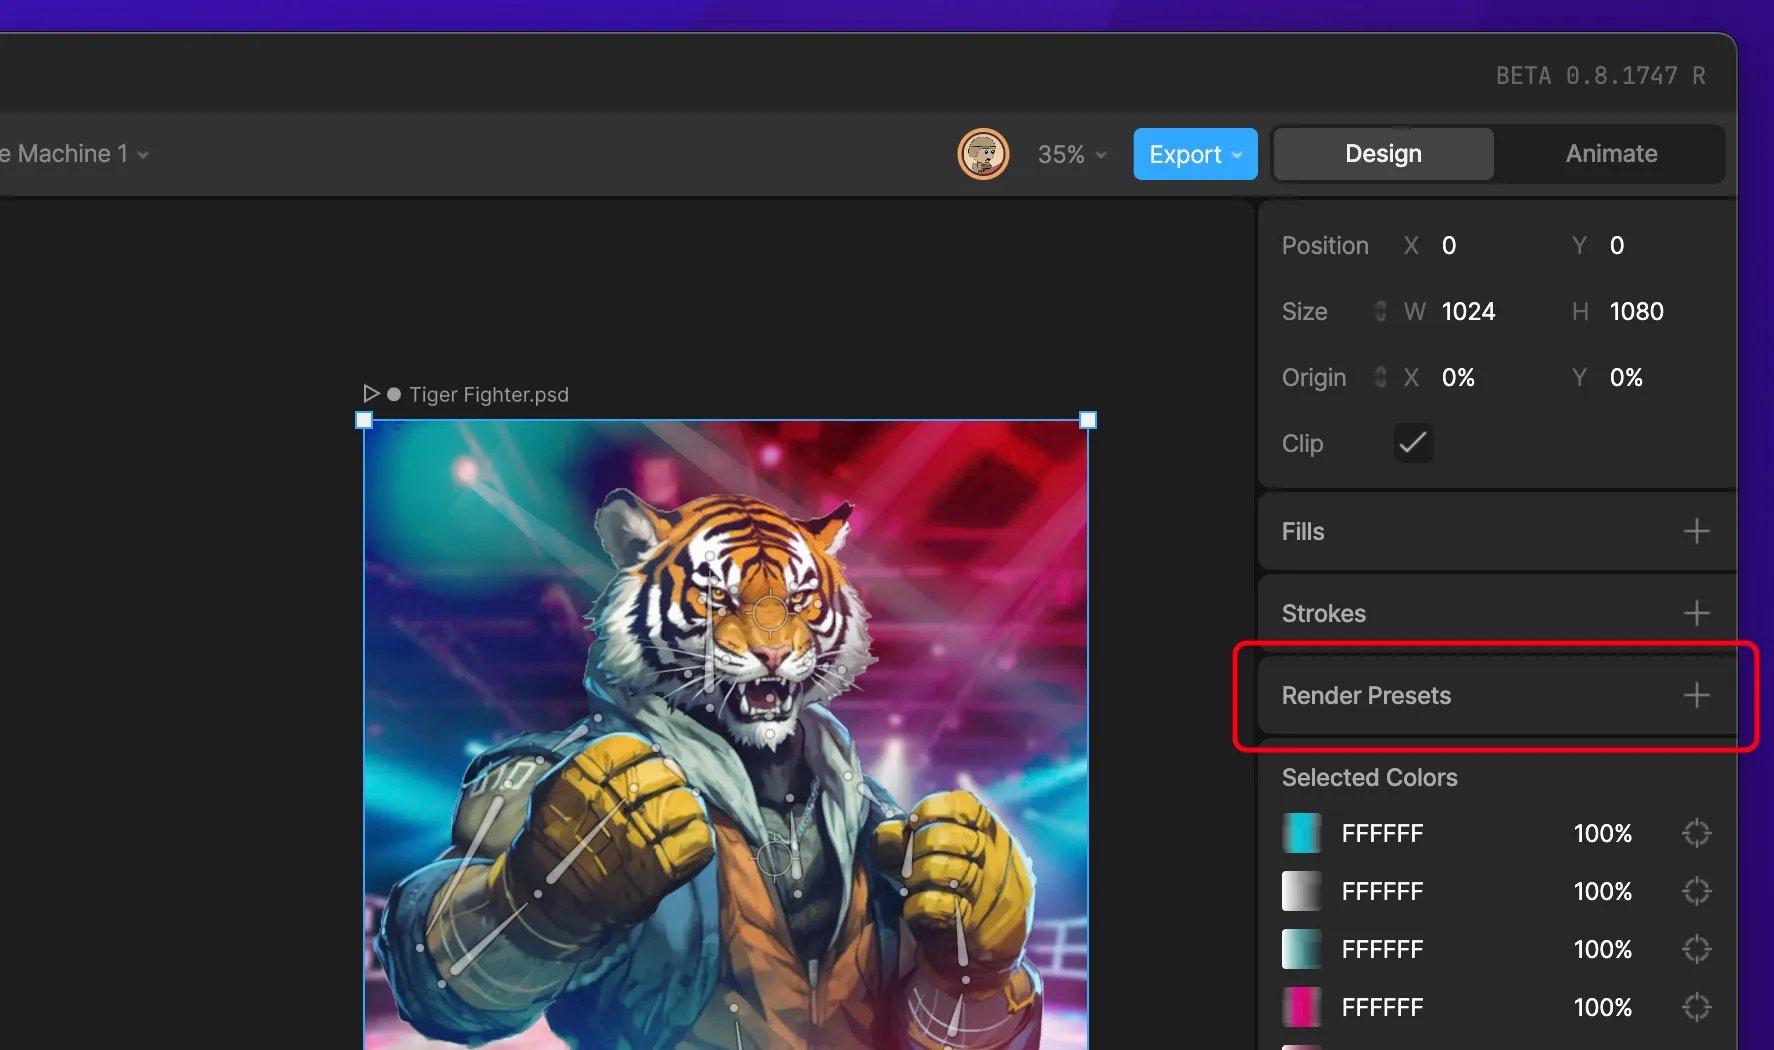
3
Click the options icon to the left of the preset name, then set the preset’s options.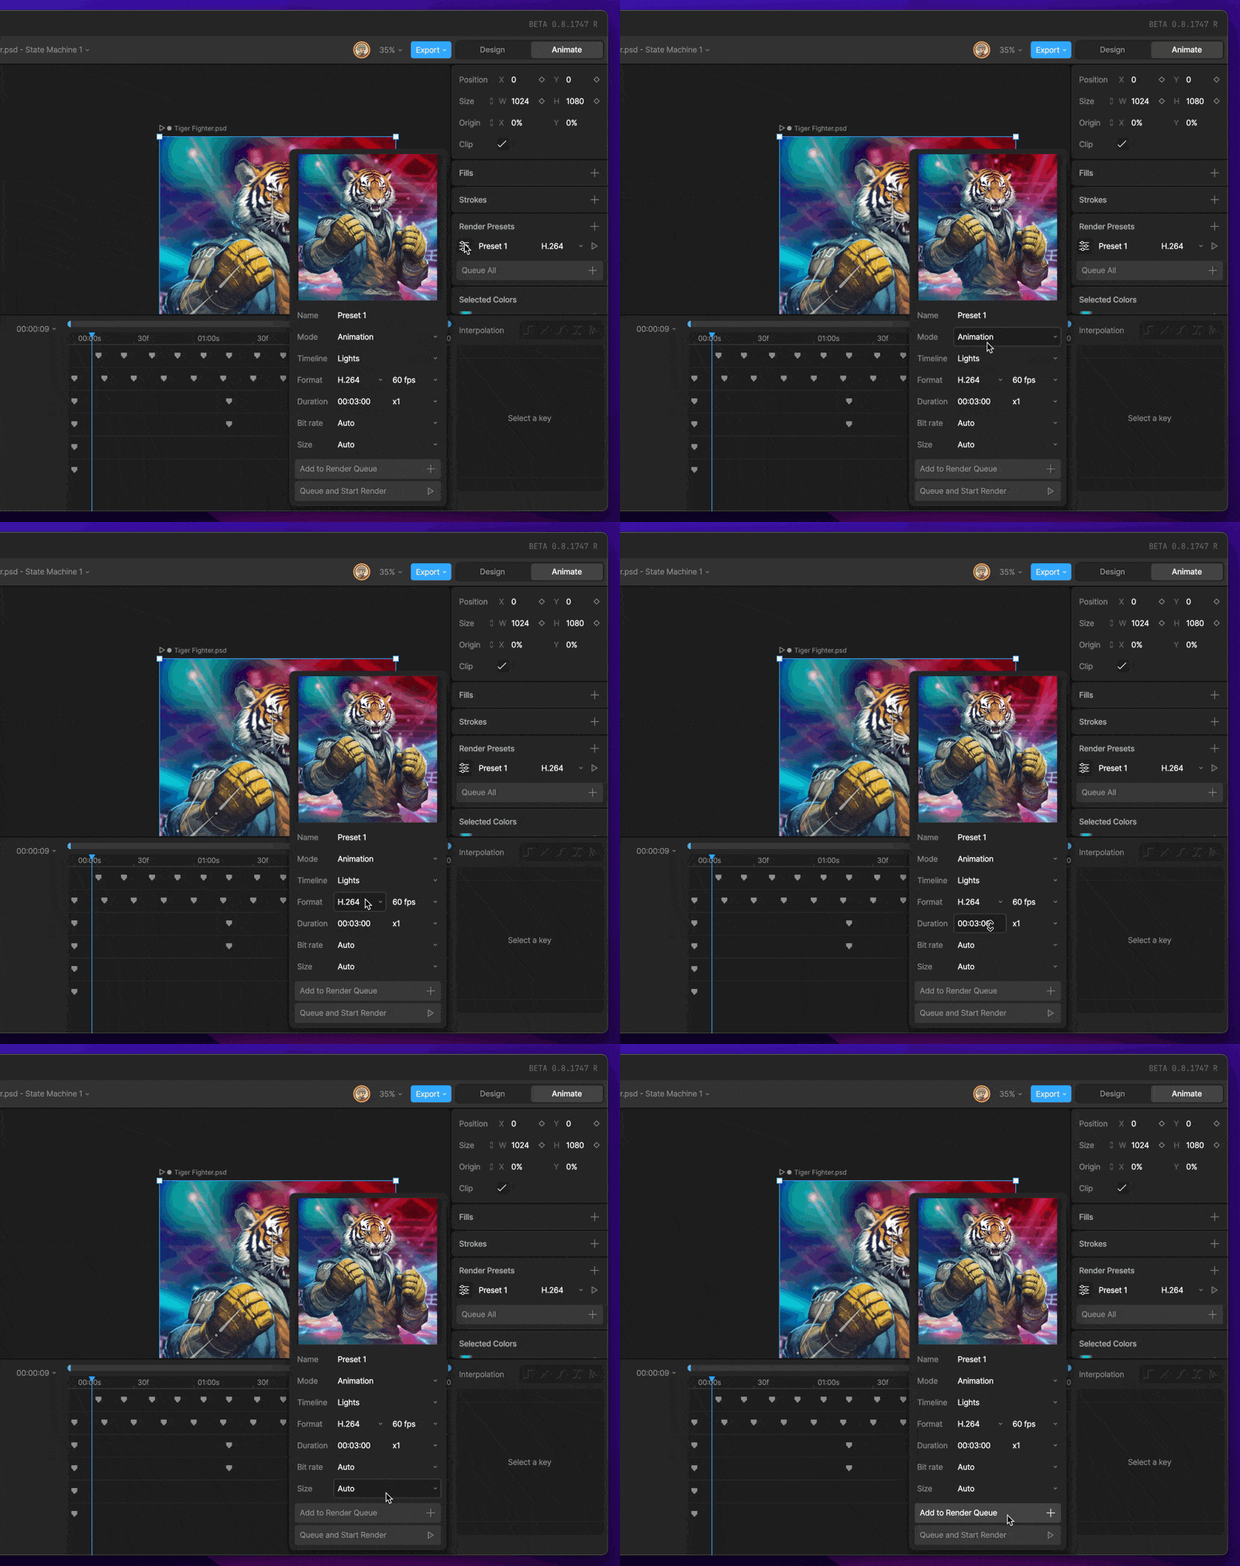
Preset options
- Name: The name of the preset.
- Mode: What to render.
- Design renders a still image of the artboard.
- Animation renders a single timeline. Choose it under Timeline.
- State Machine renders a State Machine as it plays over time. Choose it under State Machine.
- Format: The file format. For Animation and State Machine presets, also set the frame rate.
- Duration: How long to render, plus a multiplier (1x, 2x, 3x, or a custom value). Available for Animation and State Machine presets.
- Bit rate: The video quality for H.264 and WebM. Leave it on Auto, or enter a custom value in kbps.
- Size: Use Auto to render at the artboard’s size, or choose a custom width and height.
Rendering
1
Add presets to the Render Queue in any of these ways: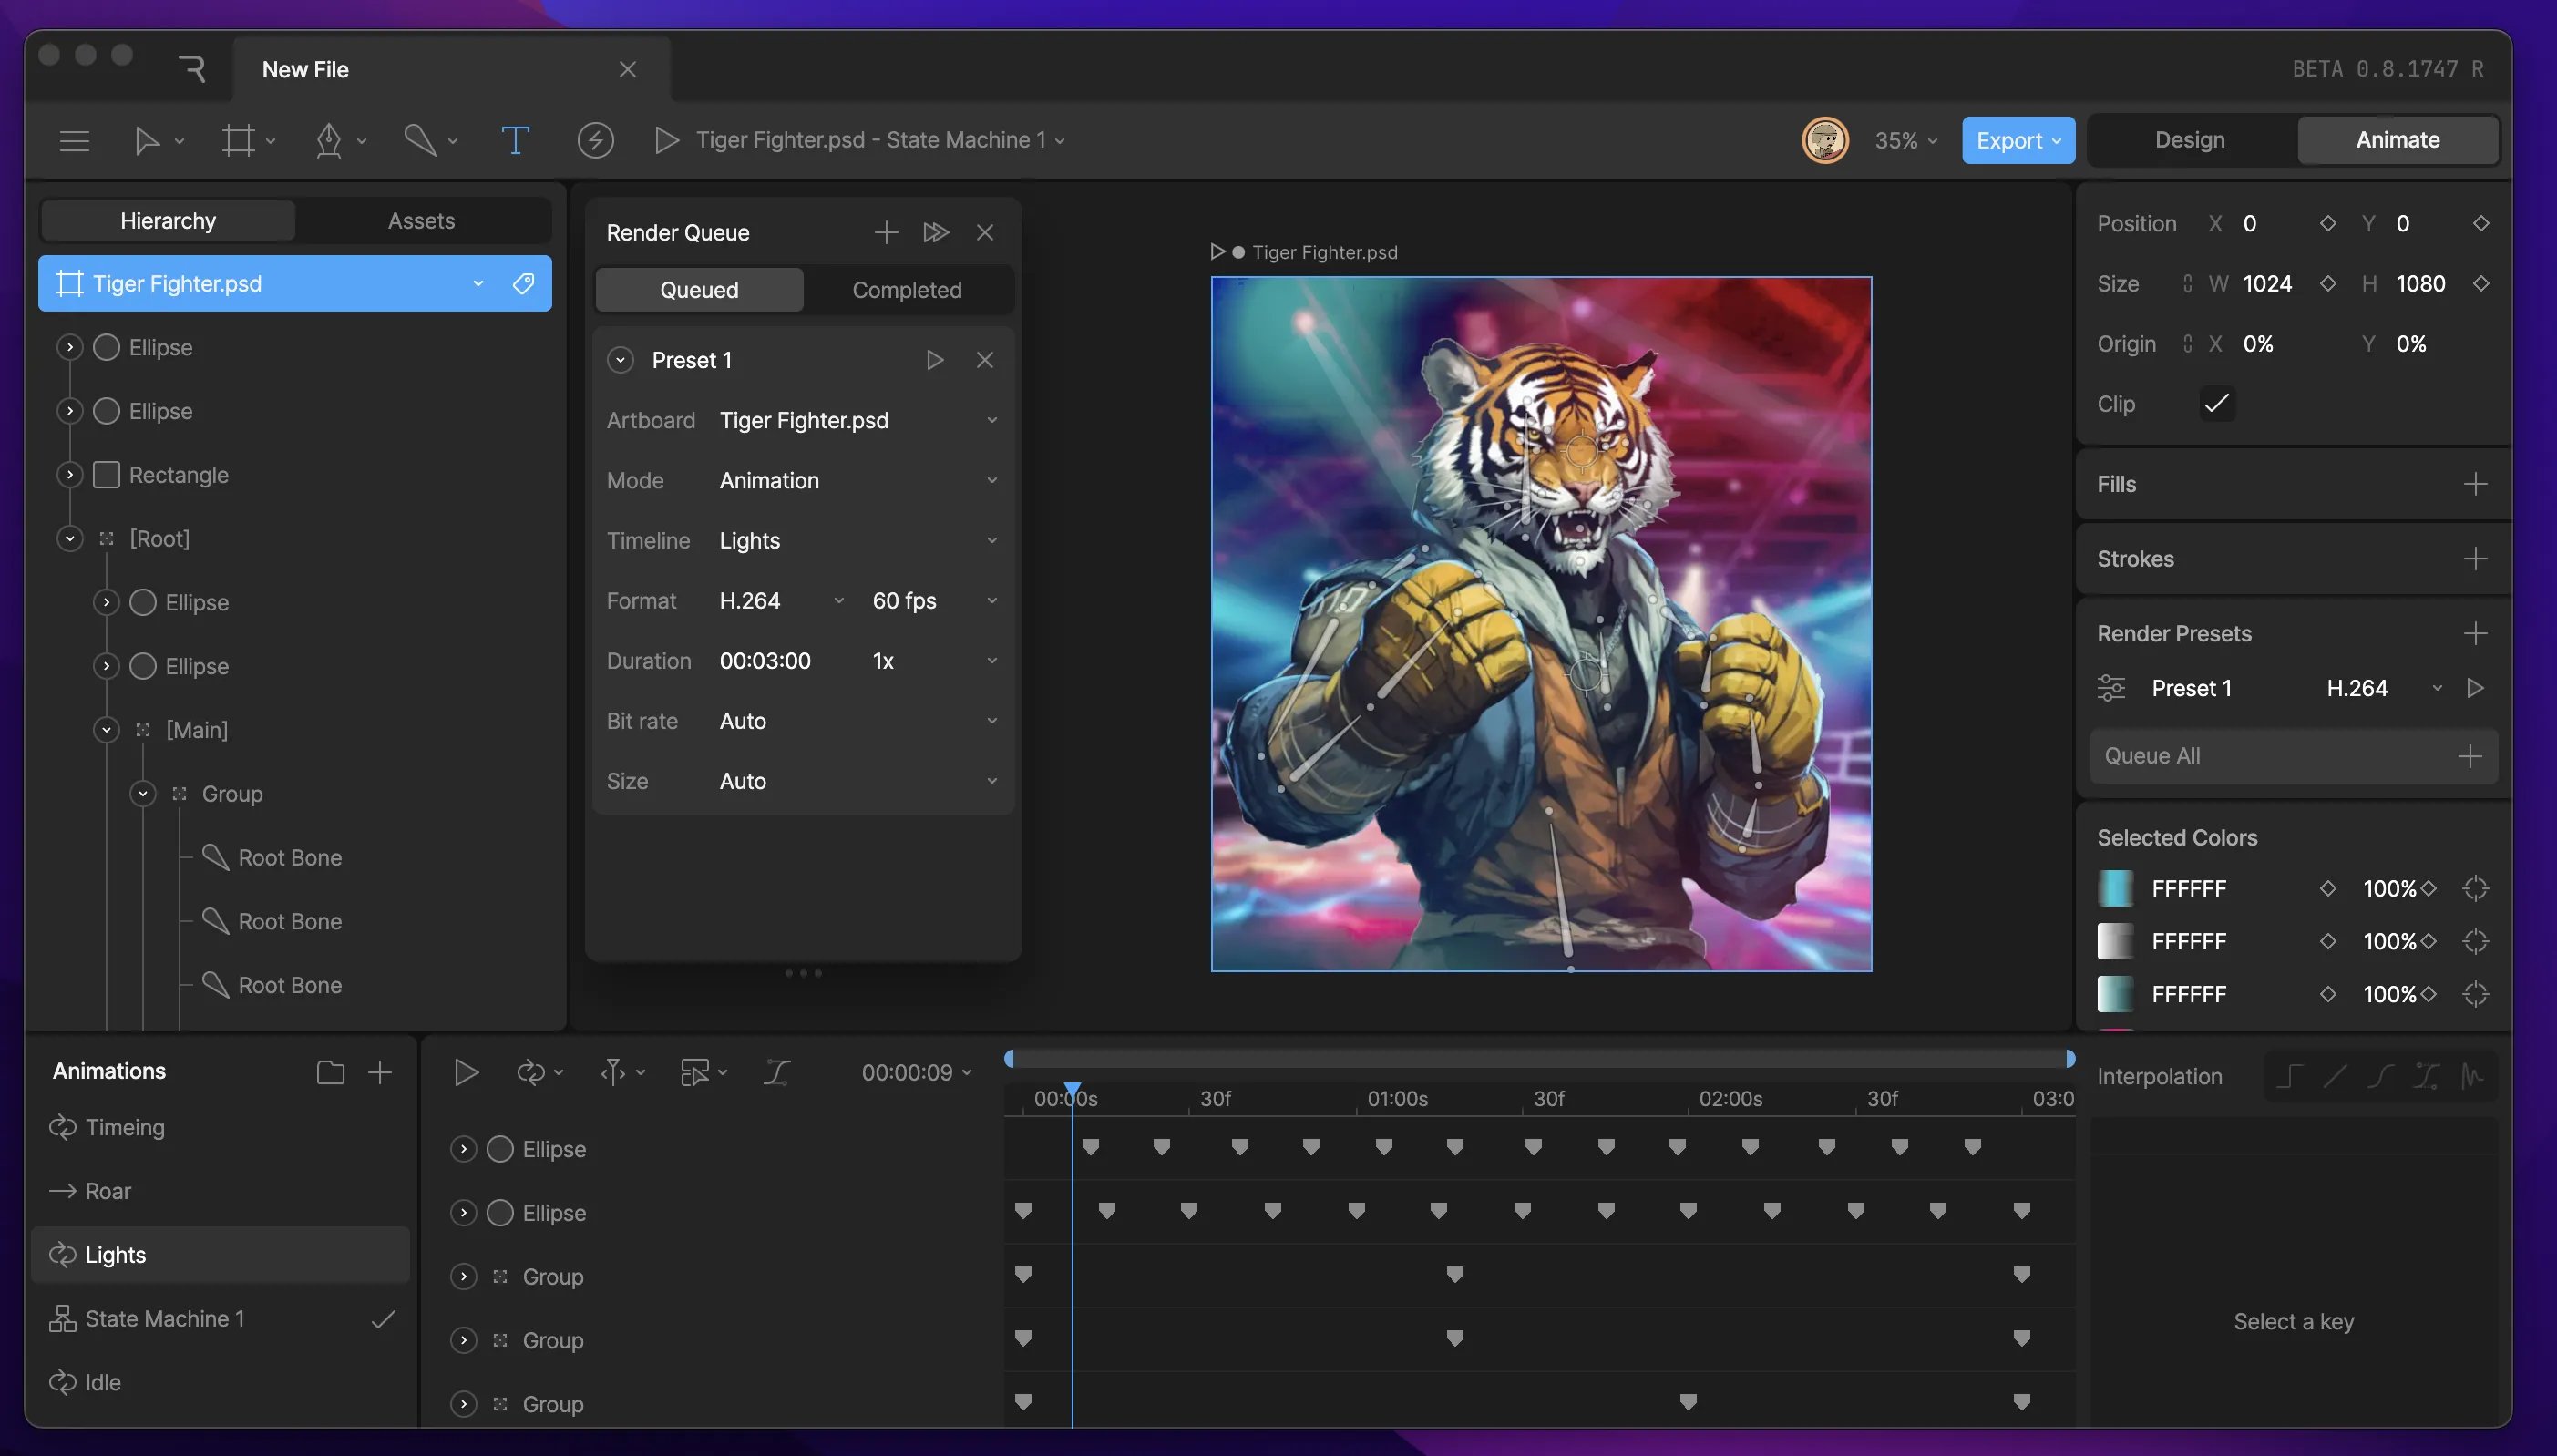
- Click Queue All below the presets to add every preset on the artboard.
- In a preset’s options, click Add to Render Queue.
- To add a preset and start rendering right away, click Queue and Start Render in the preset’s options, or click the play button next to the preset’s name.
2
On the Queued tab, check each render’s settings. Expand a render to change its options for that render only, such as Matte, the background color, or the View Model instance to render with.
3
Click the play button next to a render to start it, or click the double play button at the top of the Render Queue to start every queued render.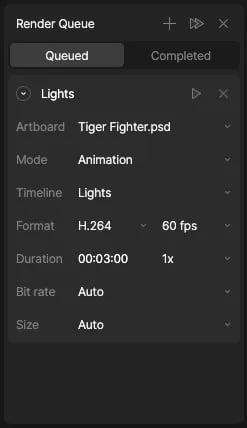
4
When a render finishes, open the Completed tab and click the download button next to it.