> ## Documentation Index
> Fetch the complete documentation index at: https://rive.app/docs/llms.txt
> Use this file to discover all available pages before exploring further.
# Inspector
> The Inspector is located on the right side of the Editor. It shows all of the editable properties of all objects in the Rive editor.
export const YouTube = ({id, timestamp}) => {
const videoSrc = timestamp ? `https://www.youtube.com/embed/${id}?start=${timestamp}` : `https://www.youtube.com/embed/${id}`;
return ;
};
# Inspector
An object's editable properties can be found in the Inspector. The Inspector changes dynamically depending on your selected object and where you are in the editor.
 ## Background Color, Tags, Default Interpolation
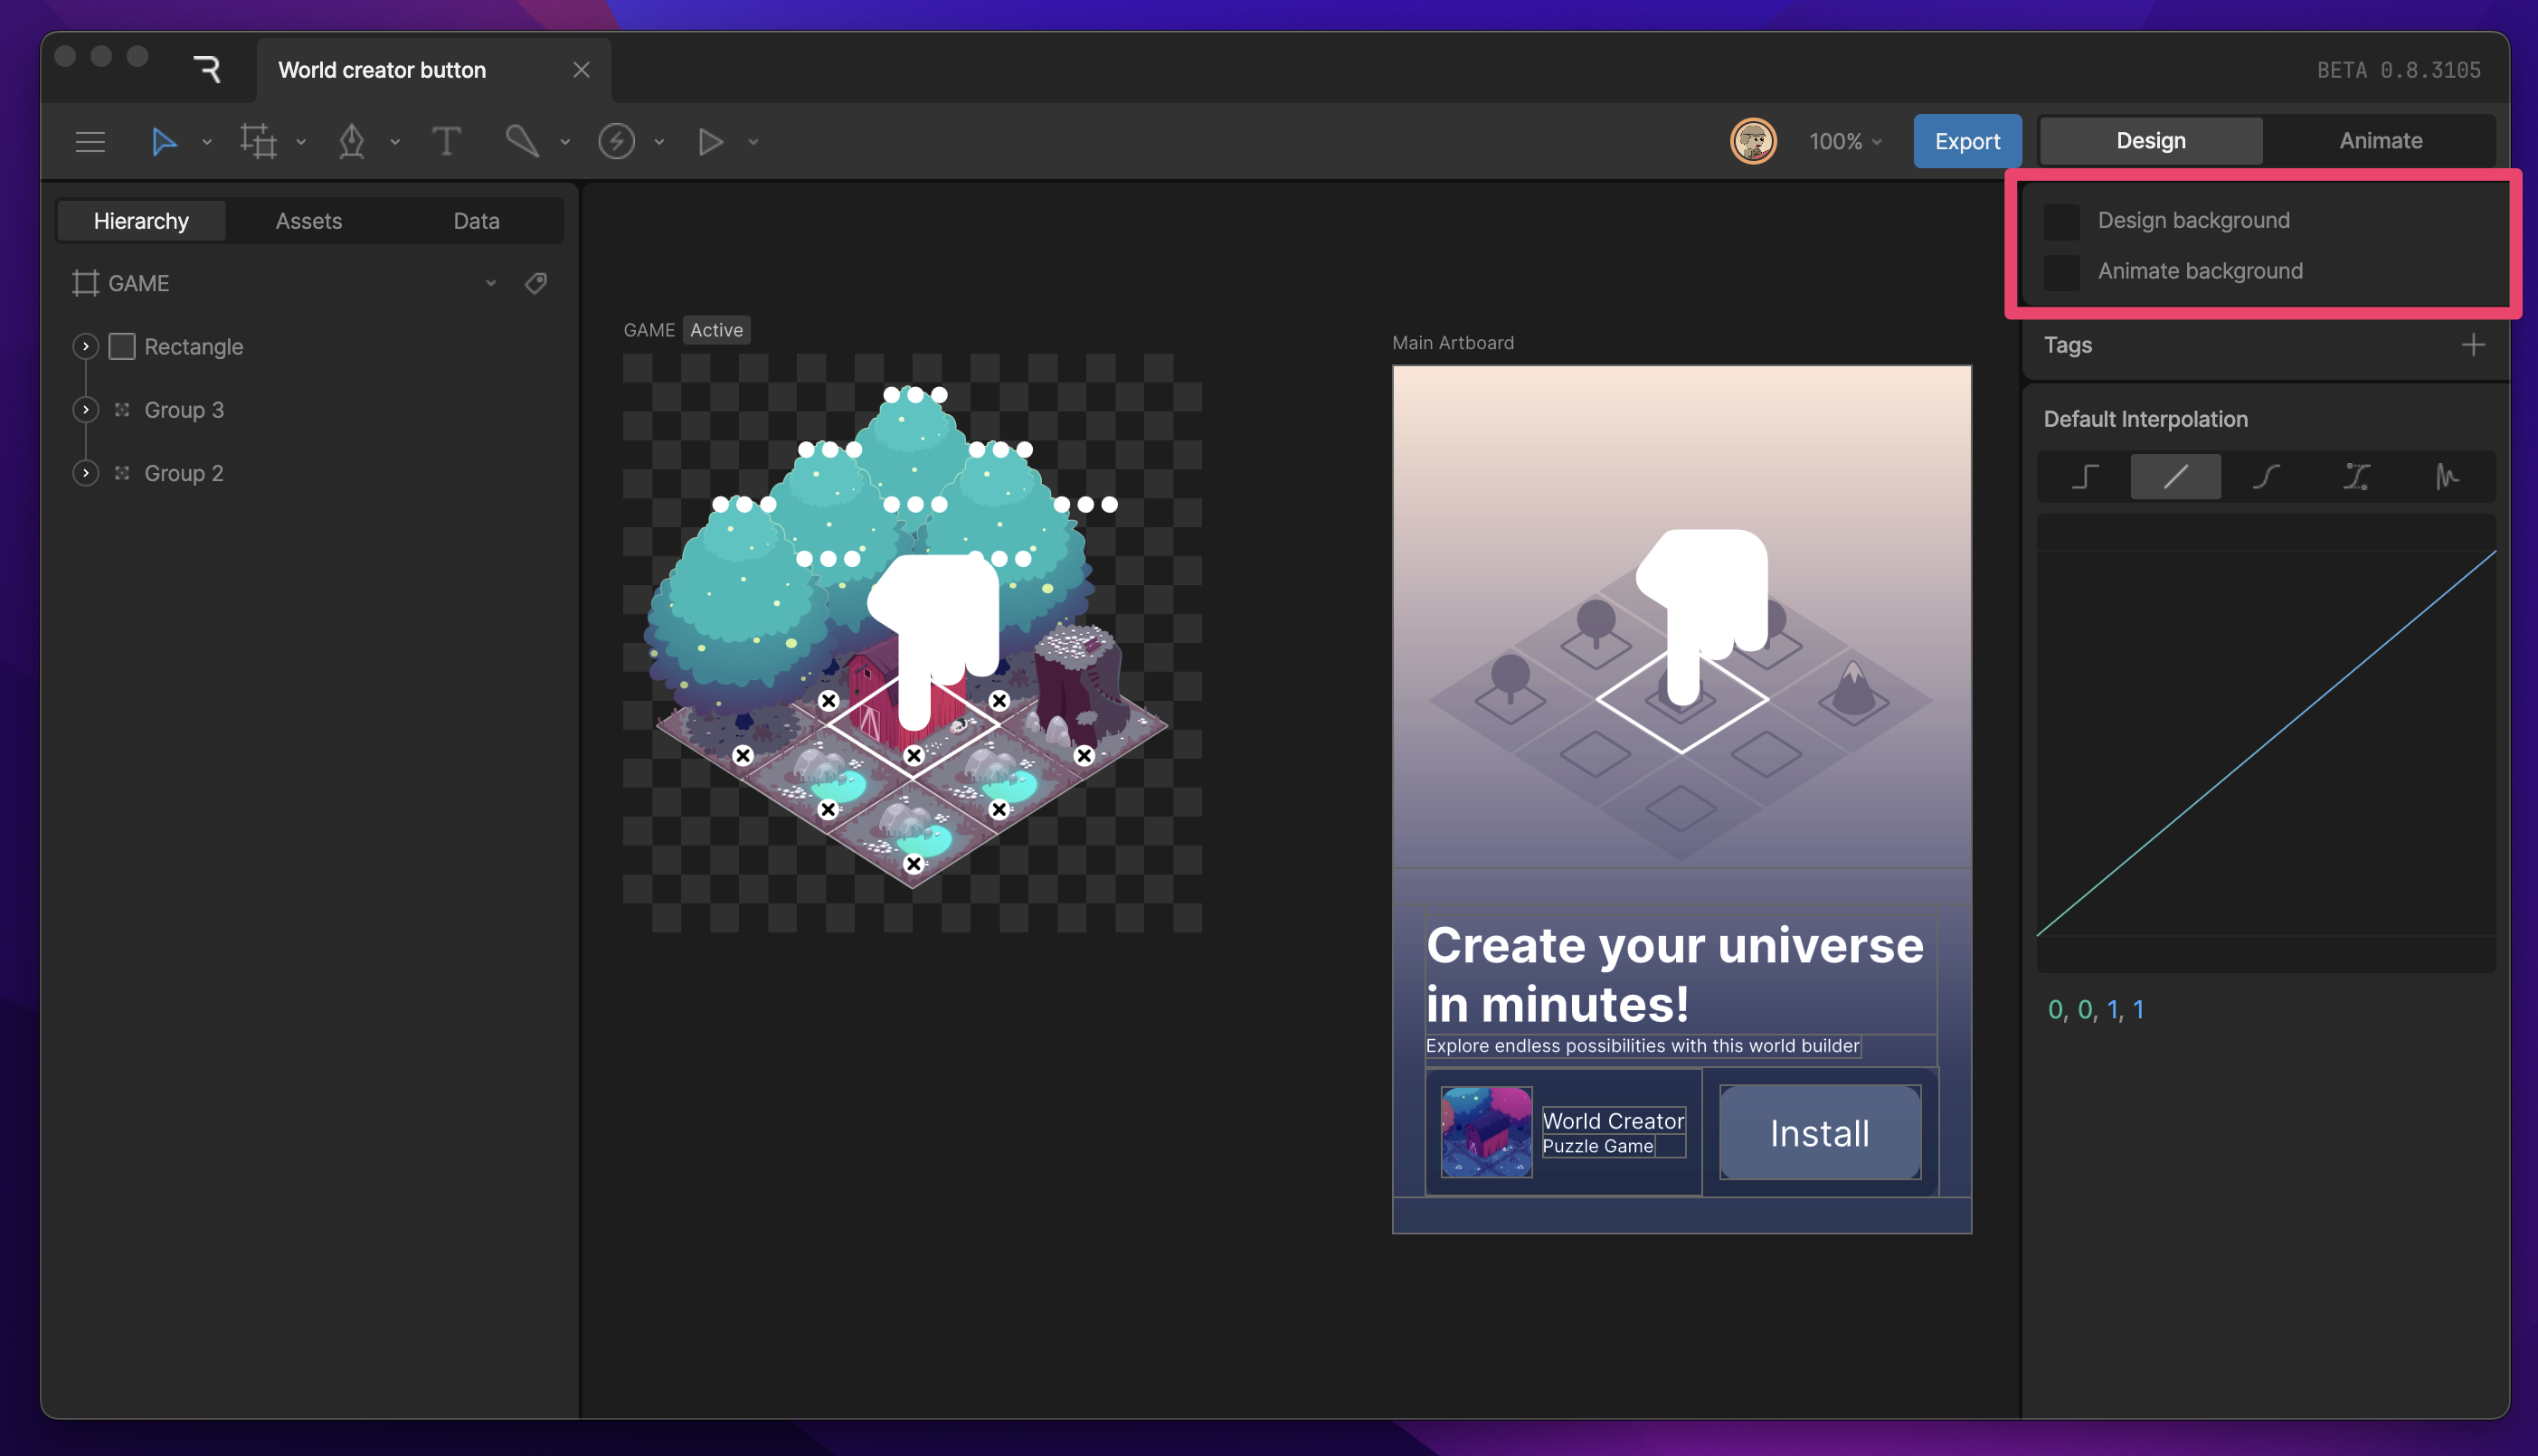
When nothing is selected, the Inspector has three sections: Backgrounds, Tags, and Default Interpolation.
**Background color**
Found at the top of the Inspector, this section allows you to change the background color of the editor for both Animate and Design modes. This is a helpful way to remind yourself which mode you are currently in.
## Background Color, Tags, Default Interpolation
When nothing is selected, the Inspector has three sections: Backgrounds, Tags, and Default Interpolation.
**Background color**
Found at the top of the Inspector, this section allows you to change the background color of the editor for both Animate and Design modes. This is a helpful way to remind yourself which mode you are currently in.
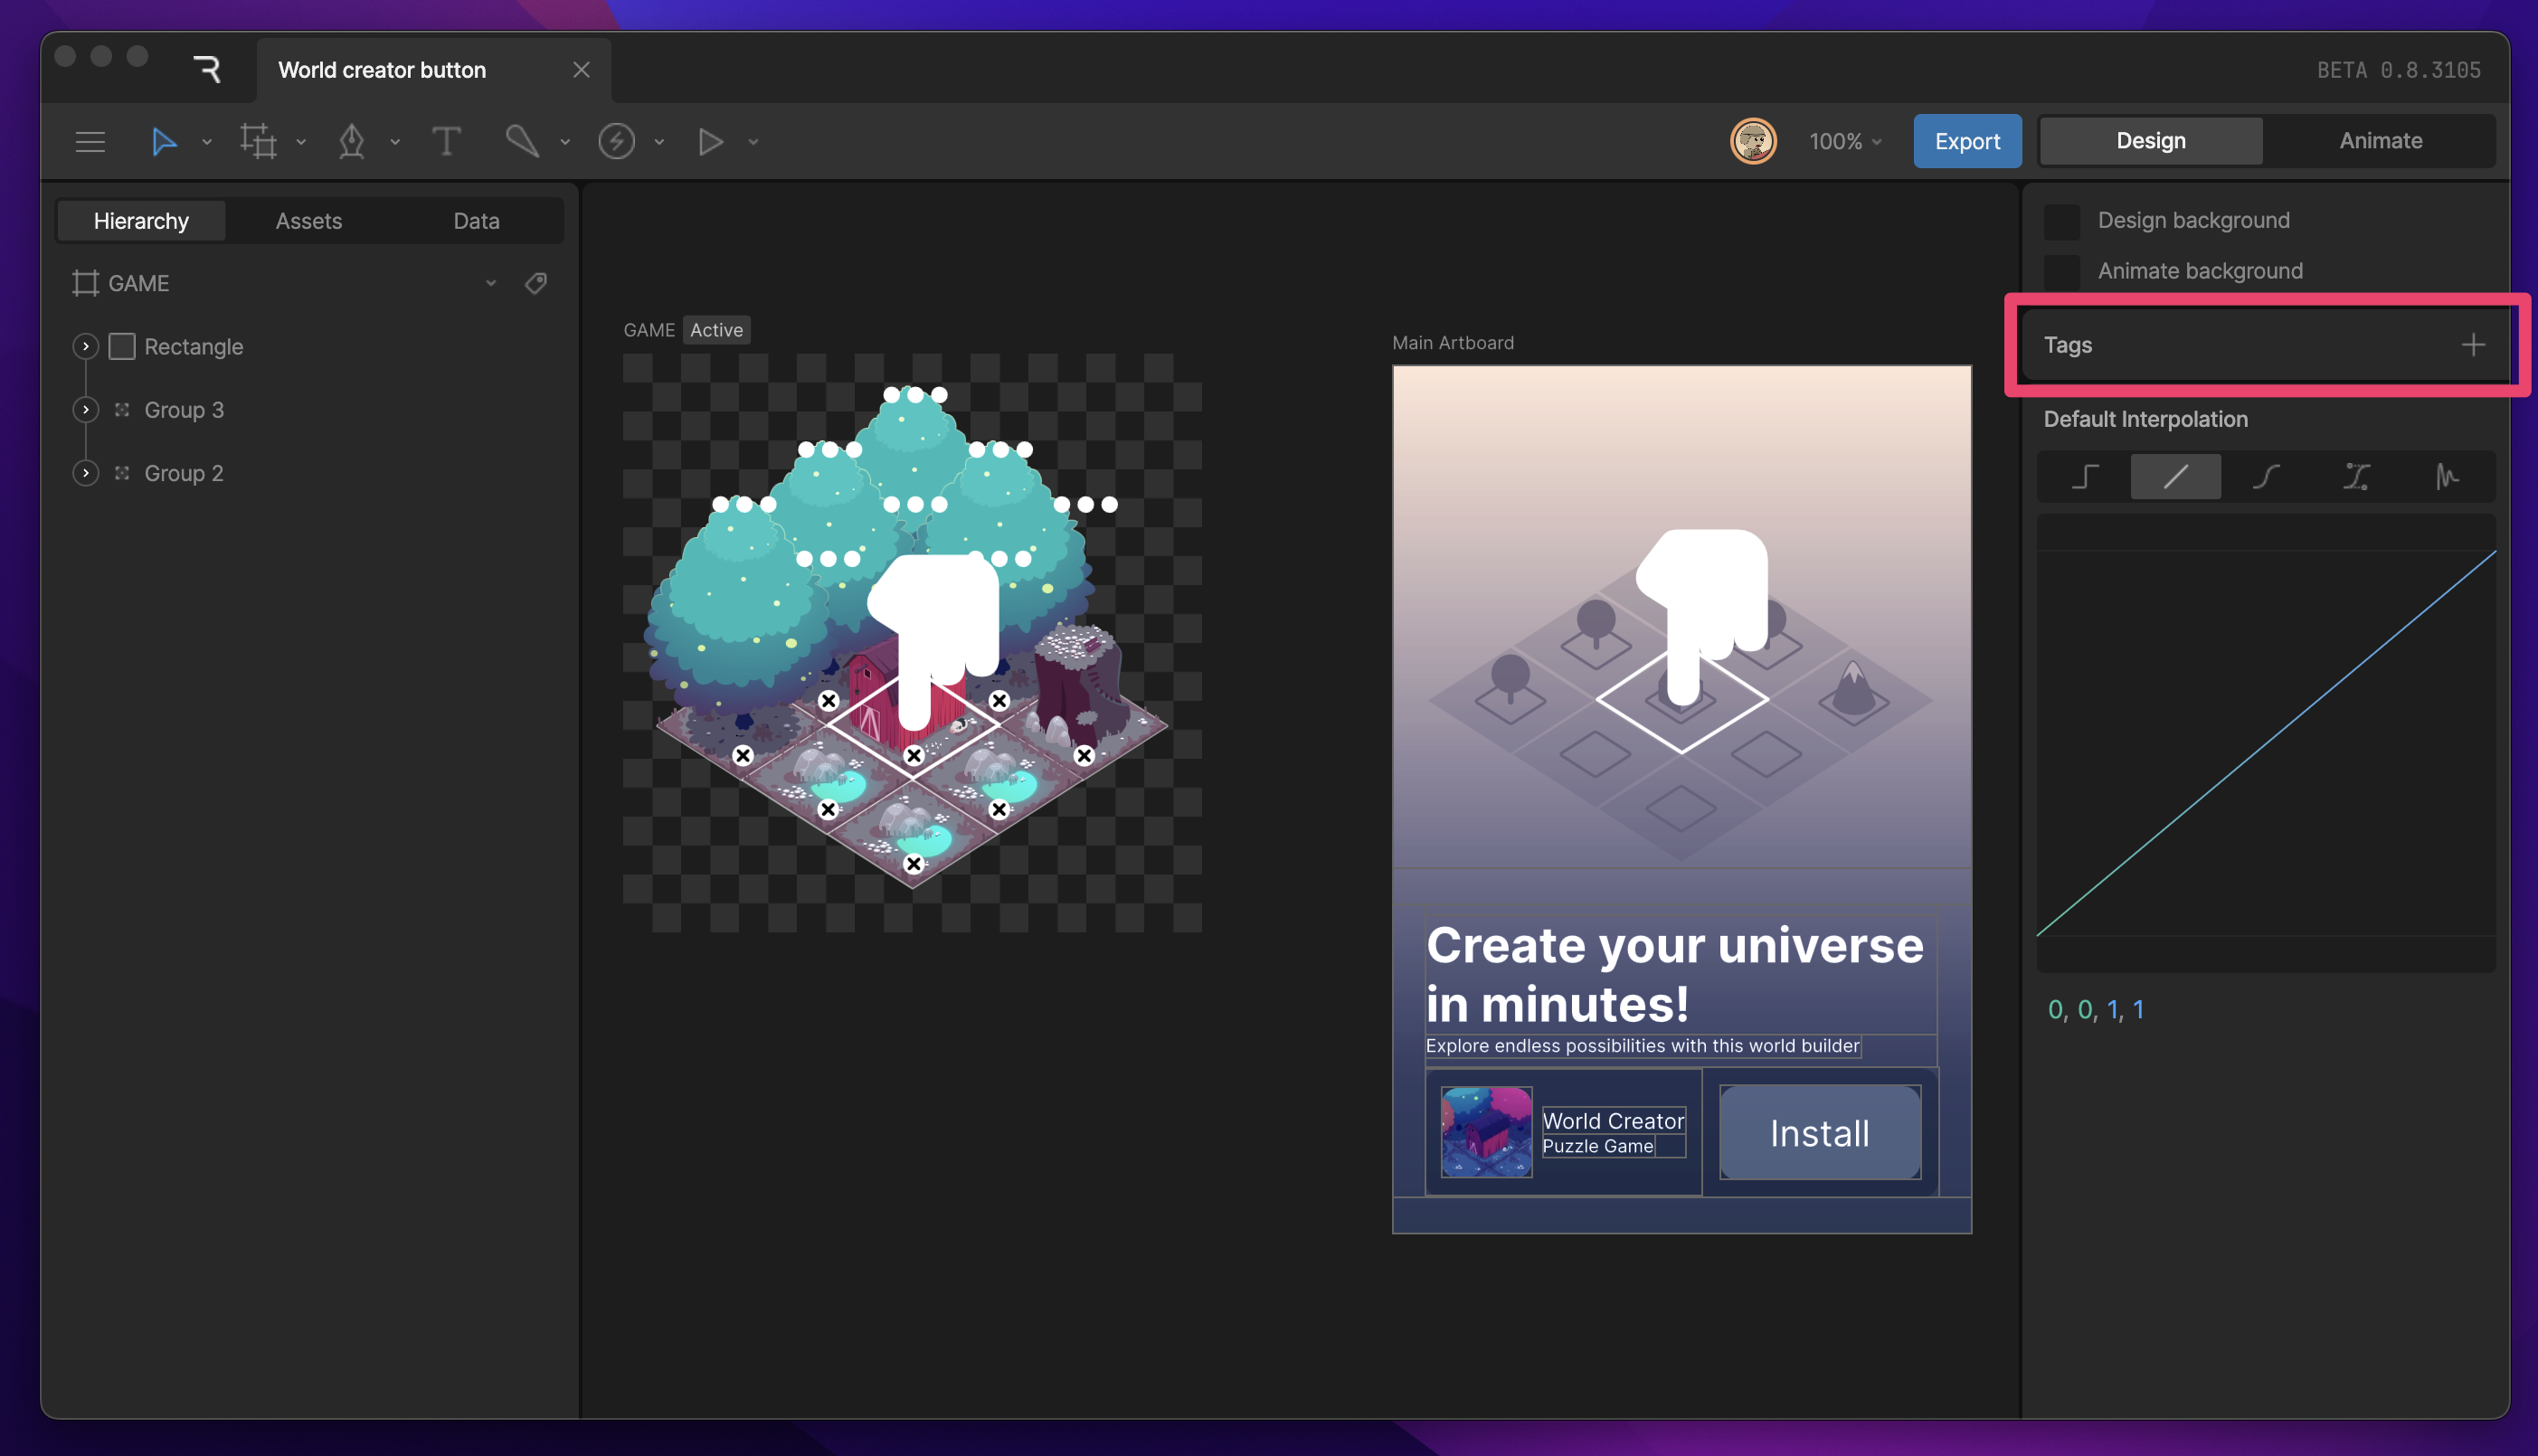
 **Tags**
Below the background color, you can see, edit, and add new tags to your file. Learn more about tags [here](/editor/tagging).
**Tags**
Below the background color, you can see, edit, and add new tags to your file. Learn more about tags [here](/editor/tagging).
 **Default Interpolation**
Below Tags is the Default Interpolation for your file.
**Default Interpolation**
Below Tags is the Default Interpolation for your file.
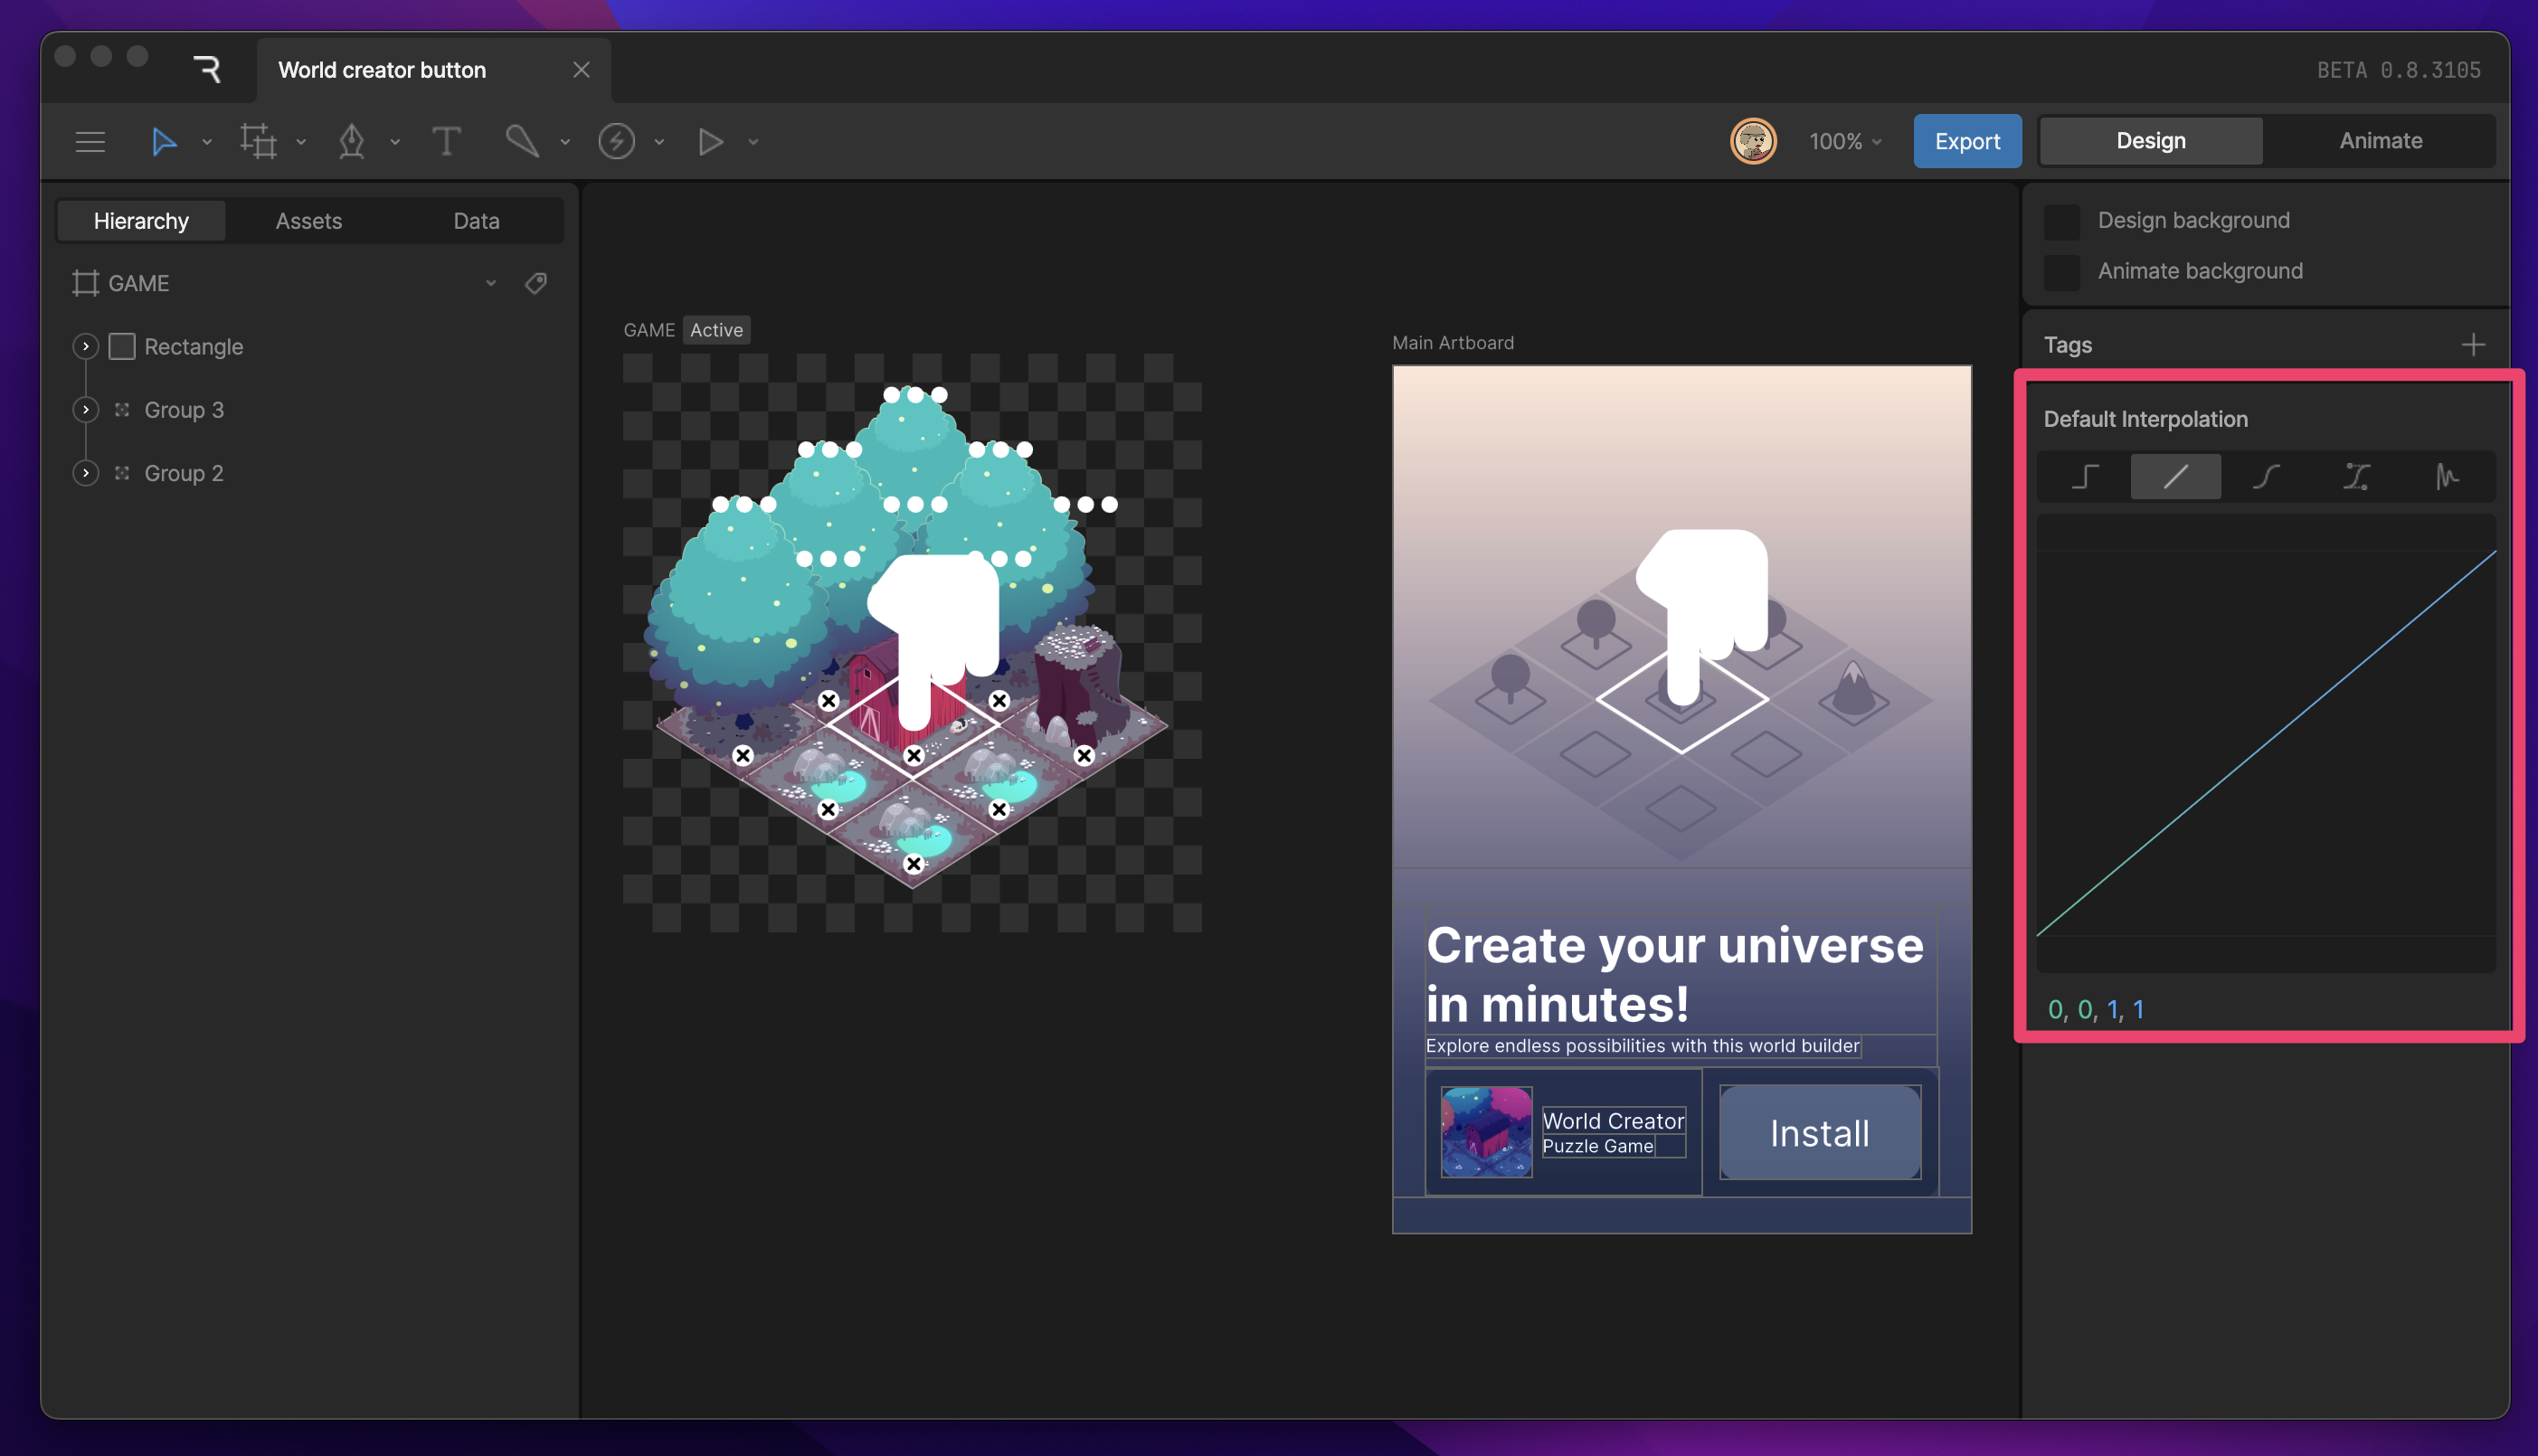 When you set a key on the timeline, it will use the file's default interpolation until it's changed on the timeline. By changing the default interpolation, you can control which interpolation curve is applied to new keys.
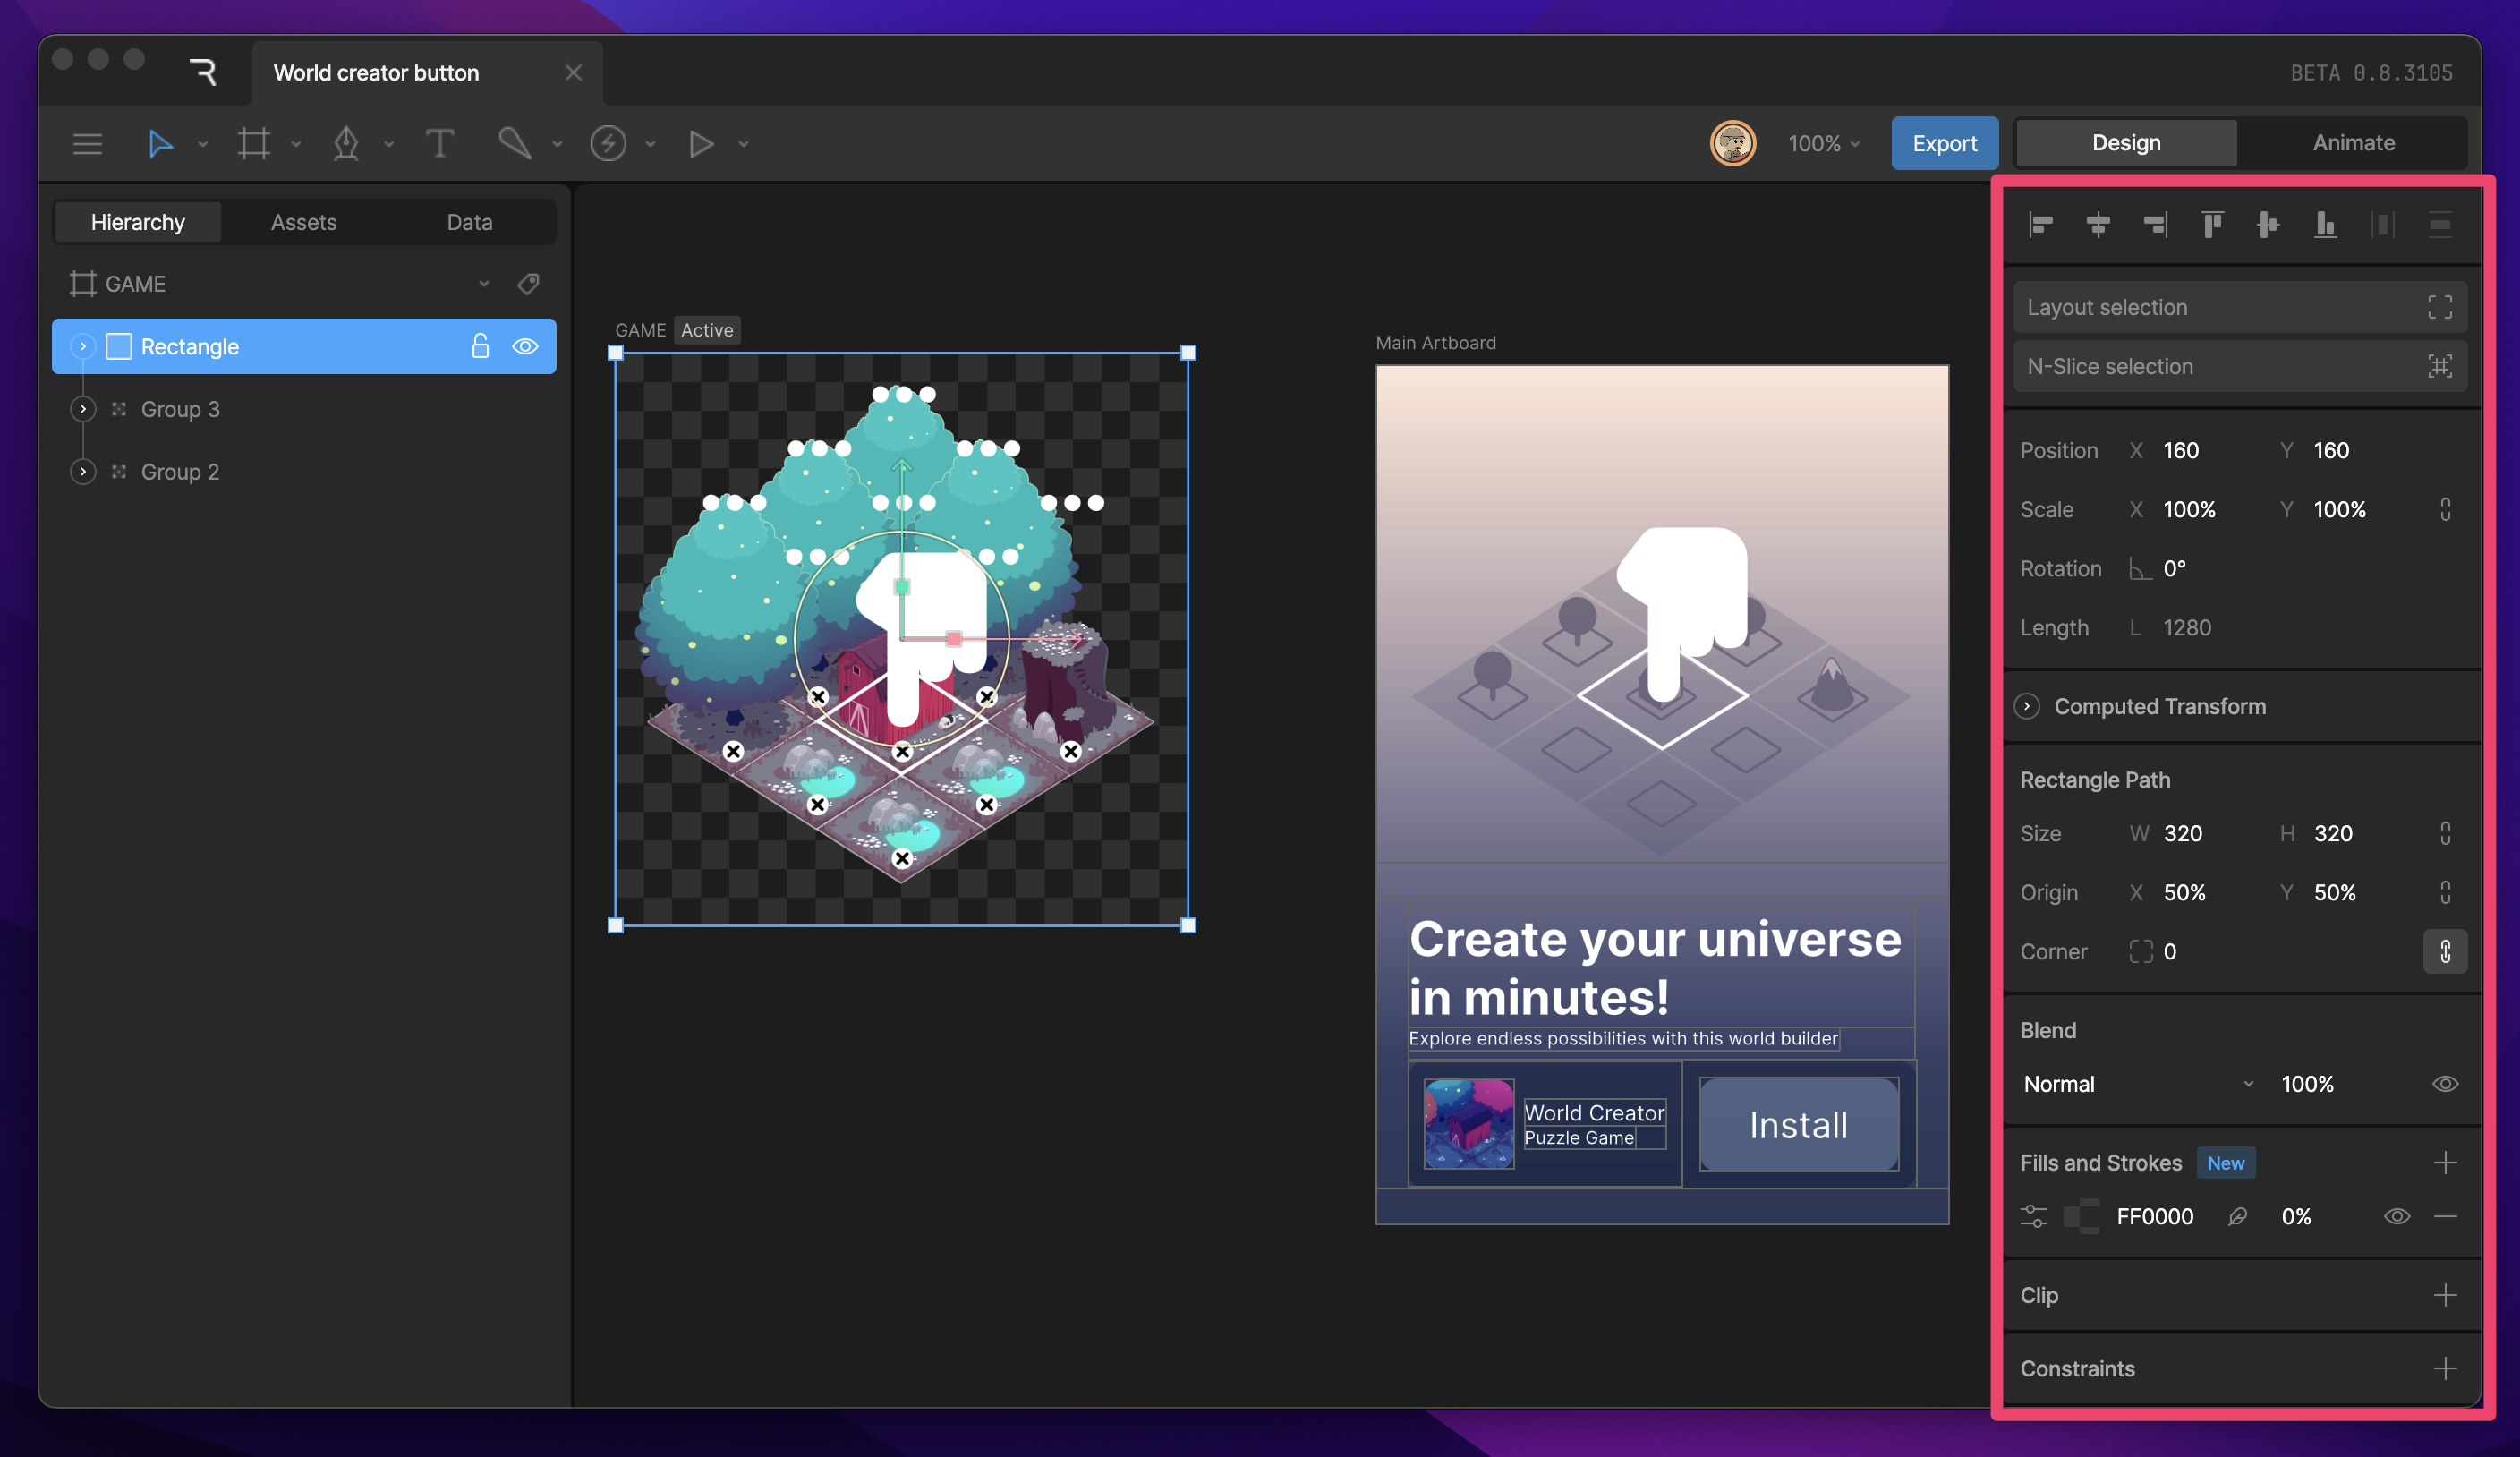
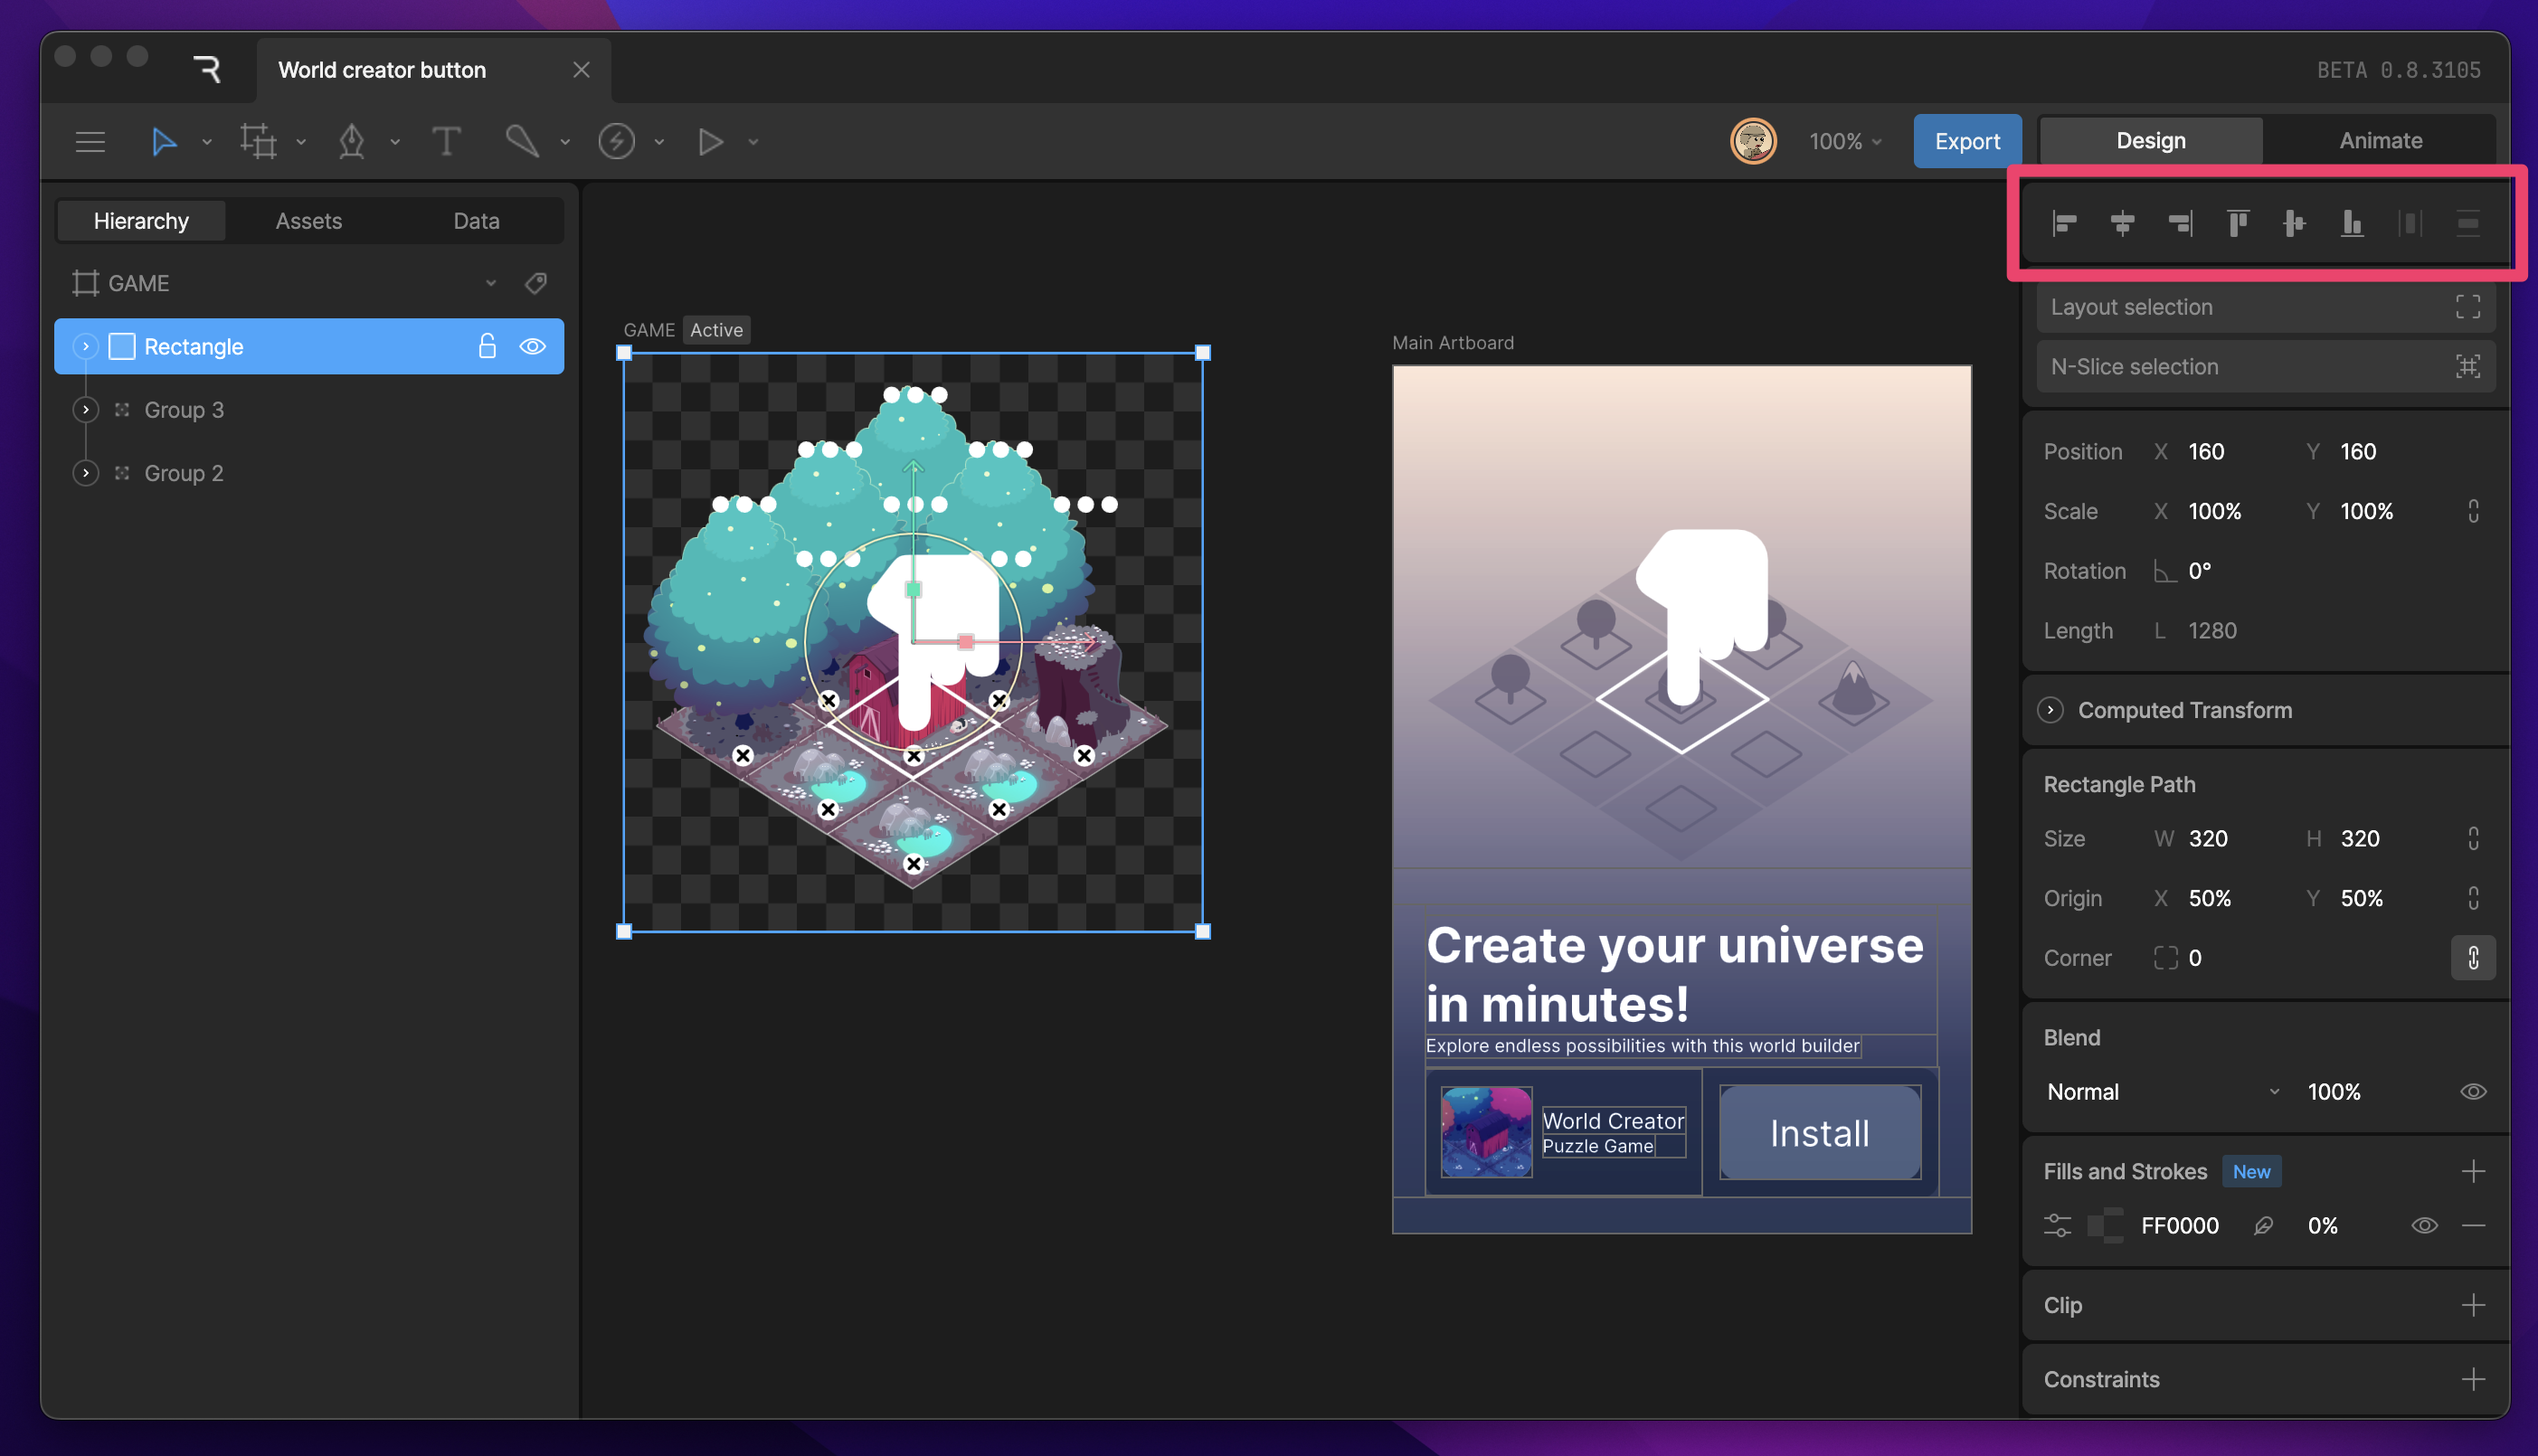
## Align and Distribute tools
When one or more objects, such as shapes or groups, are selected, the Align tools appear at the top of the inspector. Use them to align or distribute the selected objects. Read more about the Align tools here.
When you set a key on the timeline, it will use the file's default interpolation until it's changed on the timeline. By changing the default interpolation, you can control which interpolation curve is applied to new keys.
## Align and Distribute tools
When one or more objects, such as shapes or groups, are selected, the Align tools appear at the top of the inspector. Use them to align or distribute the selected objects. Read more about the Align tools here.
 ## Layout and N-Slicing
When one or more objects, such as shapes or groups, are selected, the inspector gives the option to layout or n-slice the current selection.
## Layout and N-Slicing
When one or more objects, such as shapes or groups, are selected, the inspector gives the option to layout or n-slice the current selection.
 Layouts let you build responsive designs.
N-slicing lets you stretch or repeat parts of raster and vector designs.
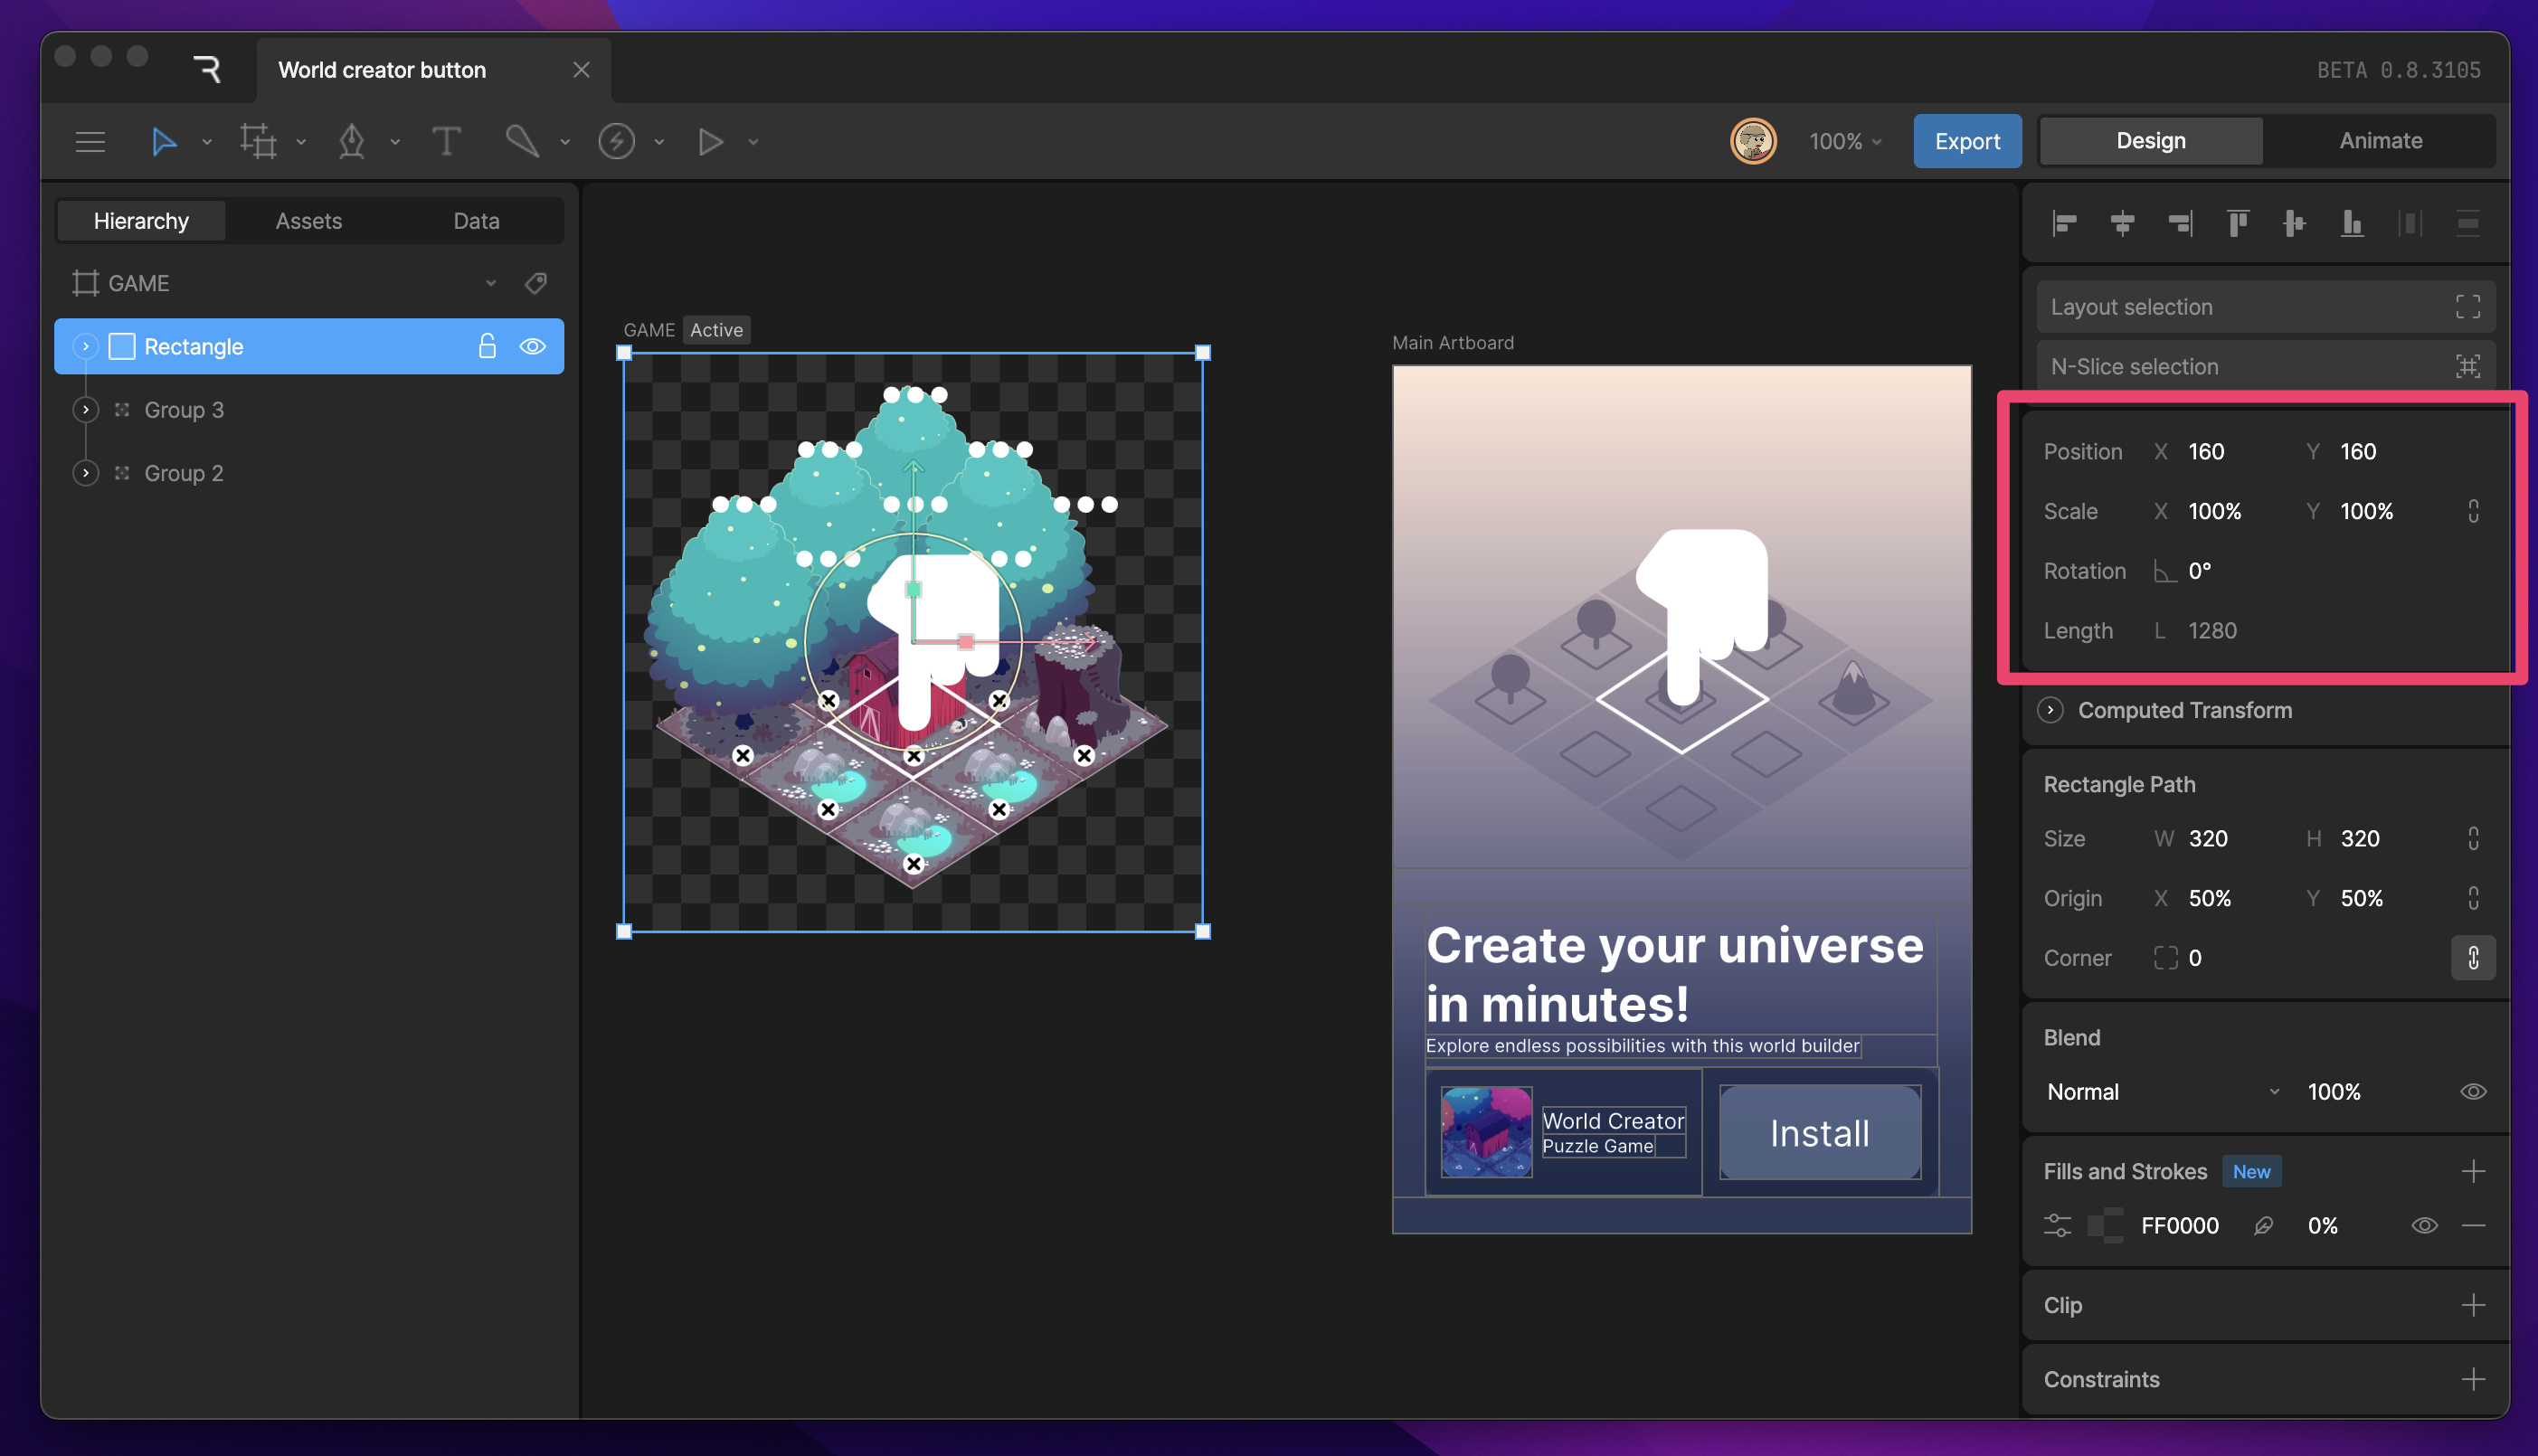
## Transform properties
The transform properties of an object appear below the Align tools. Generally, these properties include position, scale, and rotation, but they can also include width and height if you have a path layer selected.
Layouts let you build responsive designs.
N-slicing lets you stretch or repeat parts of raster and vector designs.
## Transform properties
The transform properties of an object appear below the Align tools. Generally, these properties include position, scale, and rotation, but they can also include width and height if you have a path layer selected.
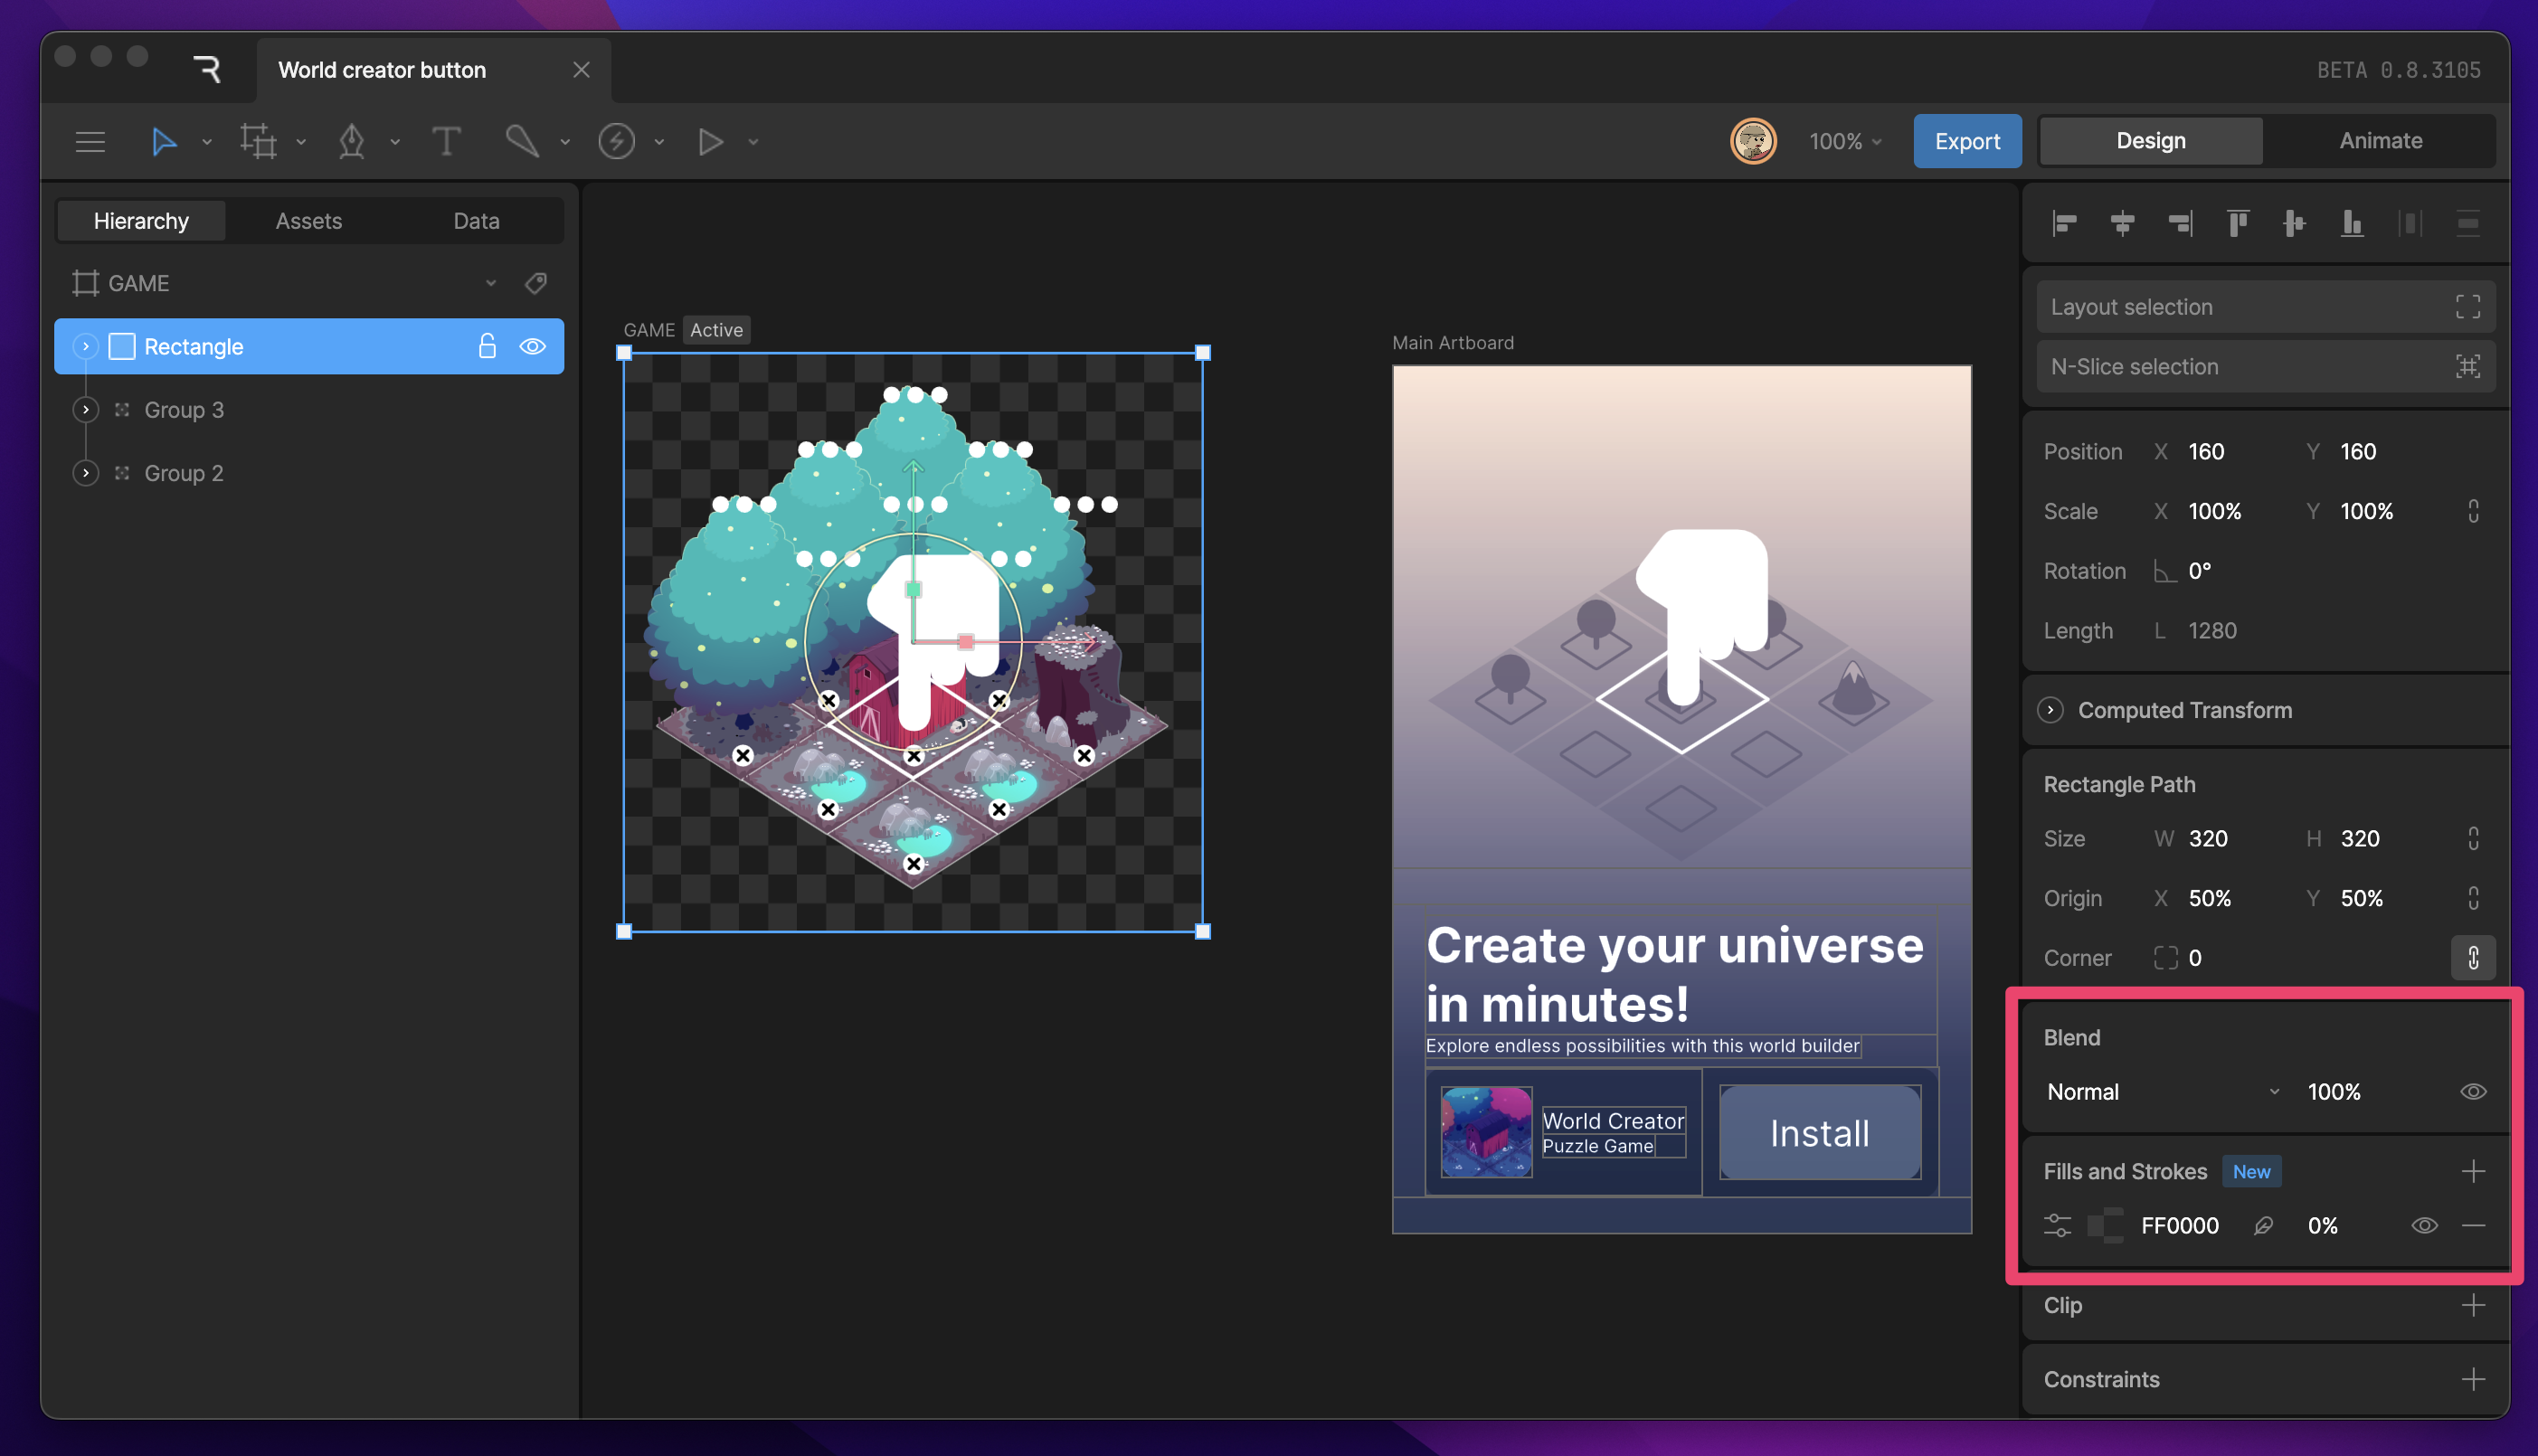
 ## Layer properties
Below the transform properties, you'll find several properties that allow you to customize the look of some objects on the stage. These properties include blend mode, opacity, fill, and stroke.
## Layer properties
Below the transform properties, you'll find several properties that allow you to customize the look of some objects on the stage. These properties include blend mode, opacity, fill, and stroke.
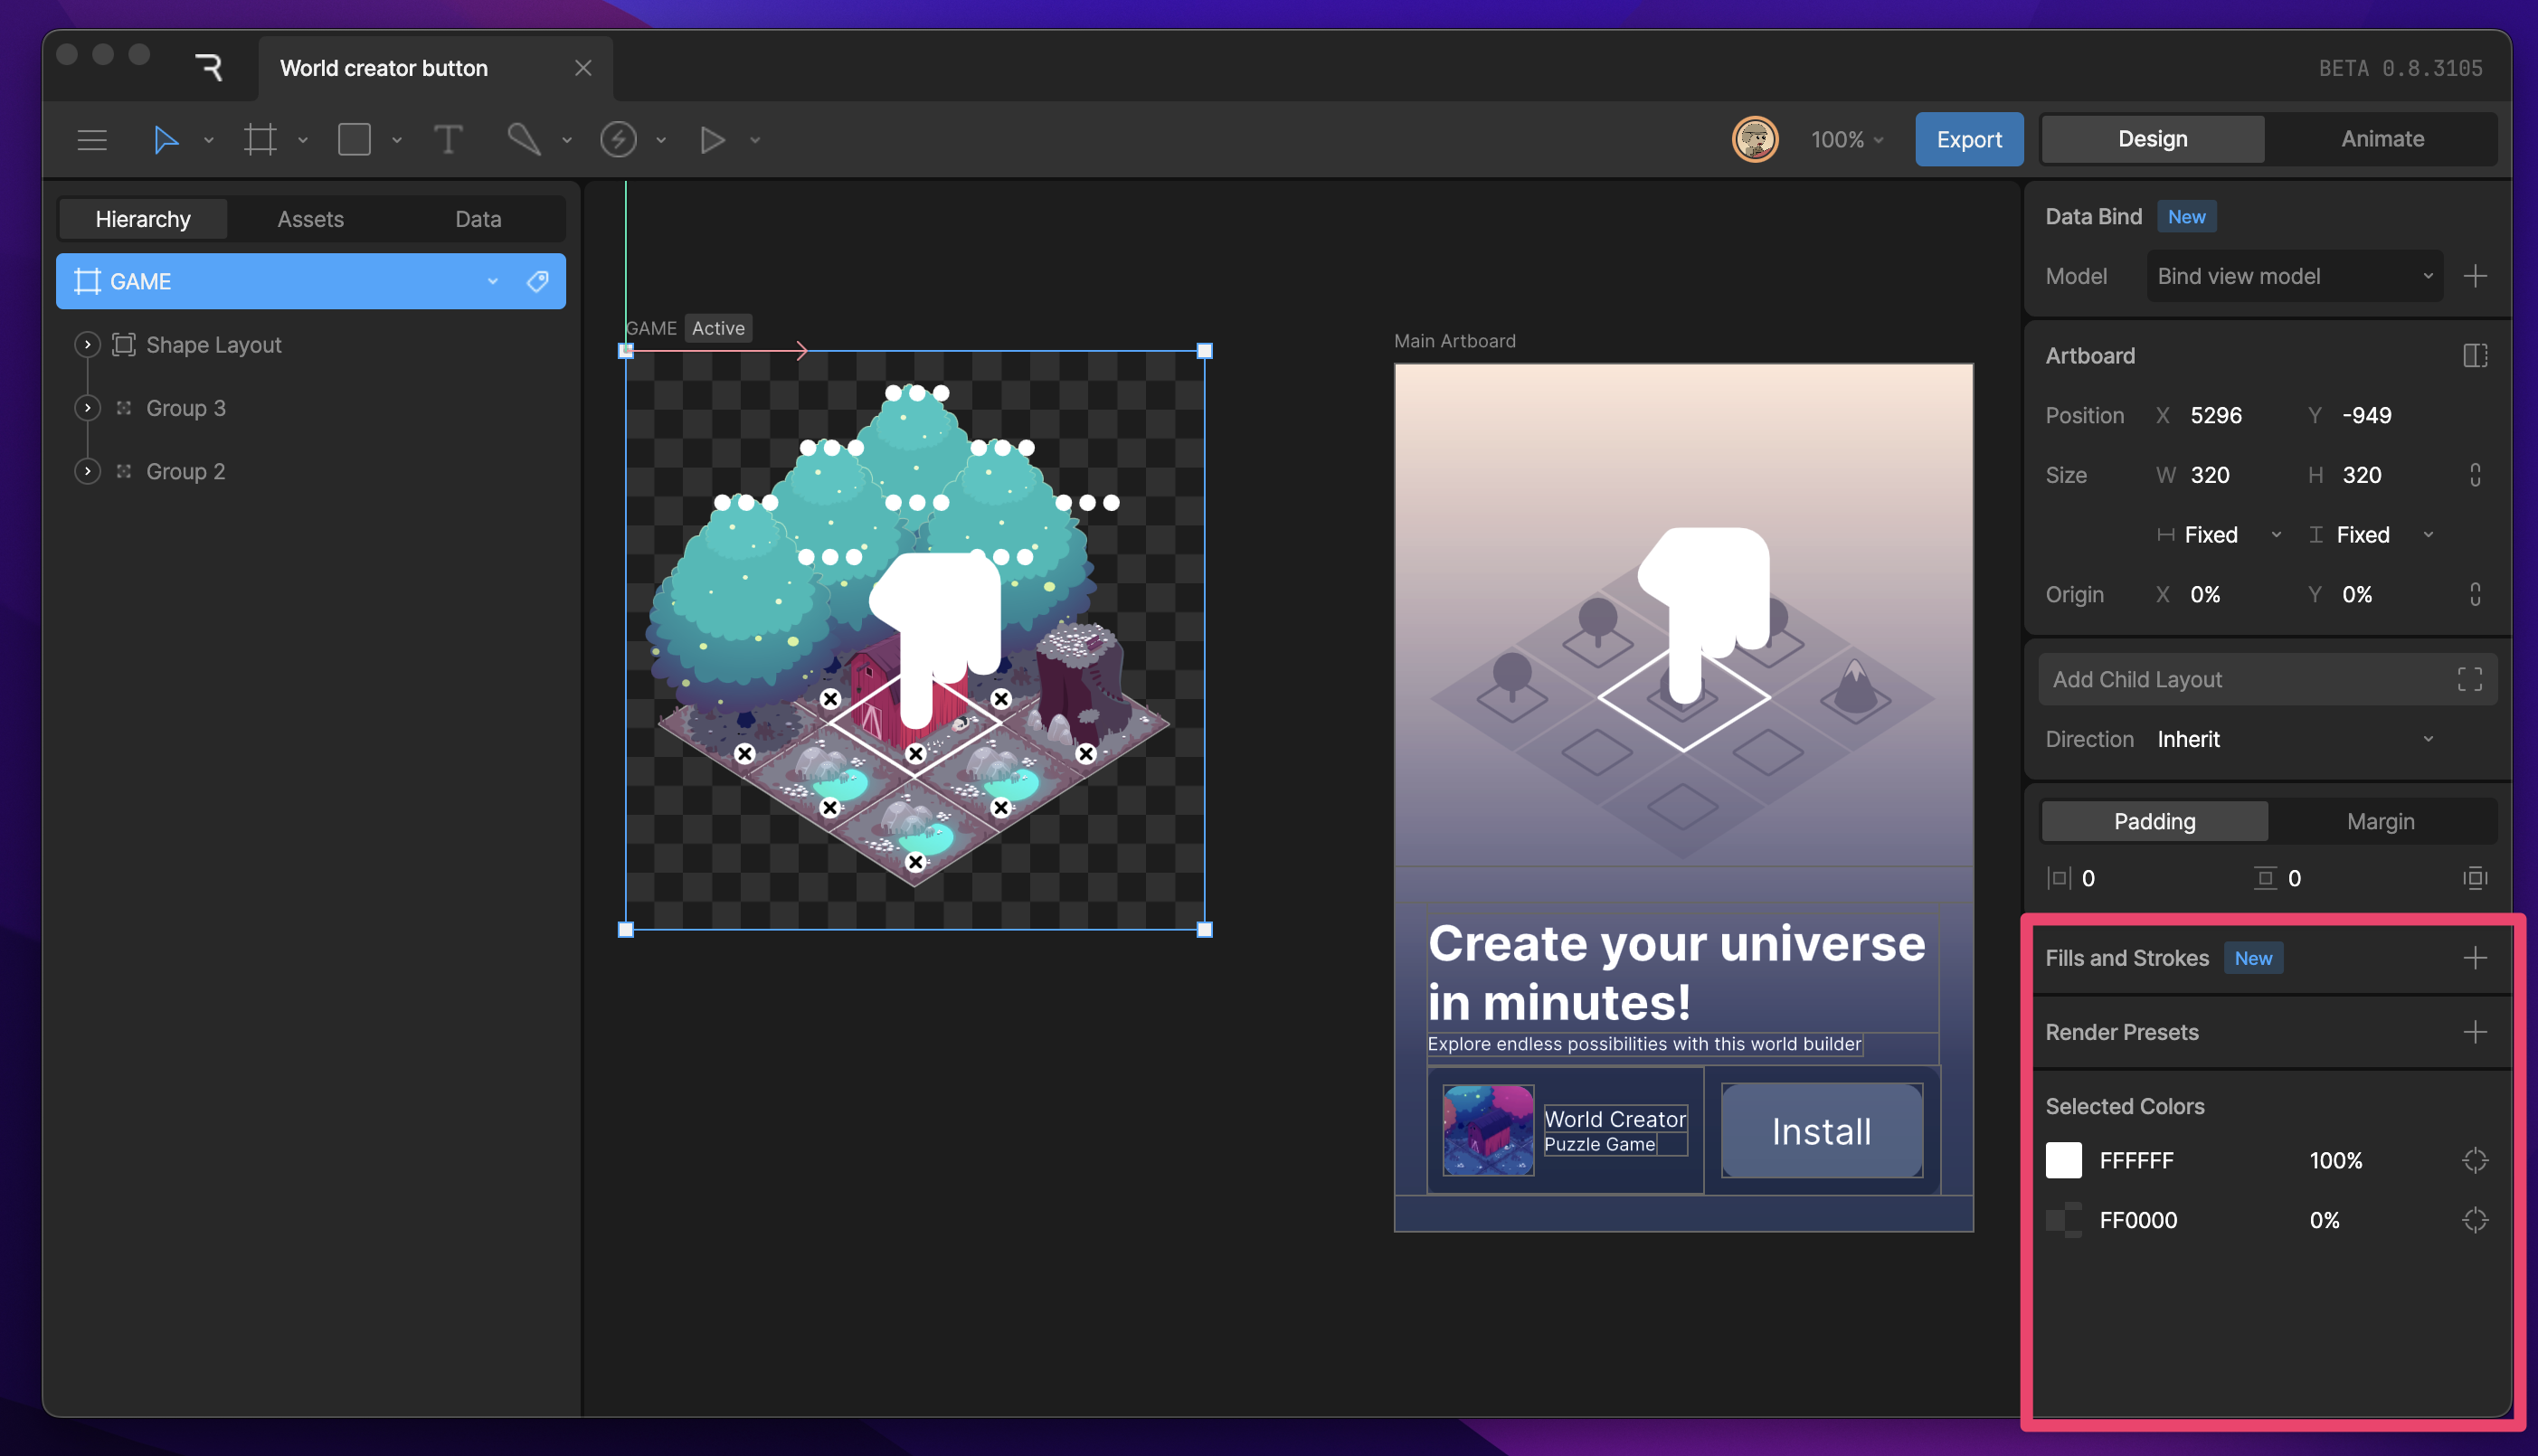
 ## Additional properties
Below the Layer properties, you'll find many additional properties that you can add such as Clipping, Constraints, Custom Draw Order, and Selection Colors
## Additional properties
Below the Layer properties, you'll find many additional properties that you can add such as Clipping, Constraints, Custom Draw Order, and Selection Colors
 The Rive editor gives you multiple ways to manipulate your graphics to create the animation that you want. I
Constraints are a way to control the properties of an object through another target object.
Rive has two distinct modes, Design and Animate.
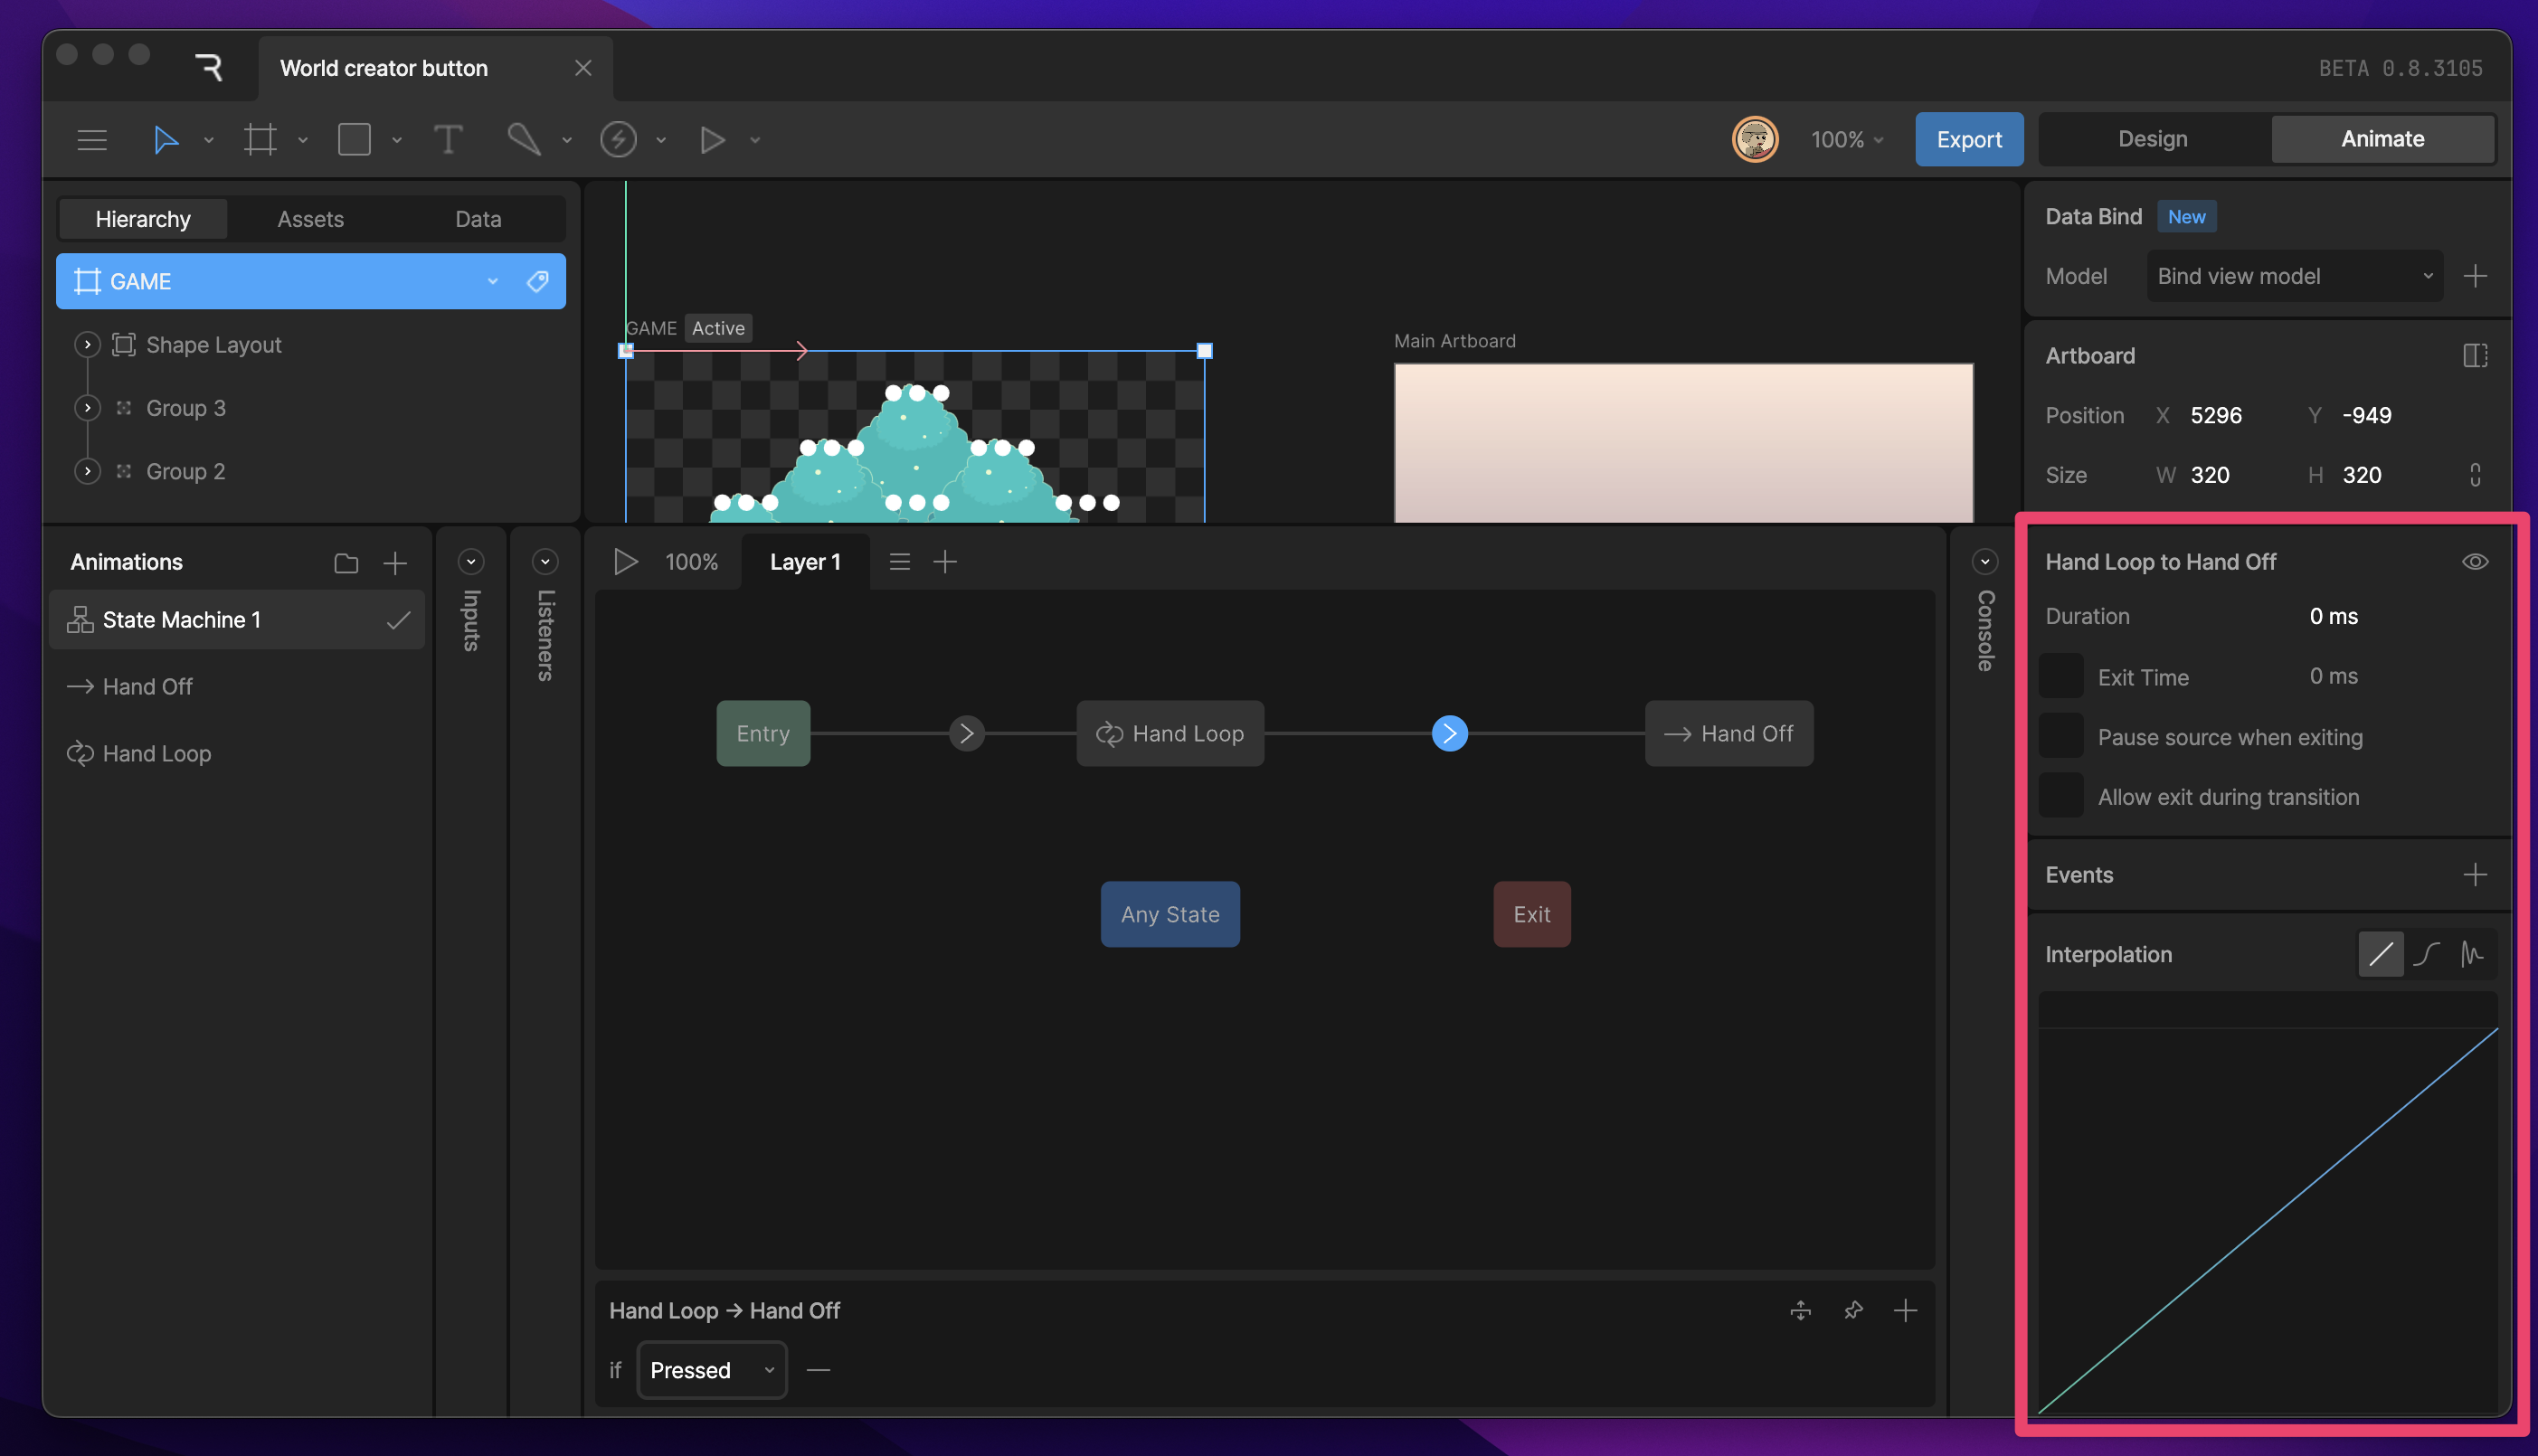
### Motion and State Properties
This section shows customizable properties when Keys, Transitions, or States are selected.
The Rive editor gives you multiple ways to manipulate your graphics to create the animation that you want. I
Constraints are a way to control the properties of an object through another target object.
Rive has two distinct modes, Design and Animate.
### Motion and State Properties
This section shows customizable properties when Keys, Transitions, or States are selected.
 Selecting a key brings up the interpolation panel.
Selecting a transition will show customizable transition properties.
State properties are customizable by selecting a state.
Selecting a key brings up the interpolation panel.
Selecting a transition will show customizable transition properties.
State properties are customizable by selecting a state.