> ## Documentation Index
> Fetch the complete documentation index at: https://rive.app/docs/llms.txt
> Use this file to discover all available pages before exploring further.
# Color and Gradients
> Choose solid colors and linear or radial gradients for fills and strokes with the color picker.
Every [fill and stroke](https://rive.app/docs/editor/fundamentals/fill-and-stroke.md) has a color, which can be a solid color or a gradient. Click a fill or stroke's swatch in the Inspector to open the color picker.
## Choosing a paint type
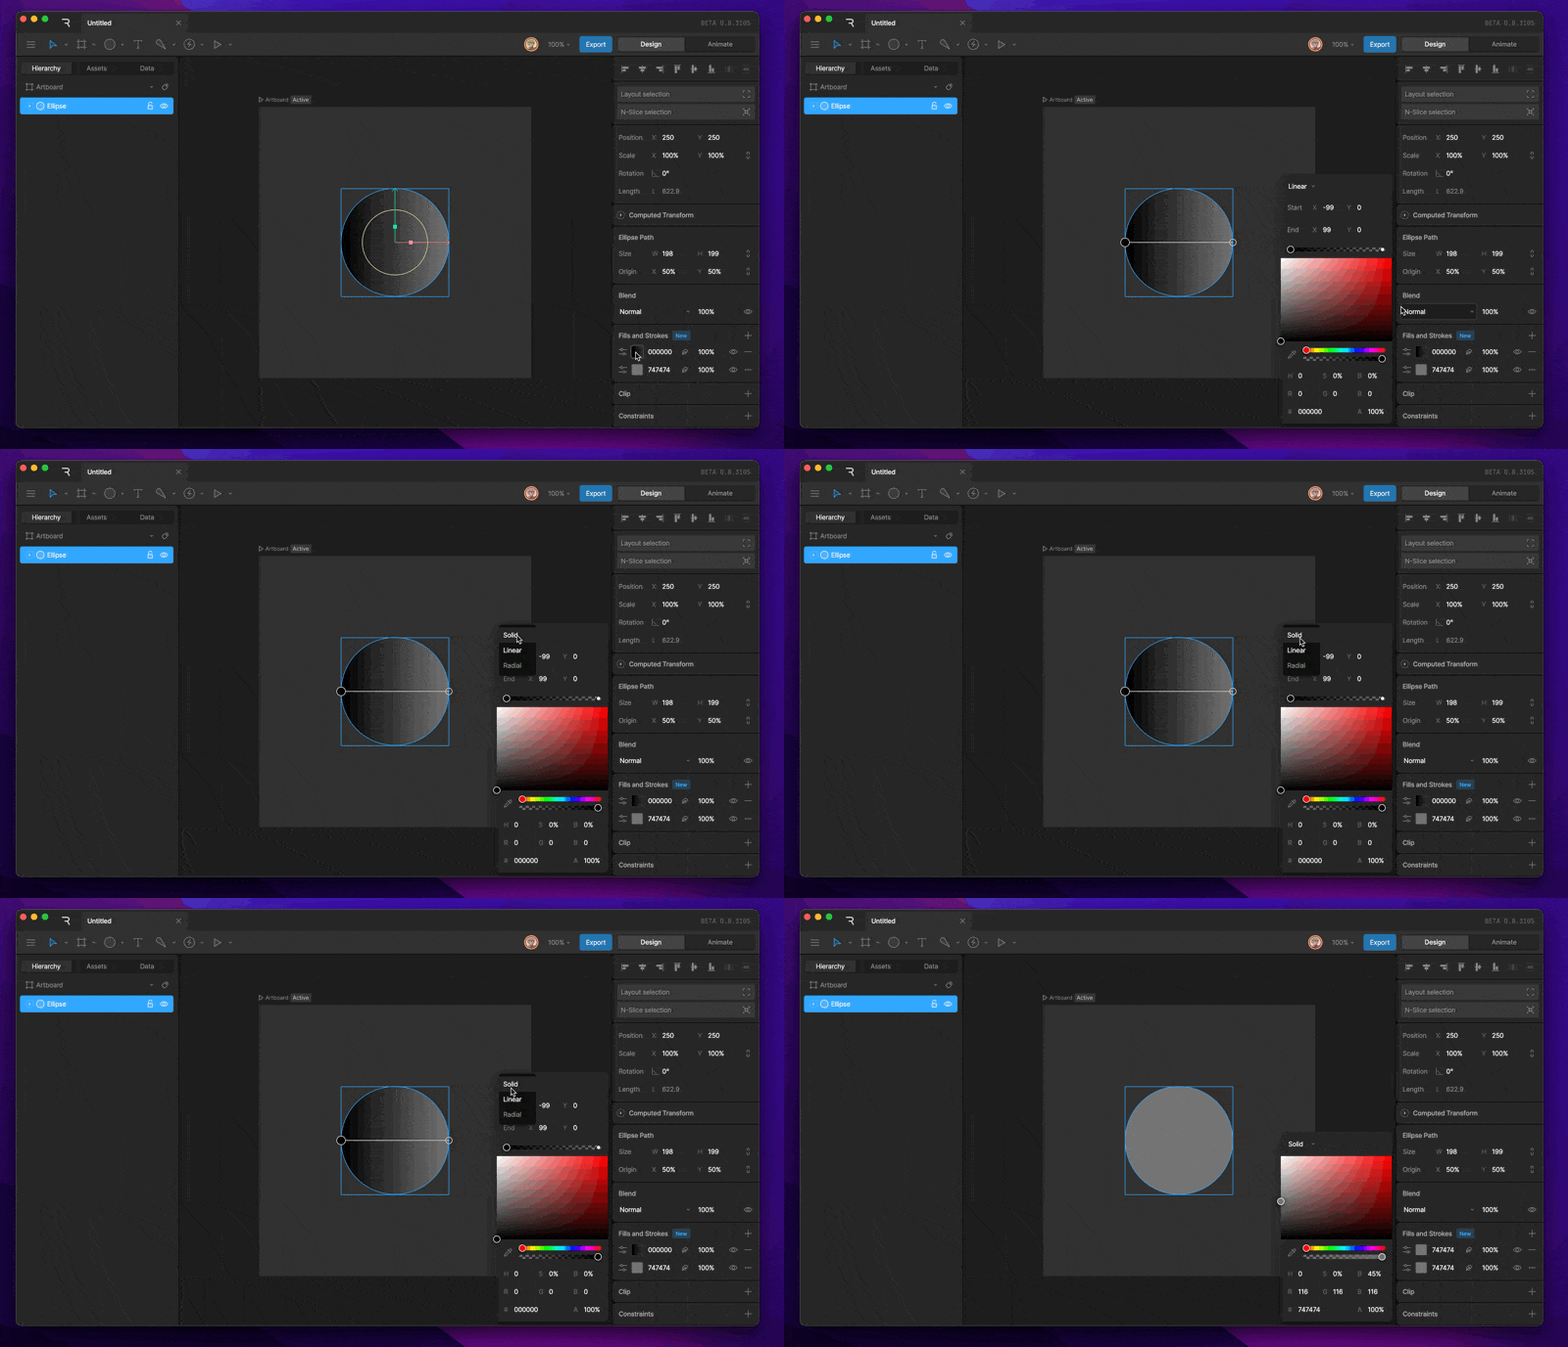
The dropdown at the top of the color picker sets the paint type:
* **Solid**: A single color.
* **Linear**: A gradient that blends colors along a straight line.
* **Radial**: A gradient that blends colors outward from a center point.
## Choosing a color
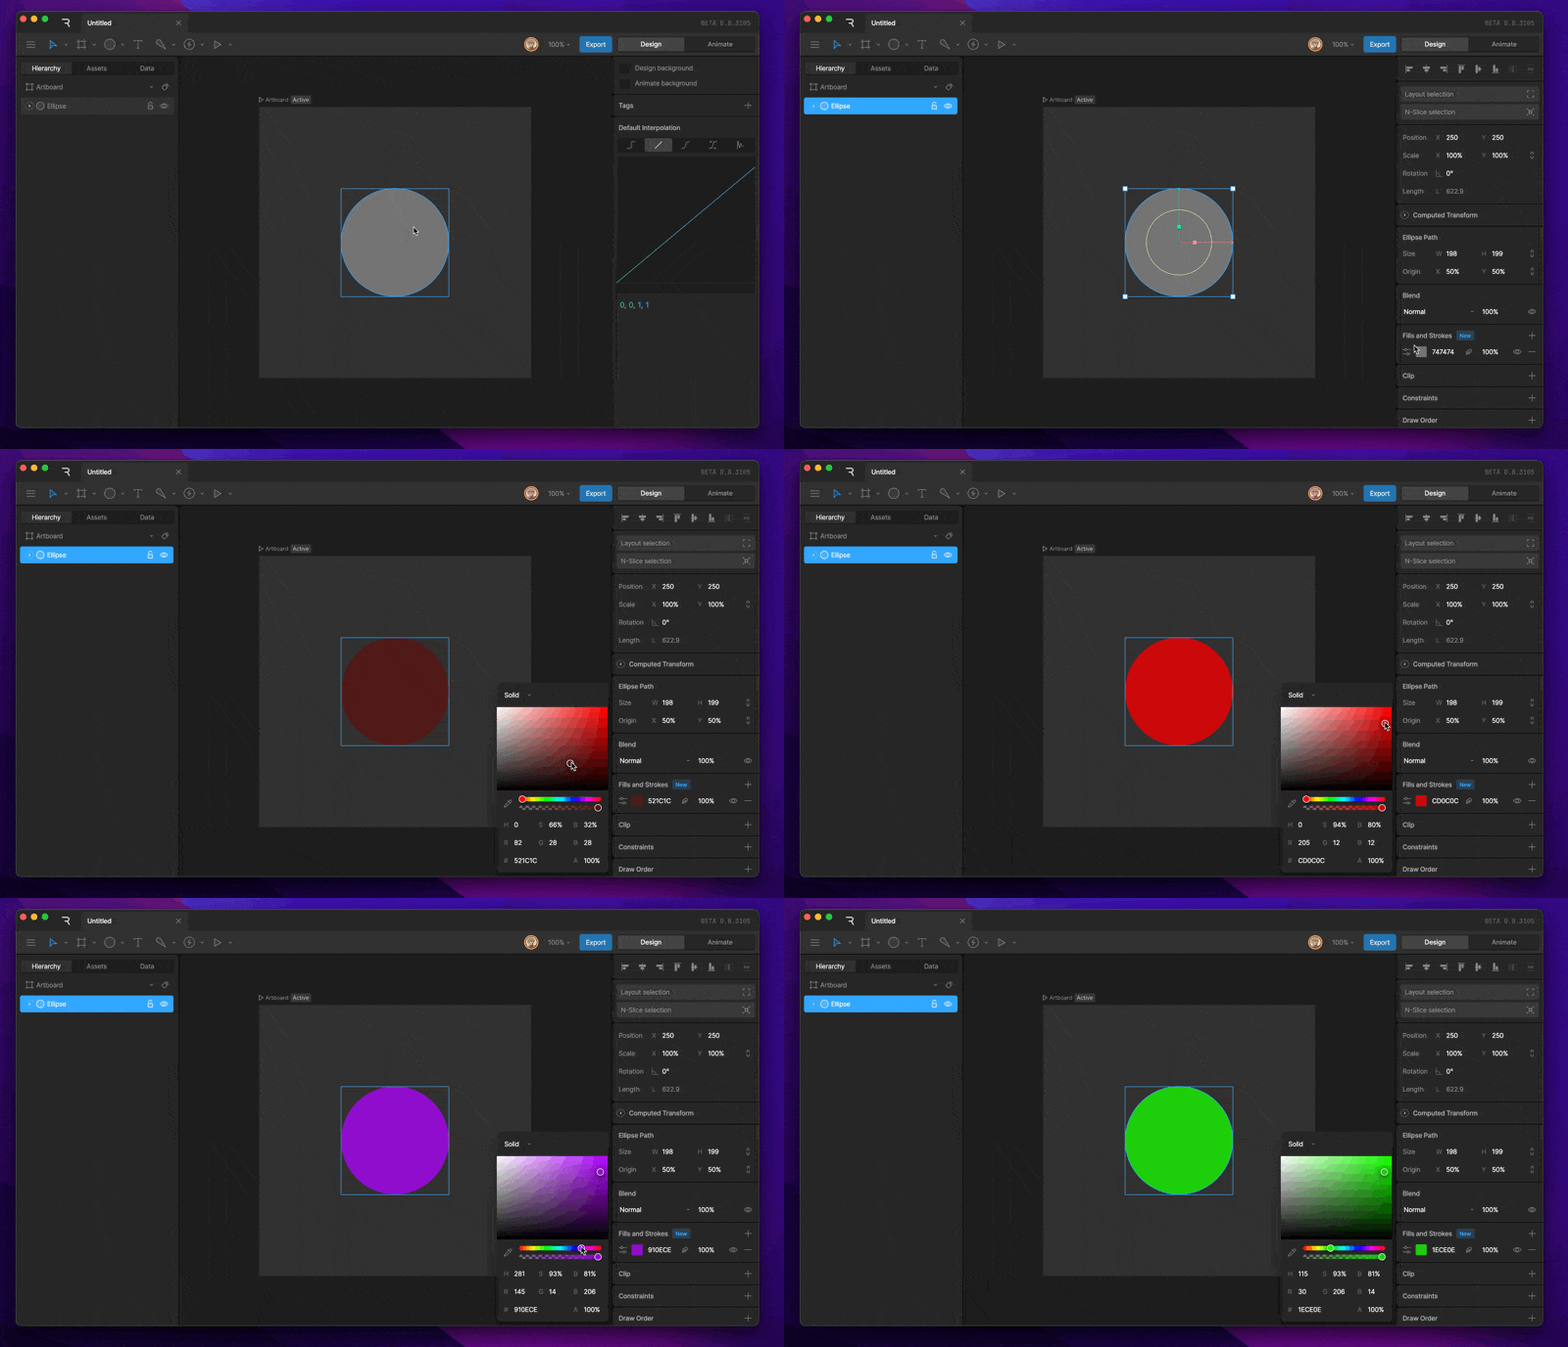
* Drag in the large square to set saturation and brightness, and use the sliders to set the hue and opacity.
* Type a hex value, or set the **R**, **G**, and **B** channels separately.
* Click **Pick Color from Stage** and click anywhere on the stage to use that color.
Colors can be keyed on a timeline and [bound to data](https://rive.app/docs/editor/data-binding/overview.md). The **R**, **G**, **B**, and alpha channels can also be keyed and bound one at a time, for example to animate only a color's red channel.
## Editing gradients
When the paint type is **Linear** or **Radial**, a gradient bar appears in the color picker. Each stop on the bar is one color in the gradient. A new gradient has two stops.
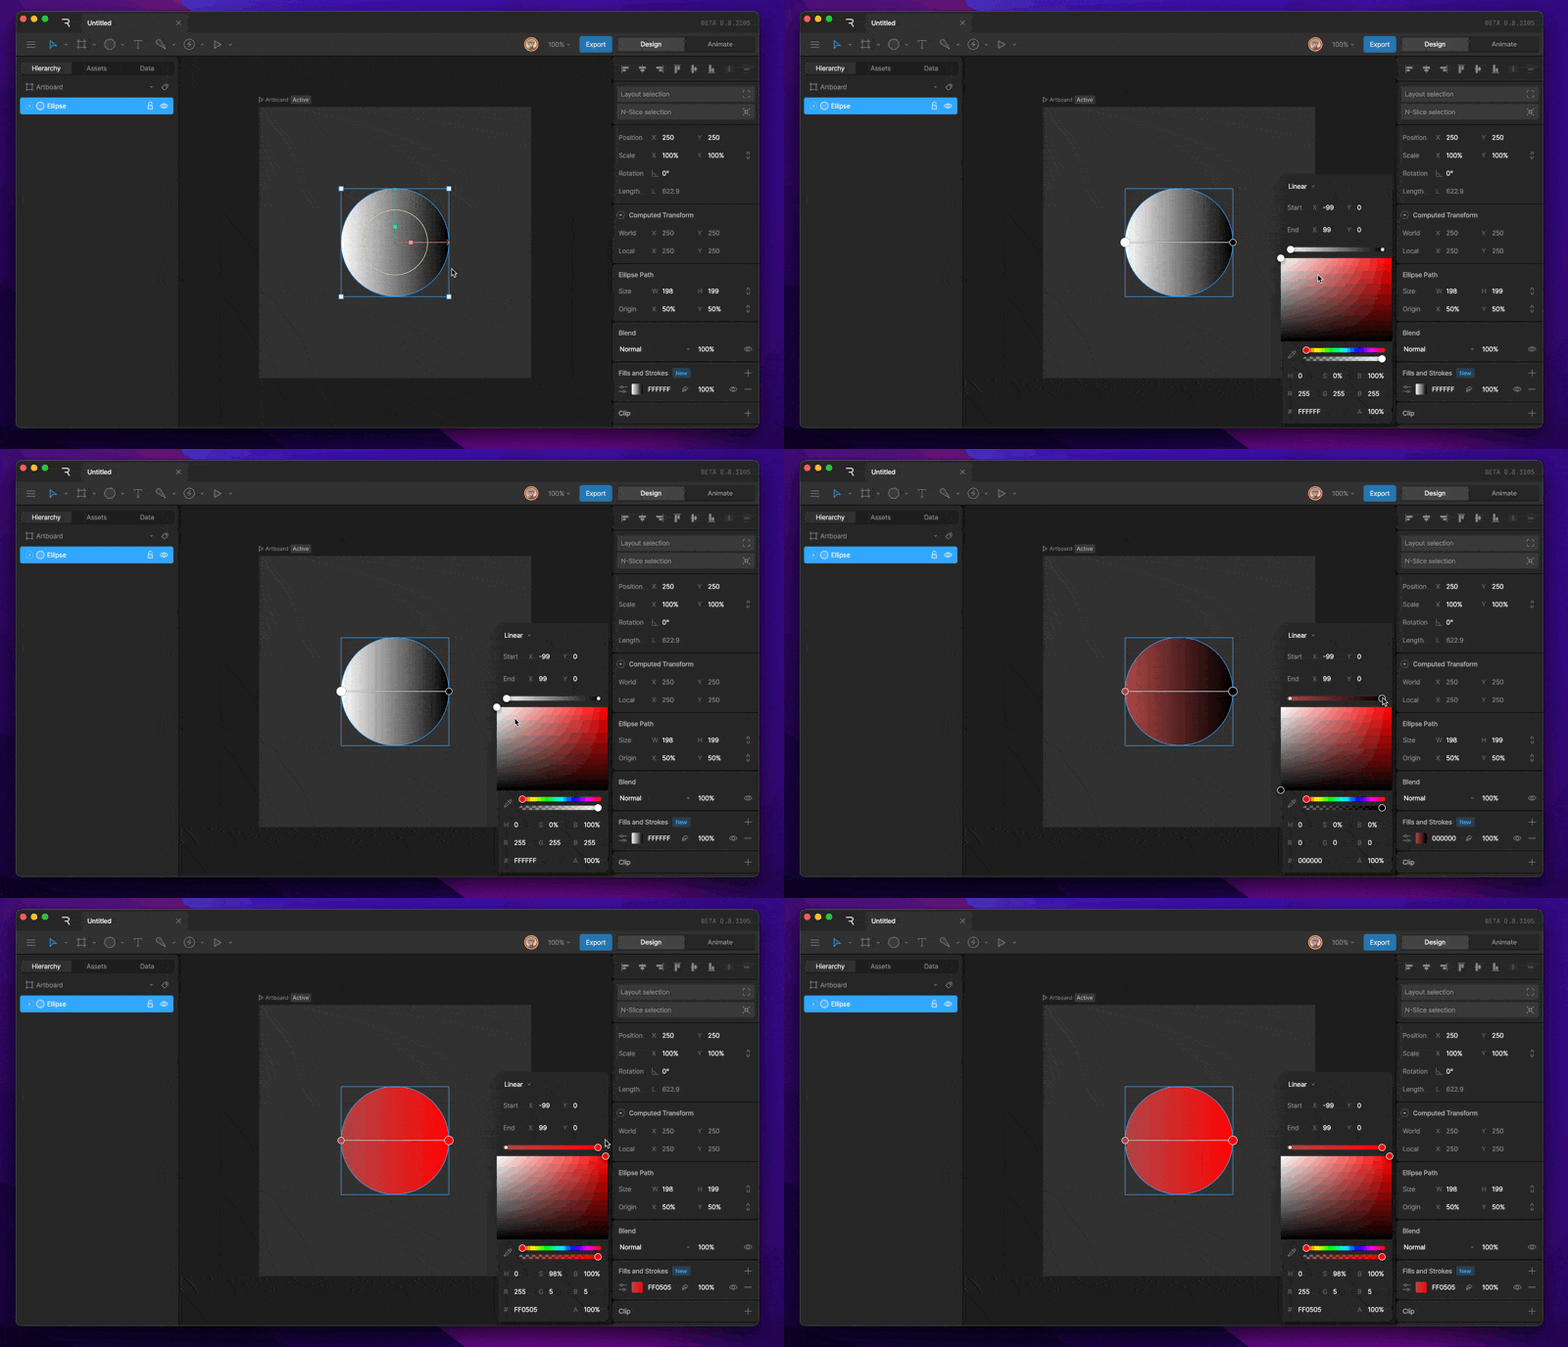
* **Change a stop's color**: Select the stop, then choose a color.
* **Add a stop**: Click an empty spot on the gradient bar.
* **Remove a stop**: Select the stop and press Delete or Backspace.
* **Move a stop**: Drag it along the bar.
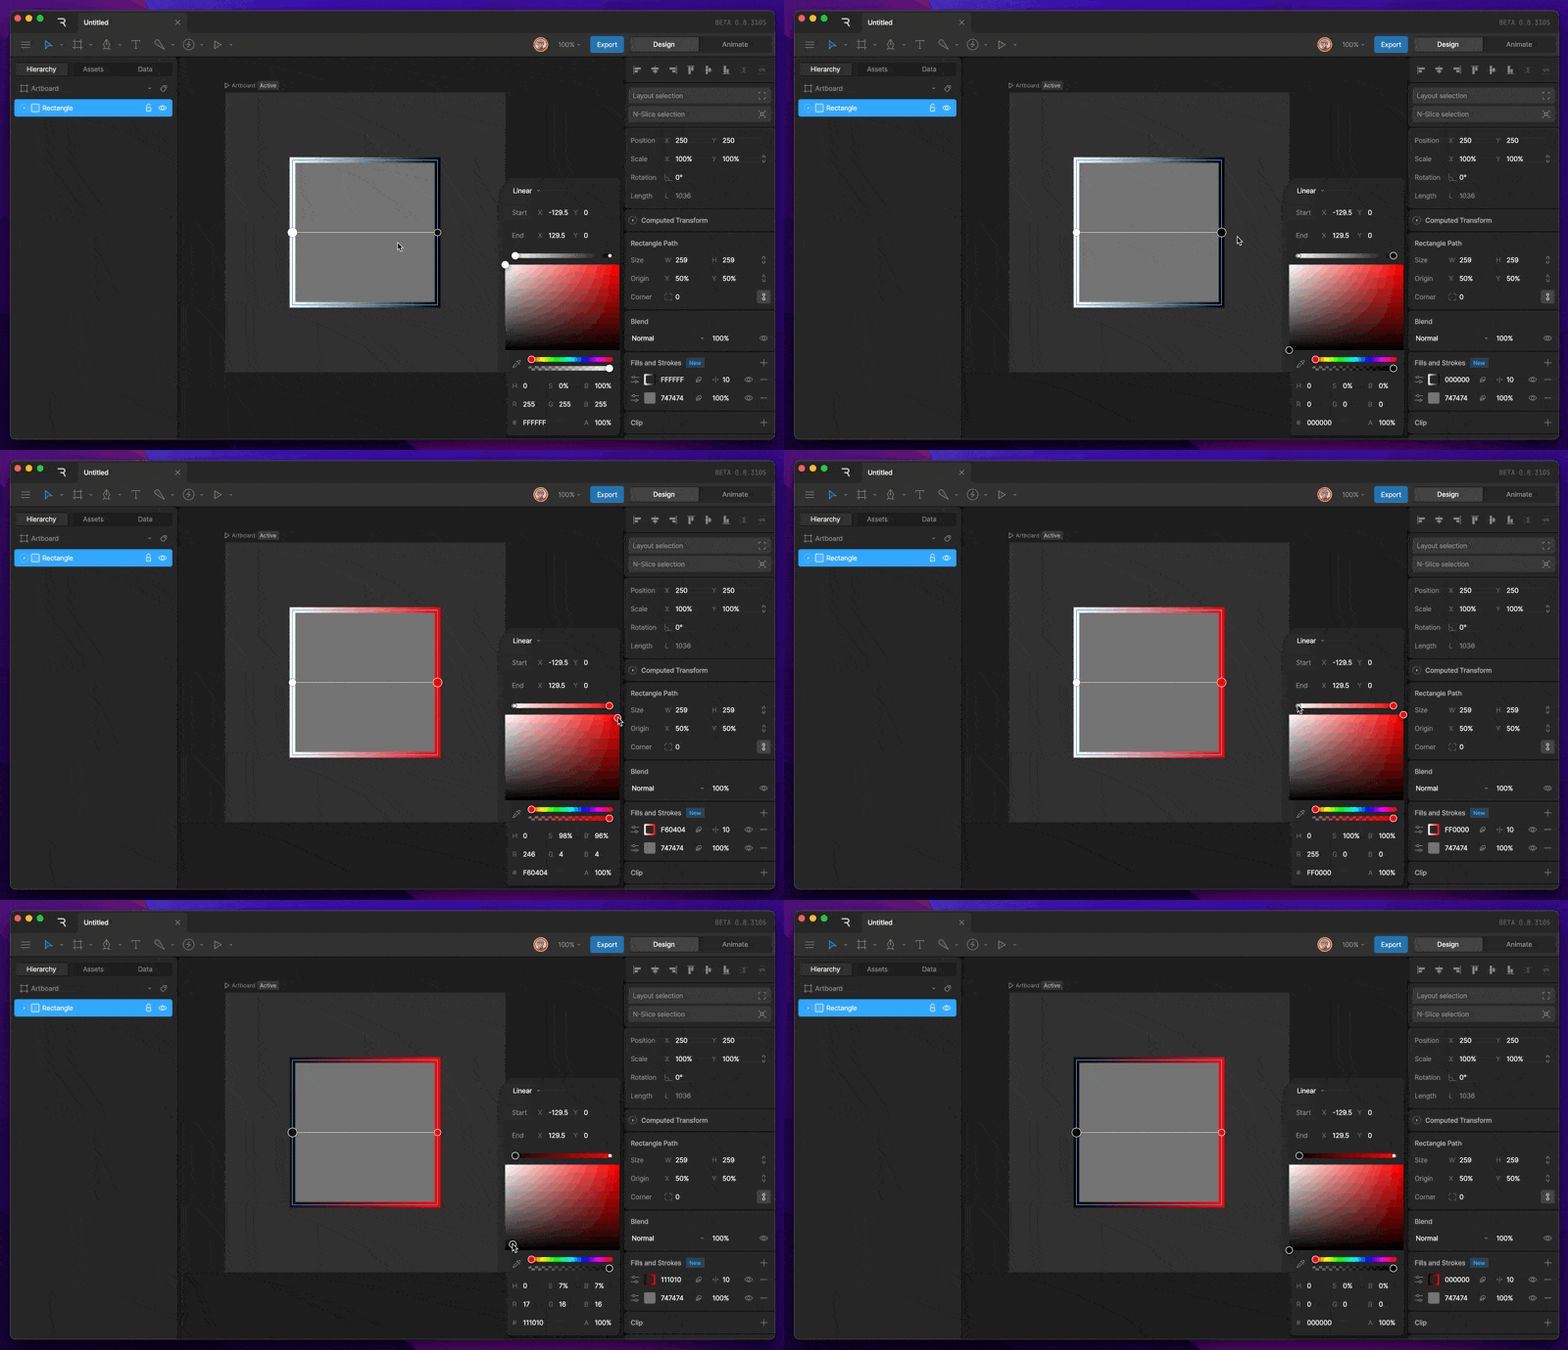
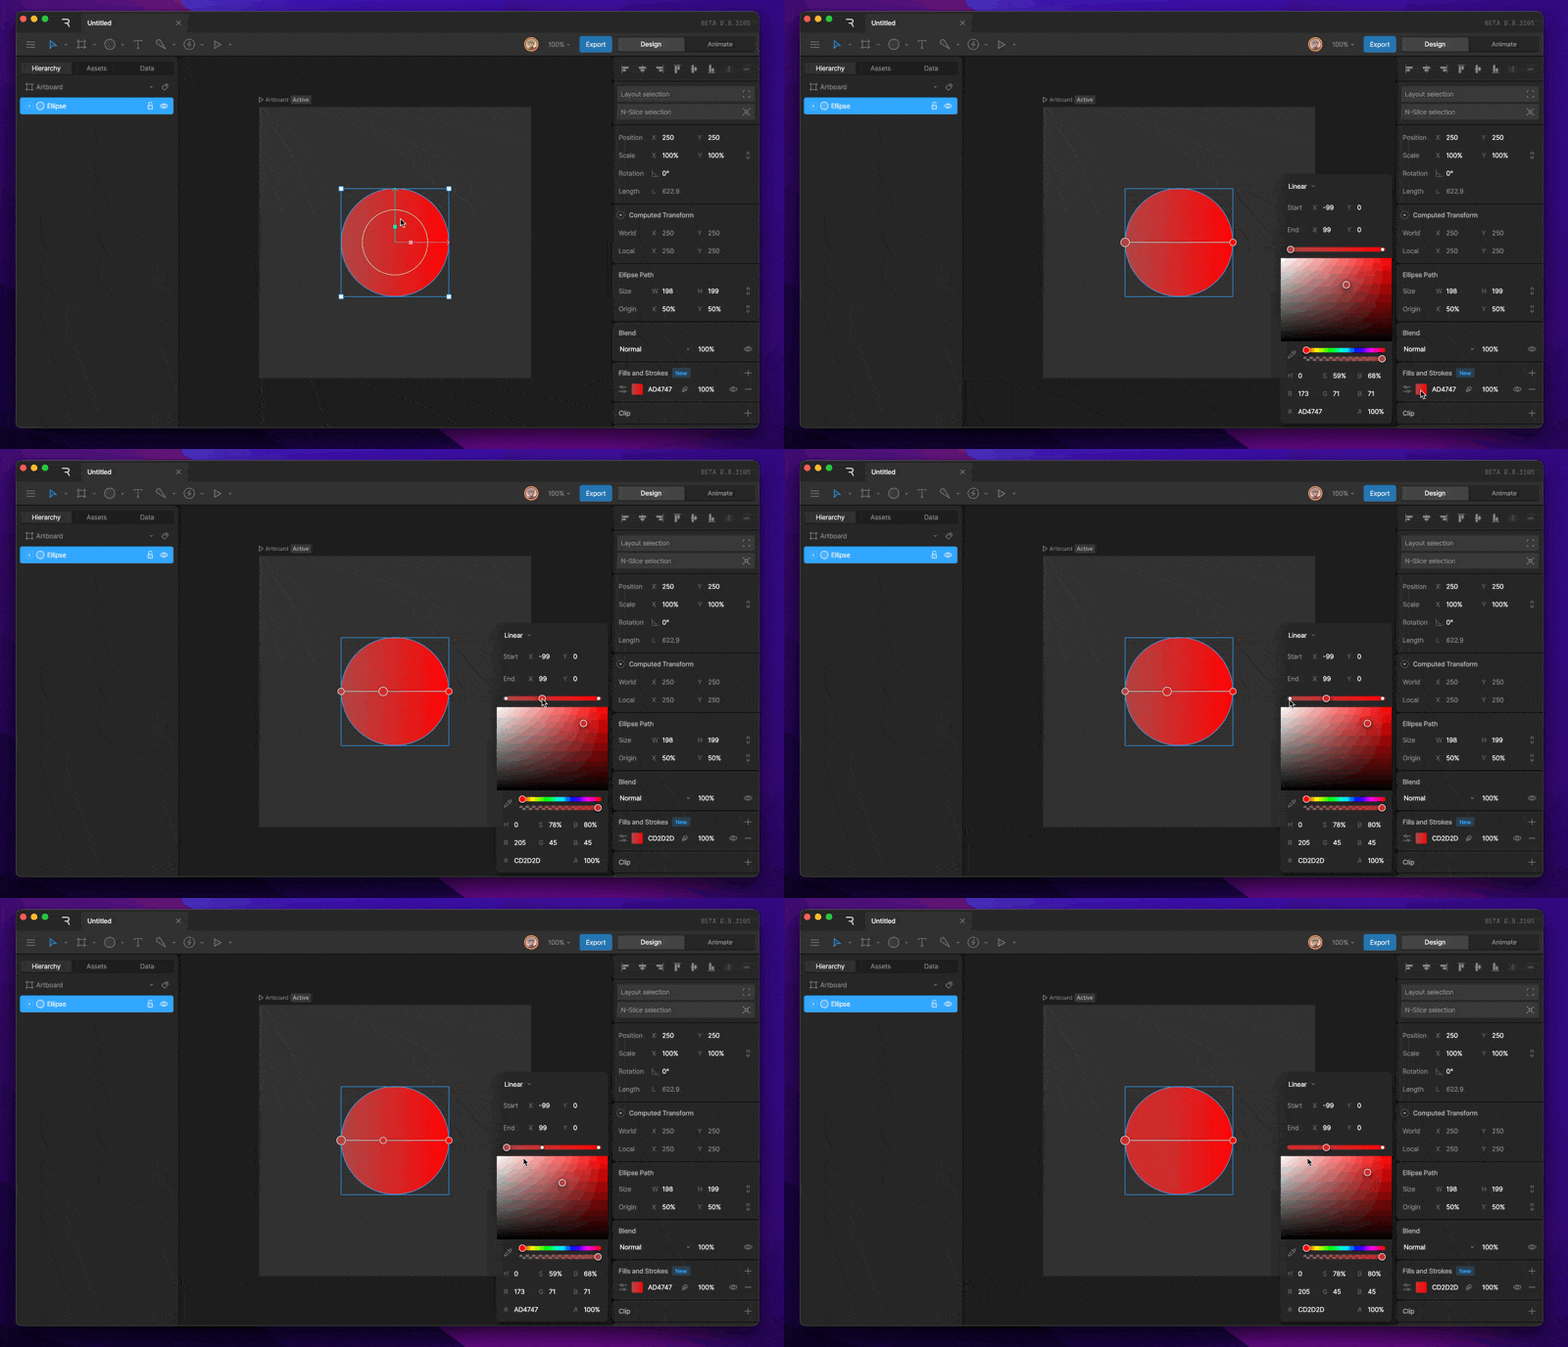
Gradient stops can also be [keyed on a timeline](https://rive.app/docs/editor/animate-mode/keys.md) and [bound to data](https://rive.app/docs/editor/data-binding/overview.md).
### Positioning a gradient
While the color picker is open, the gradient's handles appear on the stage. Drag them to set where the gradient starts and ends. For a radial gradient, the start is the center and the end sets how far the gradient reaches. You can also type exact start and end positions in the color picker.
## Selected Colors
When you select one or more objects, the **Selected Colors** section of the Inspector lists the colors they use. Use it to see and edit every color in a selection in one place.